


Marine Battery Wiring: The Complete Guide
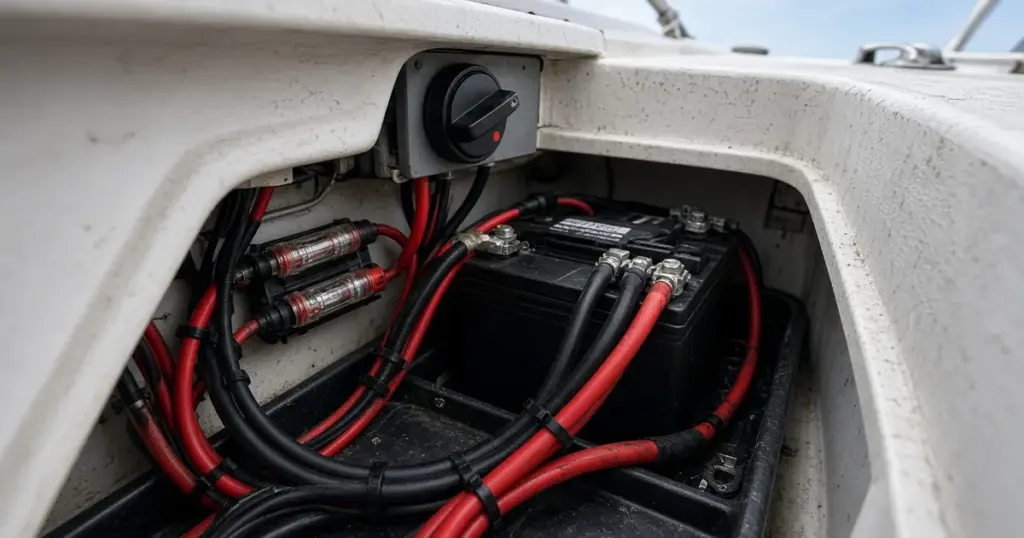
Wiring is where most boat battery problems begin and end. Undersized cables, missing fuses, corroded crimps and messy negative connections cause everything from slow trolling motors to electrical fires. Done right, boat wiring is safe, reliable and easy to troubleshoot. This marine battery wiring guide walks through the essentials and links to detailed guides on each topic.
Start with a plan
Before buying wire or lugs, sketch your system:
- Batteries: how many, what voltage and chemistry, and where they’ll sit.
- Loads: engine starting, trolling motor, house loads, electronics, pumps.
- Charging sources: onboard charger, alternator, DC-DC charger, solar.
- Protection and control: fuses, breakers and switches.
- Distribution: busbars, fuse blocks and panels.
A simple drawing saves money and mistakes. Label it and keep it aboard.
Series vs parallel
Batteries can be connected in series to raise voltage, such as two 12V batteries for a 24V trolling motor, or in parallel to increase capacity at the same voltage, such as two 12V batteries for a bigger house bank. Mixing the two creates series-parallel banks. See series vs parallel battery wiring and wiring batteries in parallel.
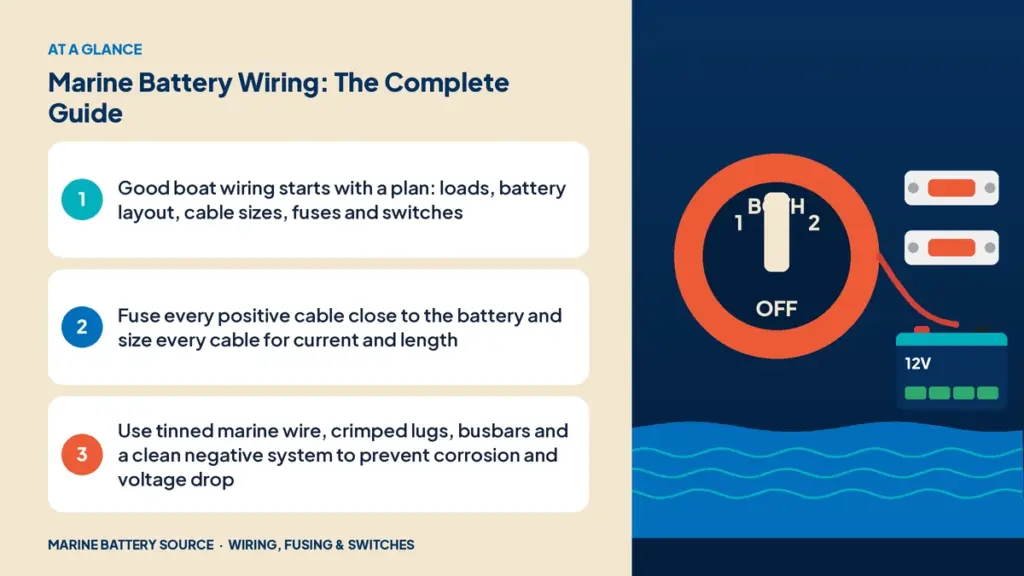
Cable sizing
Cable size depends on current, the total round-trip length of the circuit and acceptable voltage drop. Trolling motors and starting circuits carry high current and need heavy cables; electronics need much less. Undersized cable wastes energy as heat and lowers voltage at the load. See marine battery cable sizing and voltage drop explained.
Use marine-grade wire
Marine wire is finely stranded for flexibility and tinned to resist corrosion. Automotive and household wire corrodes quickly in damp, salty environments. See why tinned copper marine wire matters.
Terminals and connections
- Use properly sized copper lugs, crimped with the correct tool and sealed with adhesive heat-shrink.
- Stack no more than a few lugs per terminal, with the heaviest current lug closest to the battery post.
- Torque terminal nuts to the maker’s specification.
- Cover terminals to prevent accidental shorts.
See marine battery terminal types and how to crimp battery lugs.
Fuses and breakers
Every positive cable leaving a battery should be protected by a fuse or breaker close to the battery, typically within about 7 inches, sized to protect the cable. Terminal-mounted fuse blocks like the Battle Born MRBF fuse block make this easy, using fuses such as the Battle Born 300A marine fuse. Large lithium banks often need Class T fuses for their high fault current. Fuse and breaker selection is covered in its own guides within this cluster.
Switches
Battery switches let you isolate batteries for storage, service and emergencies, and select which batteries feed which loads. Common types include on-off disconnects and dual-battery selector switches. See battery switch basics.
Distribution: busbars and fuse blocks
Rather than stacking many wires on a battery post, run main cables to busbars and fuse blocks, then branch circuits from there. A product like the EPOCH heavy-duty power distribution block keeps connections organized. See busbars and power distribution.
The negative side
Negative wiring matters as much as positive. Return currents must flow through properly sized cables to a common negative busbar, and loose or corroded negatives cause many mysterious electrical problems. See negative busbars and grounding.
Routing and securing cables
- Support cables every 18 inches or so with clamps or ties.
- Protect cables through bulkheads with grommets or chafe guards.
- Keep cables above bilge water and away from fuel lines, exhausts and moving parts.
- Separate high-current cables from electronics wiring to reduce interference.
Labeling and documentation
Label both ends of every circuit, update your wiring diagram after changes, and keep it aboard. Future troubleshooting will be far easier.
Common wiring mistakes
- No fuse on a battery positive cable.
- Undersized cables on trolling motors.
- Automotive wire and uninsulated crimp connectors.
- Too many lugs stacked on one post.
- Negatives connected to engine blocks or random grounds without a planned return path.
- Mixing lithium and lead-acid batteries in parallel.
Tools that make wiring easier
Good results depend on good tools. A quality ratcheting crimper sized for heavy battery lugs, a cable cutter that leaves clean ends, a heat gun for adhesive-lined heat-shrink, a digital multimeter and a torque wrench for terminal nuts cover most battery wiring jobs. Cheap hammer-style crimpers and pliers produce weak connections that loosen and corrode. If you only wire a boat once, consider borrowing or renting heavy-duty tools rather than compromising on the crimps.
When to call a professional
Simple battery swaps and accessory circuits are within reach for many owners. Complex systems with inverters, large lithium banks, AC shore power or multiple charging sources benefit from a qualified marine electrician who follows recognized standards.
A step-by-step approach for a new installation
- Disconnect all batteries, negative first.
- Mount batteries securely and plan cable routes.
- Install fuses at each positive post and switches within easy reach.
- Run main cables to busbars and distribution blocks.
- Connect branch circuits through fuses or breakers.
- Connect negatives to a common negative busbar.
- Reconnect batteries, positive first, then negative.
- Test every circuit and check for heat at connections under load.
Inspecting existing wiring
On older boats, inspect wiring before adding new loads. Look for green or black corrosion under insulation, brittle or cracked jackets, melted or discolored connectors, loose terminals and missing fuses. Replace damaged cable rather than patching it, and remove abandoned wires so they don’t confuse future work. A thorough inspection often fixes problems you didn’t know you had.
Browse battery accessories in the store.
Frequently asked questions
What size wire do I need for my boat battery?
It depends on current and circuit length. Use a marine cable sizing chart based on a 3% to 10% voltage drop target.
Do I need a fuse on my boat battery?
Yes. Every positive cable should have a fuse or breaker close to the battery, sized to protect the cable.
Can I use automotive wire on a boat?
It’s not recommended. Tinned marine wire resists corrosion far better in damp, salty conditions.
Where should negative wires connect?
To a common negative busbar sized for the total current, then to the battery negative.