


Bus Bars and Power Distribution Blocks Explained
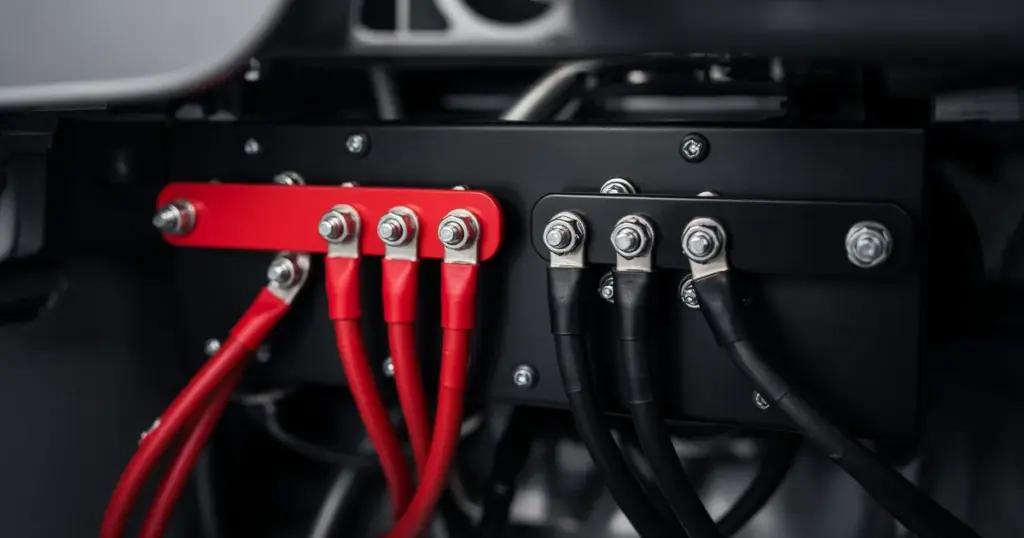
As boats gain electronics, pumps, lights and accessories, battery posts tend to collect a pile of lugs. That’s a recipe for loose connections, voltage drop and confusion. Busbars and distribution blocks solve the problem by giving every circuit its own clean connection point. This guide explains marine busbars and power distribution and how to lay out a tidy, safe system.
What a busbar is
A busbar is a solid conductive bar, usually tinned copper or brass, with multiple threaded studs or screw terminals mounted on an insulating base. Main cables connect to the bar, and branch circuits connect to its terminals.
Types of distribution hardware
- Positive busbars: distribute power from a fused main feed to multiple circuits.
- Negative busbars: collect return currents from all circuits back to the battery negative.
- Fuse blocks: busbars with integrated fuse holders for branch circuits.
- Power distribution posts: single heavy studs for connecting a few large cables.
- Heavy-duty distribution blocks: for high-current main cables, such as the EPOCH heavy-duty power distribution block.
Why use busbars
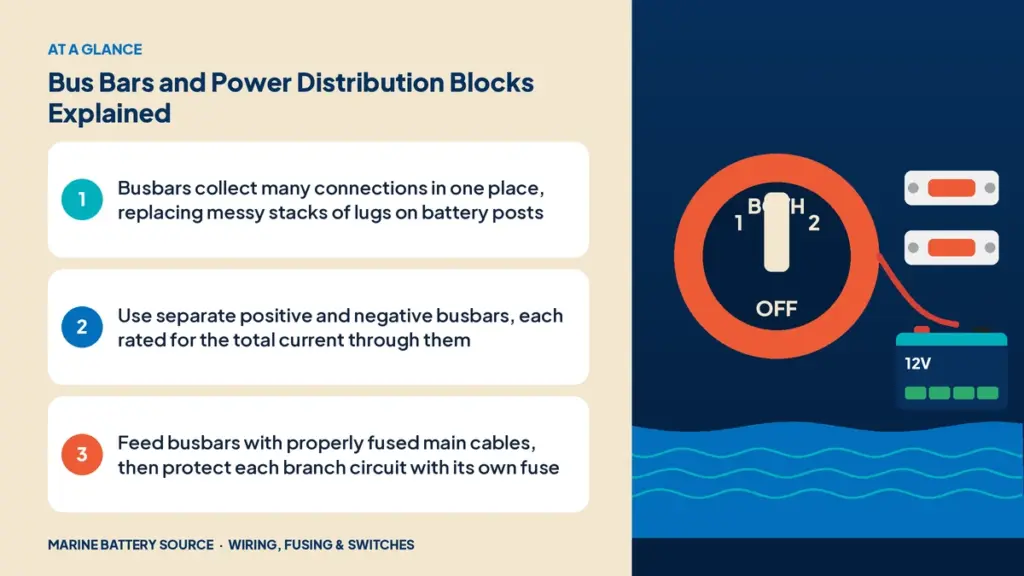
- Fewer lugs on battery posts, which reduces stacking and improves connections.
- Easier troubleshooting because every circuit is visible in one place.
- Cleaner installations that are easier to expand.
- Lower voltage drop compared to daisy-chained connections.
Sizing busbars
- Add up the maximum current through the busbar from all circuits.
- Choose a busbar rated above that current.
- Check stud sizes for main and branch lugs.
- Choose enough terminals for current circuits plus spares.
A busbar rated for 150A won’t safely carry 300A just because it has the right studs.
Fusing the main feed
The cable feeding a positive busbar must be fused near the battery. Each branch circuit leaving the busbar needs its own fuse or breaker sized for that branch’s wire. Fuse blocks combine both functions. Terminal fuses like the Battle Born 300A marine fuse protect heavy main feeds.
Negative busbars
A negative busbar collects all returns and connects to the battery negative with a cable sized for total current. Never rely on engine blocks, hull fittings or random grounds as a return path. See negative busbars and grounding for details.
Layout tips
- Mount busbars on a dry, accessible bulkhead near the batteries.
- Keep positive and negative busbars separate and clearly marked.
- Cover positive busbars to prevent accidental shorts.
- Label each terminal with its circuit.
- Leave space for future circuits.
Parallel battery banks and busbars
For parallel banks, busbars make it easier to equalize cable lengths from each battery. Connect each battery to the busbars with identical cables so current divides evenly. See wiring batteries in parallel.
Connecting lugs
Use properly crimped, tinned ring lugs matched to stud sizes. Stack no more than the busbar maker allows on each stud, heaviest current first. Torque nuts to specification. See how to crimp battery lugs and marine battery terminal types.
Switches and busbars
A battery switch usually sits between the battery and the positive busbar, so turning the switch off isolates everything downstream. Some circuits, like automatic bilge pumps, are often wired to stay powered; follow your builder’s design. See battery switch basics.
Example layout for a center console
- Battery positive → terminal fuse → battery switch → positive busbar.
- Positive busbar → fuse block for electronics, pumps and lights.
- All negatives → negative busbar → battery negative.
- Charger outputs and DC-DC charger connect at the battery with their own fuses.
For a complete battery installation, see how to install a marine battery.
Inspecting an existing system
Look for:
- Loose or corroded studs.
- Heat discoloration.
- Overcrowded studs.
- Unfused branch circuits.
- Missing covers.
Choosing materials
Tinned copper busbars offer the best combination of conductivity and corrosion resistance. Brass is also common, with somewhat higher resistance. Bases should be made of non-conductive, heat- and moisture-resistant material, and studs should be stainless or tinned. Avoid automotive or household distribution blocks that aren’t designed for damp marine conditions.
Upgrading for lithium
High-current lithium systems put more demand on main distribution. When upgrading, confirm that busbars, switches and fuses are rated for the new battery’s continuous and peak current, and that the main feed cable is sized accordingly. Large banks may also need a Class T fuse at the battery.
Busbars vs fuse blocks
A plain busbar distributes power but provides no protection; every branch circuit connected to it needs a separate inline fuse or breaker. A fuse block combines distribution and protection in one unit, with a fuse holder for each circuit. For electronics, lights and pumps, fuse blocks are usually the neater choice. For high-current circuits like inverters, windlasses and trolling motors, a heavy busbar or distribution post with separate high-current fuses is more common.
Example: adding electronics to a bass boat
A bass boat owner adds a second graph and forward-facing sonar. Rather than stacking more ring lugs on the cranking battery, the owner runs a fused feed from a dedicated electronics battery to a small fuse block in the console, then connects each device to its own fused position. All negatives go to a matching negative busbar beside it. The result is clean, labeled and easy to expand.
Planning for expansion
When you design distribution, add at least 20% spare positions on fuse blocks and busbars. Future additions like a new fish finder, LED lighting or a USB outlet can then connect cleanly without stacking lugs or tapping into other circuits. Document every new circuit on your wiring diagram as you add it.
Read the marine battery wiring guide for the full system, and browse battery accessories in the store.
Frequently asked questions
What is a busbar on a boat?
A solid conductive bar with multiple terminals that distributes power to circuits or collects return currents.
Do I need a fuse before a busbar?
Yes. The main cable feeding a positive busbar must be fused near the battery, and each branch circuit needs its own fuse.
Can I connect negatives to the engine block?
Use a dedicated negative busbar connected to the battery negative for DC returns, following your engine and builder’s design.
How big a busbar do I need?
Choose one rated above the total current of all circuits it serves, with enough terminals and the right stud sizes.