


How to Crimp and Seal Battery Lugs
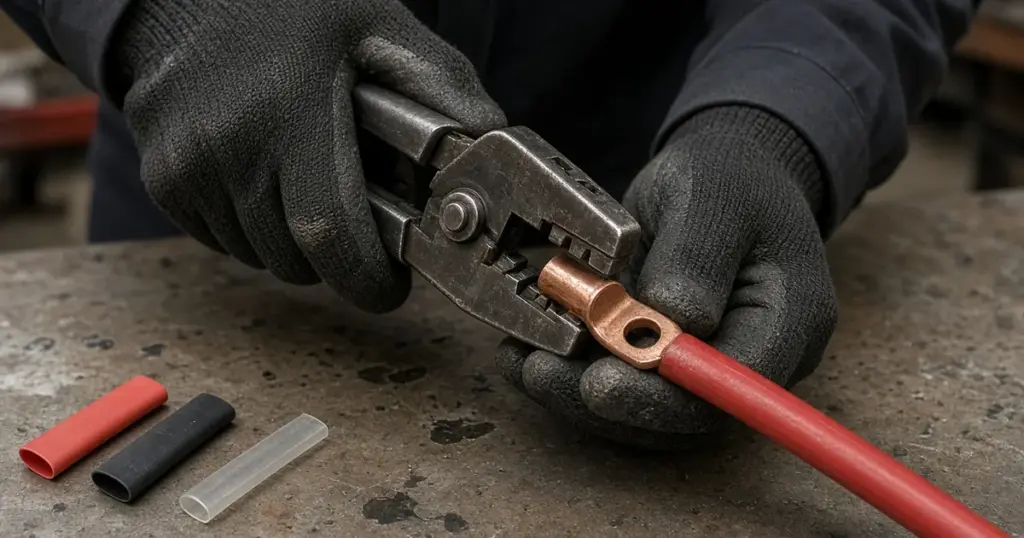
A good crimp is invisible: it simply carries current for years without heating, loosening or corroding. A bad crimp causes voltage drop, heat and intermittent failures that are hard to trace. Crimping battery lugs is a skill any boat owner can learn with the right tools. This guide explains how to crimp battery lugs step by step.
What you need
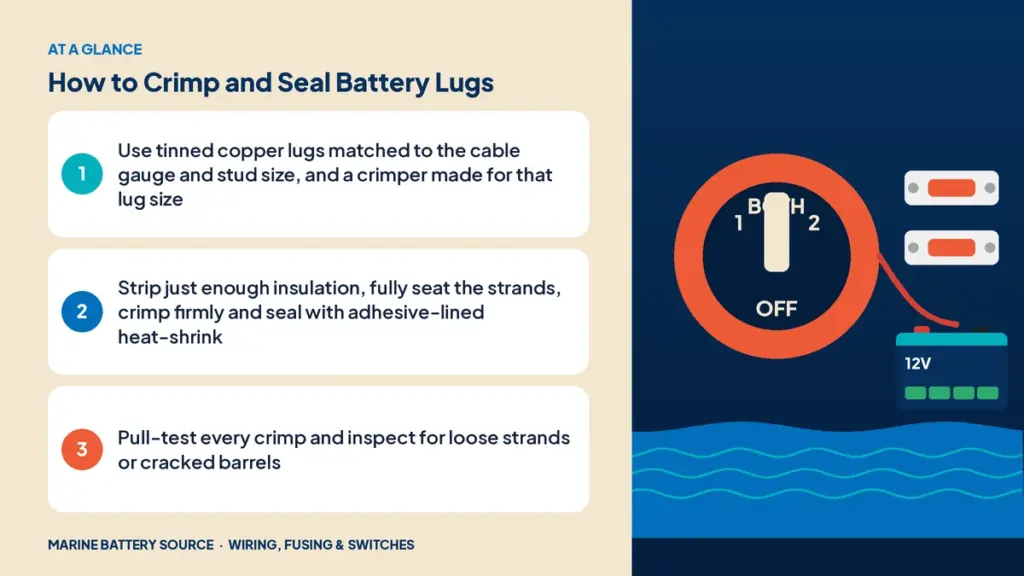
- Tinned copper lugs sized for the cable gauge and the terminal stud diameter.
- Tinned marine battery cable of the correct gauge. See tinned copper marine wire.
- A cable cutter that cuts cleanly without crushing strands.
- A wire stripper or sharp utility knife.
- A crimper rated for the lug size: hammer crimpers, ratcheting hand crimpers or hydraulic crimpers.
- Adhesive-lined heat-shrink tubing in red and black.
- A heat gun.
Choosing the right lug
- Barrel size matches the cable gauge, for example a 2 AWG lug for 2 AWG cable.
- Hole size matches the stud, for example 3/8 inch or M8.
- Material: tinned copper for corrosion resistance.
- Style: standard or flared barrels; closed-end barrels keep moisture out better.
Mismatched lugs are a leading cause of poor connections. See marine battery terminal types.
Choosing a crimper
- Hammer crimpers are inexpensive but give inconsistent results unless used carefully on a solid surface.
- Ratcheting crimpers with dies for each gauge produce consistent crimps and are the best choice for most owners.
- Hydraulic crimpers handle large cables like 1/0 to 4/0 with less effort and very consistent results.
Pliers, vise grips and hammers on a bolt are not crimpers.
Step-by-step crimping
- Measure and cut the cable to length with a clean, square cut.
- Slide heat-shrink onto the cable before crimping.
- Strip insulation to the depth of the lug barrel, without nicking strands.
- Twist strands lightly if needed and insert them fully into the barrel. Strands should reach the end of the barrel, with no insulation inside.
- Position the crimper at the center of the barrel, oriented as the tool maker specifies.
- Crimp fully. Ratcheting tools release only when the crimp is complete. For large lugs, a second crimp closer to the tongue may be recommended.
- Inspect: no loose strands outside the barrel, no cracks in the barrel, and insulation close to but not inside the lug.
- Pull test: pull firmly on the cable. It should not move.
- Seal: slide the heat-shrink over the barrel and onto the insulation, then shrink it until adhesive appears at the edges.
Sealing matters
Adhesive-lined heat-shrink keeps moisture out of the cable end, preventing corrosion from wicking into the strands. It also provides strain relief. Use red on positive cables and black or yellow on negatives.
Soldering
Some installers add solder after crimping, but solder alone isn’t recommended because it can crack under vibration and wick up the cable, creating a stiff spot. A quality crimp plus heat-shrink is the standard marine method.
Large cables
For 1/0 to 4/0 cables used on house banks, inverters and windlasses, use a hydraulic or heavy ratcheting crimper. Hand crimpers for small wire won’t produce a reliable crimp on large lugs. These high-current connections often feed busbars and distribution blocks; see busbars and power distribution.
Pre-made cables
If you don’t want to buy crimping tools, many marine suppliers sell pre-made cables or will crimp to length. Connection kits, such as the Dakota Lithium 24V trolling motor connection kit, come with lugs already crimped for common trolling motor setups.
Testing your work
After installation, test under load. Measure voltage drop across each crimped connection; a good crimp shows only a few hundredths of a volt at normal current. A warm lug after use signals a problem.
Common mistakes
- Using a lug too large for the cable, leaving a loose crimp.
- Stripping too much insulation, leaving exposed strands.
- Nicking or cutting strands while stripping.
- Crimping with pliers or a hammer on a soft surface.
- Skipping heat-shrink.
- Crimping near the tongue instead of the barrel center.
Negative cables too
Negative connections matter as much as positives. Crimp negative lugs with the same care, then connect them to a negative busbar sized for total current. See negative busbars and grounding.
Connecting to batteries and fuses
Once crimped, connect lugs to battery studs, fuse blocks or busbars with the correct hardware and torque. A terminal-mounted fuse block like the Battle Born MRBF fuse block sits directly on the battery positive. Lithium batteries such as the EPOCH 12V 105Ah Essential use bolt terminals that need correctly sized ring lugs.
Practice first
If you’re new to crimping heavy cable, practice on a short scrap piece before making your final cables. Cut the practice crimp in half lengthwise with a hacksaw to see whether the strands are compressed into a solid mass with no voids. That cross-section tells you whether your tool and technique are producing good crimps.
Labeling and documentation
Label each cable at both ends before installation, especially on boats with several batteries. Note cable sizes and fuse ratings on your wiring diagram. Future troubleshooting will be quicker and safer.
Cable length tips
Measure cable routes with a piece of string or old wire before cutting, following the real path around bulkheads and fittings. Leave a small service loop so lugs aren’t under tension, but avoid long, looping excess that adds resistance and clutter.
Tool care
Keep crimper dies clean and free of debris, and check ratcheting tools periodically for proper release force. A worn or misadjusted crimper can produce crimps that look fine but don’t hold. Store cable cutters so their blades don’t get nicked, since a damaged blade crushes strands instead of cutting them cleanly.
For the bigger picture, read the marine battery wiring guide and battery switch basics, and browse battery accessories in the store.
Frequently asked questions
What tool do I need to crimp battery lugs?
A crimper rated for your lug sizes: a ratcheting crimper for most cables, or a hydraulic crimper for large cables.
Should I solder battery lugs?
Crimping with adhesive heat-shrink is the marine standard. Solder alone can crack under vibration.
How do I know if a crimp is good?
It passes a firm pull test, has no loose strands and shows minimal voltage drop under load.
Can I crimp lugs with pliers?
No. Pliers don’t produce a reliable, gas-tight crimp.