


How to Install a Marine Battery: Step by Step
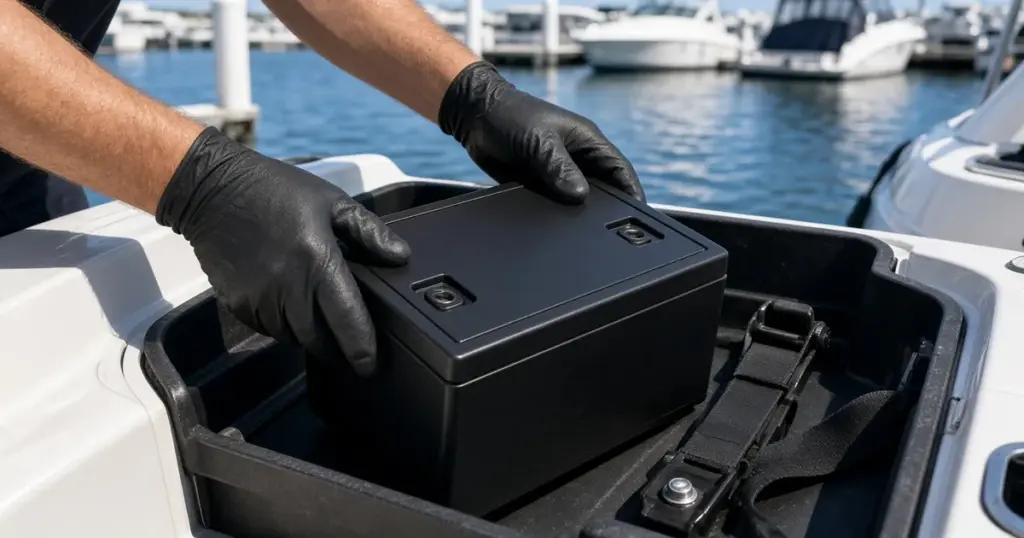
Installing a marine battery isn’t complicated, but the details matter. A battery that shifts in a chop, a loose terminal or a missing fuse can leave you stranded or start a fire. Whether you’re replacing a starting battery, adding a house battery or installing a lithium trolling bank, the same fundamentals apply. This guide walks through how to install a marine battery step by step, and links to detailed guides for specific installs.
Before you start
Choose the right battery
Make sure the new battery matches the job:
- Starting (cranking): enough CCA and MCA for your engine.
- Deep cycle: enough amp-hours for trolling motors, electronics or house loads.
- Dual-purpose: both roles on smaller boats.
- Physical size: the right BCI group size (24, 27, 31 and so on) to fit your tray or box.
- Terminal type: matching your cable lugs, or plan to change lugs.
Browse our lithium marine batteries and AGM and lead-acid batteries to compare.
Tools and materials
- Wrenches or sockets for terminal nuts (commonly 1/2″ or 13mm, 10mm for many lithium terminals)
- Torque wrench (inch-pounds)
- Battery terminal cleaner and wire brush
- Terminal protectant
- Battery tray, box and hold-down strap
- Fuse and holder if one isn’t installed
- Multimeter
- Safety glasses and gloves
Safety
- Wear eye protection and gloves.
- Remove rings, watches and metal jewelry.
- Ventilate the compartment, especially with flooded batteries that may vent hydrogen.
- Keep sparks and flames away.
- Turn off the battery switch and all loads before starting.
Step 1: Remove the old battery
- Turn the battery switch off.
- Disconnect the negative cable first, then the positive.
- Remove the hold-down strap or bracket.
- Lift the battery out carefully, keeping it upright. Many marine batteries weigh 50 to 70 pounds.
Our guide to removing a boat battery covers this in more detail.
Step 2: Inspect and clean
- Check cables for cracked insulation, corrosion or loose lugs. Replace damaged cables.
- Clean cable lugs until they’re bright metal.
- Inspect the tray or box for cracks.
- Clean any spilled acid with a baking soda and water solution, then rinse and dry.
Step 3: Mount and secure the battery
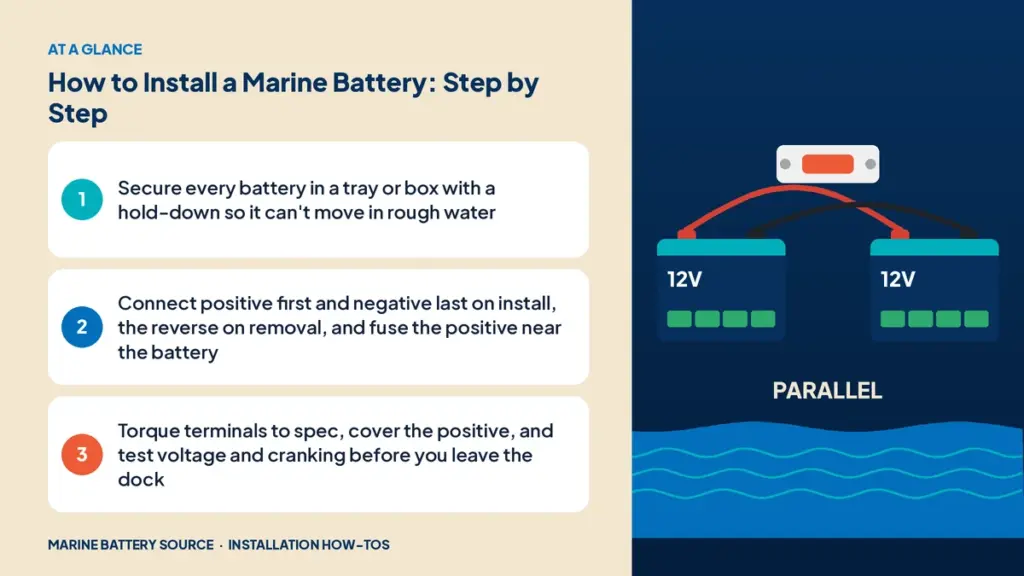
Every marine battery must be secured so it can’t move more than about an inch in any direction, even in rough water. Options include:
- Battery boxes with straps, common on small boats.
- Trays with hold-down brackets, such as the EPOCH battery tray for 12V 100Ah and 105Ah batteries.
- Bolt-down brackets for larger batteries.
Our marine battery hold-down guide explains the options and requirements.
Step 4: Connect the cables
- Positive first. Attach the positive cable to the positive terminal.
- Negative last. Attach the negative cable to the negative terminal.
- Torque each nut to the battery maker’s specification. Lithium terminals often have lower torque limits than lead-acid posts.
- Avoid stacking too many lugs on one terminal; use a busbar for multiple circuits.
- Apply terminal protectant and fit a cover over the positive terminal.
Step 5: Fuse the positive
The positive cable should be protected by a fuse close to the battery. If one isn’t installed, add it now. A terminal-mounted MRBF fuse or an inline fuse within about 7 inches of the battery works for most installs.
Step 6: Test
- Measure resting voltage. A fully charged 12V lead-acid reads about 12.6V to 12.8V; a 12V lithium reads about 13.2V to 13.4V.
- Turn on the battery switch and check that loads work.
- Start the engine and confirm charging voltage at the battery, typically 13.8V to 14.6V depending on chemistry.
- Check that terminals stay cool after a few minutes of running.
Common installs
Lithium trolling motor batteries
Lithium trolling installs need a lithium-compatible charger and the right series or parallel wiring. See our guide to installing a lithium trolling motor battery.
Trolling motor plugs
A quick-connect plug at the bow makes it easy to remove the trolling motor. See how to install a trolling motor plug.
Onboard chargers
An onboard charger keeps batteries charged at the dock or on the trailer. See how to install an onboard battery charger.
DC-DC chargers
For charging a lithium or trolling bank from the engine, see how to install a DC-DC charger on a boat.
Fish finders and electronics
Electronics need clean power and proper fusing. See how to wire a fish finder to a battery.
Battery monitors
A shunt-based monitor tells you exactly how much charge is left. See how to install a battery monitor.
Solar panels
For adding solar charging, see how to install a solar panel on a boat.
Lithium-specific notes
- Check charge settings. Your alternator, onboard charger and any DC-DC charger must be set for lithium.
- Know the BMS limits. Make sure the battery’s continuous and peak discharge ratings cover your loads.
- Cold weather. Most LiFePO4 batteries can’t accept charge below freezing unless they have built-in heating, like the Dakota Lithium 135Ah heated dual-purpose.
- Terminal torque is often lower than lead-acid; follow the spec.
Common mistakes
- No hold-down. A loose battery can tip, short or damage terminals.
- Wrong terminal order. Positive first on install, negative first on removal.
- Wing nuts finger-tight. Use a wrench to torque them properly.
- No fuse on the positive.
- Uncovered positive terminal that can short against a tool or metal fitting.
- Mismatched chargers that aren’t set for the battery’s chemistry.
Maintenance after install
- Check terminal tightness and corrosion monthly in season.
- Keep the battery charged, especially lead-acid, which sulfates when left discharged.
- Check electrolyte levels in flooded batteries.
- Recheck hold-downs after rough trips.
DIY or professional?
Simple replacements are a great DIY job. Complex installs with inverters, large lithium banks or AC systems are worth professional help. See DIY vs professional marine battery installation.
Frequently asked questions
Which battery terminal do I connect first?
Connect the positive first and the negative last when installing. When removing, disconnect the negative first.
How tight should marine battery terminals be?
Follow the battery maker’s torque spec. Lead-acid posts are often around 9 to 11 foot-pounds; lithium terminals are often lower. Too loose causes heat; too tight can damage the terminal.
Does a marine battery have to be secured?
Yes. It should be held so it can’t move more than about an inch in any direction, using a box, tray or bracket with a hold-down.
Do I need a fuse on my battery?
Yes. The positive cable should be fused close to the battery to protect the cable from shorts.
Can I install a lithium battery in place of a lead-acid one?
Usually, but check that your charger and alternator are compatible with lithium and that the battery’s discharge rating covers your loads.