


DIY vs Professional Marine Battery Installation
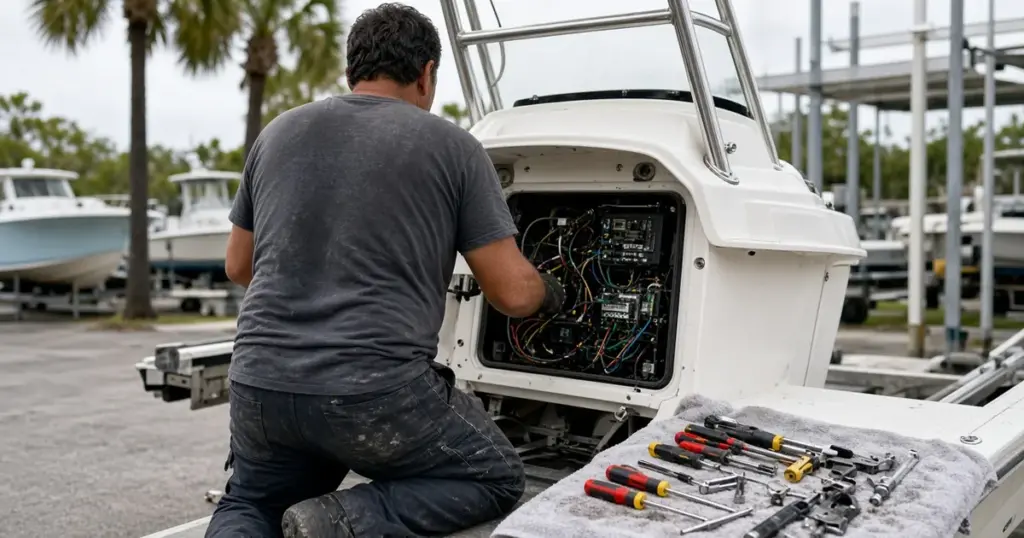
Marine battery work spans a huge range. Swapping a starting battery takes 20 minutes with a couple of wrenches. Installing a 600Ah lithium house bank with an inverter, DC-DC charging and shore power integration can take a professional several days. Knowing where your project falls helps you decide whether to do it yourself or hire a marine electrician. This guide compares DIY vs professional marine battery installation and helps you choose.
What most owners can do themselves
These jobs need basic tools, care and a willingness to follow instructions:
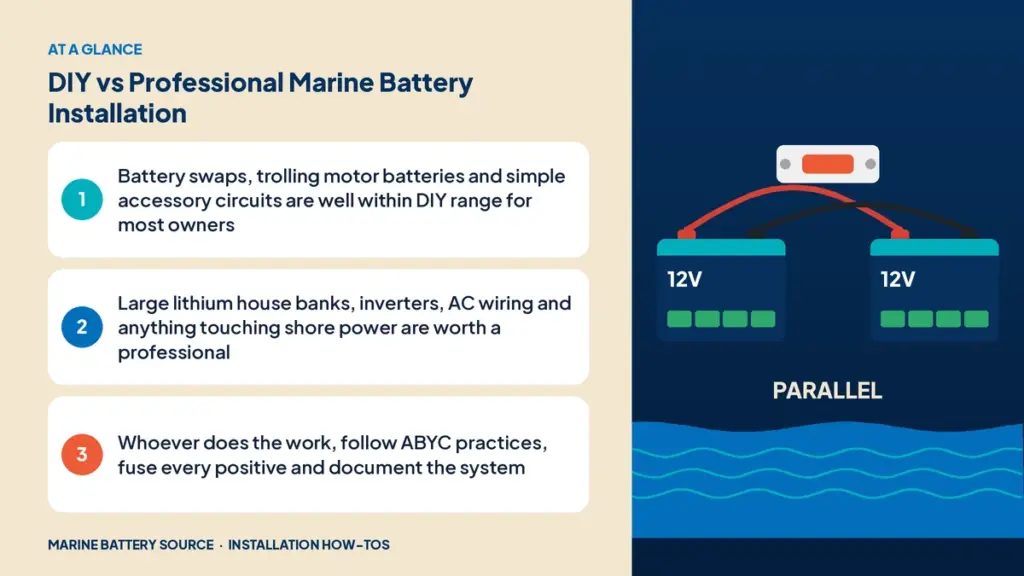
- Replacing a starting or deep cycle battery of the same type. See how to install a marine battery.
- Swapping lead-acid trolling batteries for lithium, including series wiring and a lithium charger. See 36V lithium install on a bass boat.
- Installing an onboard charger with DC outputs and a plug-in AC cord.
- Adding a trolling motor plug or replacing battery cables.
- Wiring a fish finder or small electronics to a fuse block.
- Installing a battery switch or hold-downs.
- Adding a second battery with an ACR. See how to install an ACR.
Jobs that often call for a professional
- Large lithium house banks with high short-circuit current, Class T fusing and BMS integration. See installing a sailboat house bank.
- Inverters and inverter-chargers, especially those that connect to the boat’s AC system. See how to install an inverter on a boat.
- Shore power and AC panel work. AC mistakes can cause shock, electrocution or fire.
- Alternator upgrades and external regulators.
- Relocating batteries where cables need to be rerouted through the boat. See how to relocate a boat battery.
- Diagnosing intermittent electrical faults that require experience to trace.
- Insurance or survey requirements that call for certified work.
Skills you need for DIY
- Reading wiring diagrams
- Sizing wire and fuses for current and distance
- Making proper crimped connections with the right tools
- Using a multimeter for voltage, continuity and voltage-drop tests
- Following torque specifications
- Working safely around batteries
Tools for DIY
A basic marine electrical toolkit includes wrenches, a torque wrench, a heavy-duty crimper, a wire stripper, a heat gun, a multimeter and a set of labels. Our marine electrical tools guide lists what to buy.
Costs compared
DIY
- Parts and materials only
- Tool investment, which pays off over multiple projects
- Your time, often more than a pro would need
Professional
- Labor rates for marine electricians vary widely by region, often $100 to $175 per hour or more
- A simple battery swap might be a small charge; a full lithium conversion with inverter can run into thousands in labor
- Usually includes warranty on workmanship
- Often faster and done right the first time
Questions to ask yourself
- Do I understand the whole system, or just the part I’m changing?
- Does the project touch AC or shore power? If yes, consider a pro.
- Is there a large lithium bank or inverter involved?
- Do I have the right tools, especially a heavy-duty crimper?
- Will my insurer or surveyor require certified work?
- What happens if it’s done wrong? A bad crimp on a trolling motor is an inconvenience; a bad connection on an inverter cable can start a fire.
Signs a DIY job needs a second look
Even experienced DIYers sometimes get in over their heads. Stop and get help if you notice:
- Cables or terminals getting warm under normal load
- Voltage drop of more than a few percent at loads, even after checking connections
- Breakers or fuses that trip repeatedly without an obvious cause
- A burning smell or discolored insulation anywhere in the system
- Galvanic corrosion appearing on underwater metals after electrical changes, which can signal stray current
- A BMS that keeps disconnecting a lithium battery under load or during charging
These symptoms point to problems that can get worse quickly. A marine electrician can test the system and find the root cause.
What a professional install should include
When you pay for professional work, expect:
- A load calculation and system design before work starts
- Correctly sized cables, fuses and switches with marine-rated components
- Neat routing, with cables secured and protected through bulkheads
- Labeling at both ends of every new circuit
- An updated wiring diagram
- A test report showing voltages and charging behavior
- Instructions for any new chargers, monitors or switches
Hiring a marine electrician
- Look for ABYC-certified technicians.
- Ask for references and examples of similar work.
- Get a written estimate with parts and labor.
- Ask whether they’ll provide a wiring diagram when they’re done.
- Confirm warranty terms.
Hybrid approach
Many owners do the prep and simple parts themselves, then hire a pro for the critical work. For example:
- You remove old batteries, install trays and run cables.
- The pro makes final connections, sets up the inverter and checks the system.
This can save labor costs while ensuring safety-critical work is done right.
Follow the standards either way
Whether you DIY or hire out:
- Fuse every positive near the battery
- Use tinned copper marine wire
- Secure every battery
- Label circuits and keep a diagram. See boat wiring labeling and documentation.
- Use a checklist for the final inspection. See our marine battery installation checklist.
Common DIY projects by boat type
Bass boats
Lithium trolling conversions, onboard chargers and electronics wiring are popular DIY jobs. See 36V lithium install on a bass boat.
Pontoons
Adding an accessory battery or lithium upgrade under a seat is usually DIY-friendly. See pontoon lithium installation.
Sailboats and cruisers
House bank upgrades are larger projects, often worth professional help, especially with inverters and alternator upgrades.
Choosing batteries for your project
Browse our lithium marine batteries, trolling motor batteries and house bank batteries. Many lithium batteries, like the EPOCH 36V 50Ah, are designed as drop-in replacements for easier installation.
Safety reminders for DIYers
- Wear eye protection and gloves.
- Remove jewelry.
- Disconnect the battery negative before working on the system.
- Never work on AC circuits connected to shore power.
- Ventilate the compartment.
- Have a fire extinguisher nearby.
Frequently asked questions
Can I install a marine battery myself?
Yes. Replacing a battery of the same type, or upgrading a trolling bank to lithium, is a common DIY job for owners with basic tools.
When should I hire a marine electrician?
For large lithium house banks, inverters, AC and shore power work, alternator upgrades and hard-to-diagnose faults.
How much does professional battery installation cost?
It varies by region and job. Simple swaps are inexpensive, while full lithium conversions with inverters can cost thousands in labor.
Do I need an ABYC-certified electrician?
It’s not always required, but certified technicians follow industry standards, and some insurers and surveyors prefer certified work.
Can I do part of the job myself?
Yes. Many owners do the prep work and hire a pro for final connections and system setup.