


Post-Installation Checklist for New Marine Batteries
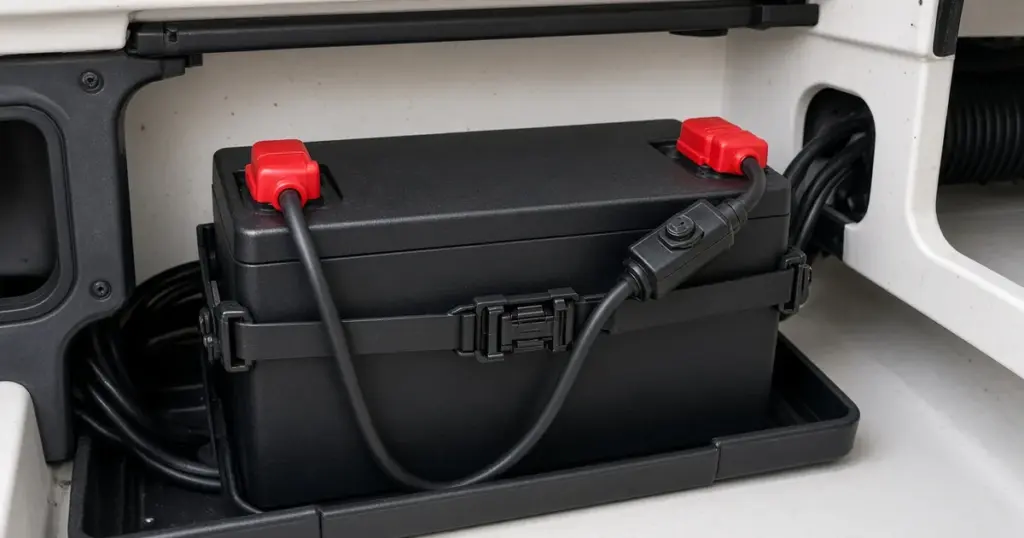
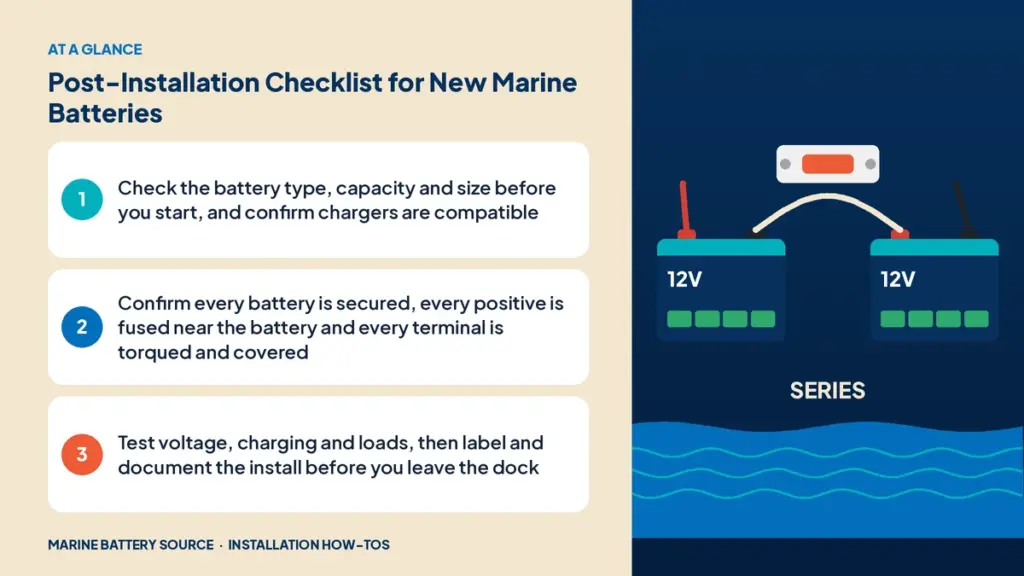
A checklist is the easiest way to make sure nothing gets missed during a battery installation. Professionals use them for a reason: it’s easy to forget a terminal cover, skip a torque check or leave a charger on the wrong profile when you’re focused on the hard parts. Use this marine battery installation checklist for any battery job, from a simple starting battery swap to a full lithium conversion.
Planning
- ☐ Battery type matches the job (starting, deep cycle, dual-purpose)
- ☐ Capacity (Ah) and cranking (CCA/MCA) meet requirements
- ☐ Physical size fits the tray or box
- ☐ Terminal type matches cable lugs, or new lugs planned
- ☐ Chemistry is compatible with chargers, alternator and DC-DC charger
- ☐ Battery’s BMS discharge rating covers peak loads (lithium)
- ☐ Wiring plan drawn, including fuses and switches
- ☐ Parts list complete
- ☐ Tools ready. See marine electrical tools.
Safety
- ☐ Eye protection and gloves on
- ☐ Jewelry removed
- ☐ Compartment ventilated
- ☐ Battery switch off and loads off
- ☐ Shore power and chargers disconnected
- ☐ Fire extinguisher nearby
Removal (if replacing)
- ☐ Cables labeled before disconnecting
- ☐ Negative disconnected first
- ☐ Old battery removed and set aside for recycling
- ☐ Compartment cleaned and inspected
Mounting
- ☐ Location is dry, ventilated and accessible
- ☐ Tray, box or bracket fastened to solid structure
- ☐ Battery secured so it can’t move more than about one inch
- ☐ Terminals protected from contact with metal parts
- ☐ Flooded batteries upright
Cables and connections
- ☐ Cables sized for current and length
- ☐ Tinned copper marine cable used
- ☐ Lugs crimped with the correct tool and sealed with heat-shrink
- ☐ Positive connected first, negative last
- ☐ Terminals torqued to the battery maker’s spec
- ☐ No more than a few lugs per terminal; busbar used if needed
- ☐ Terminal protectant applied
- ☐ Positive terminal cover installed
- ☐ Cables supported every 18 inches and protected through bulkheads
Fusing
- ☐ Every positive cable fused close to the battery
- ☐ Fuse sizes match cable ampacity
- ☐ Fuse voltage and interrupt ratings suitable for the system
- ☐ Spare fuses aboard
Switching
- ☐ Battery switch rated for the system’s current and voltage
- ☐ Switch accessible and labeled
- ☐ Always-on circuits (like automatic bilge) fused separately
Charging
- ☐ Onboard charger set to the correct chemistry for each bank
- ☐ DC-DC charger or ACR installed and set correctly
- ☐ Solar controller set for battery chemistry
- ☐ Alternator compatible with lithium, or protected
Testing
- ☐ Resting voltage checked
- ☐ Loads tested
- ☐ Engine cranks normally
- ☐ Charging voltage confirmed with the engine running
- ☐ Shore charger confirmed charging each bank
- ☐ Connections checked for heat after running loads
- ☐ Battery monitor programmed and synced
Documentation
- ☐ Wires labeled at both ends
- ☐ Wiring diagram updated
- ☐ Battery model, install date and charger settings recorded
- ☐ Photos taken
See boat wiring labeling and documentation for tips.
After the first trip
- ☐ Terminals rechecked for tightness
- ☐ Hold-downs still secure
- ☐ Battery fully charged after the trip
- ☐ No unexpected drains
Specific installs
- ACR installs: see how to install an ACR.
- Relocated batteries: see how to relocate a boat battery.
- Trolling motor systems: see the trolling motor power system guide.
Lithium-specific checks
- ☐ Battery charged fully before first use
- ☐ Charger, DC-DC charger and solar controller set for lithium
- ☐ No equalization enabled
- ☐ Low-temperature charging protection understood
- ☐ Bluetooth app connected (if available)
- ☐ Fuse interrupt rating adequate for lithium
Lithium batteries like the EPOCH 12V 105Ah LiFePO4 or the EPOCH 36V 50Ah come with specific charge and torque settings; follow them. Browse our lithium marine batteries for more.
Lead-acid-specific checks
- ☐ Electrolyte level correct (flooded)
- ☐ Vent caps secure (flooded)
- ☐ Charger set for flooded or AGM
- ☐ Battery fully charged before use
Common items people miss
Even experienced installers skip these from time to time:
- The negative cable. It gets less attention than the positive, but it carries the same current. Check its size, lug and torque.
- Accessory leads stacked on the terminal. Old installs often have three or four small ring terminals under the battery nut. Move them to a fuse block or busbar.
- Charger leads. After a battery swap, it’s easy to reconnect the charger leads to the wrong battery on multi-battery boats. Follow your labels.
- The automatic bilge pump. If it was wired directly to the old battery, make sure it’s connected to the new one and still fused.
- The battery monitor shunt. If one is installed, everything except the shunt must stay off the battery negative.
- Torque on lithium terminals. Lithium batteries often have M8 bolts with lower torque specs than lead-acid posts.
Time to allow
A simple starting battery swap takes 20 to 30 minutes with the checklist. A lithium trolling conversion with a new charger might take three to five hours. A house bank with a DC-DC charger and monitor can easily take a full weekend. Allowing enough time keeps you from rushing the final checks.
Using the checklist
Print it, keep it in your toolbox and work through it on every job. Check off each item as you go rather than at the end. If something doesn’t check out, fix it before moving on.
Why checklists matter
Most battery problems on boats come from a small number of mistakes: loose terminals, missing fuses, unsecured batteries and wrong charger settings. A checklist catches those before they become a dead battery or a fire. For help deciding whether to do the job yourself, see DIY vs professional installation. For step-by-step instructions, see how to install a marine battery.
Annual re-check
Even a perfect install drifts over time. Once a year, usually during spring commissioning, run through the mounting, cables, fusing and testing sections again. Terminals loosen with vibration, hold-down straps stretch and corrosion creeps into lugs. A 20-minute annual check catches problems early.
Frequently asked questions
What should I check after installing a marine battery?
Confirm it’s secured, every positive is fused, terminals are torqued and covered, charging works and loads run normally.
Do I need to recheck terminals after the first trip?
Yes. Vibration can settle connections. Recheck tightness after the first outing.
What’s the most common battery installation mistake?
Loose terminals and missing fuses are among the most common, along with unsecured batteries.
Do lithium batteries need different checks?
Yes. Confirm chargers are set for lithium, equalization is off and fuses have adequate interrupt ratings.
Should I document my battery installation?
Yes. Label wires, update your diagram and record the battery model, install date and charger settings.