


How to Wire a Fish Finder to Your Battery
A fish finder only works as well as the power it’s fed. Voltage drop, a shared ground or a loose connection can cause flickering screens, random reboots and sonar interference that hides fish. Wiring it correctly is simple and makes a big difference. This guide explains how to wire a fish finder to a battery on a boat.
Choose the power source
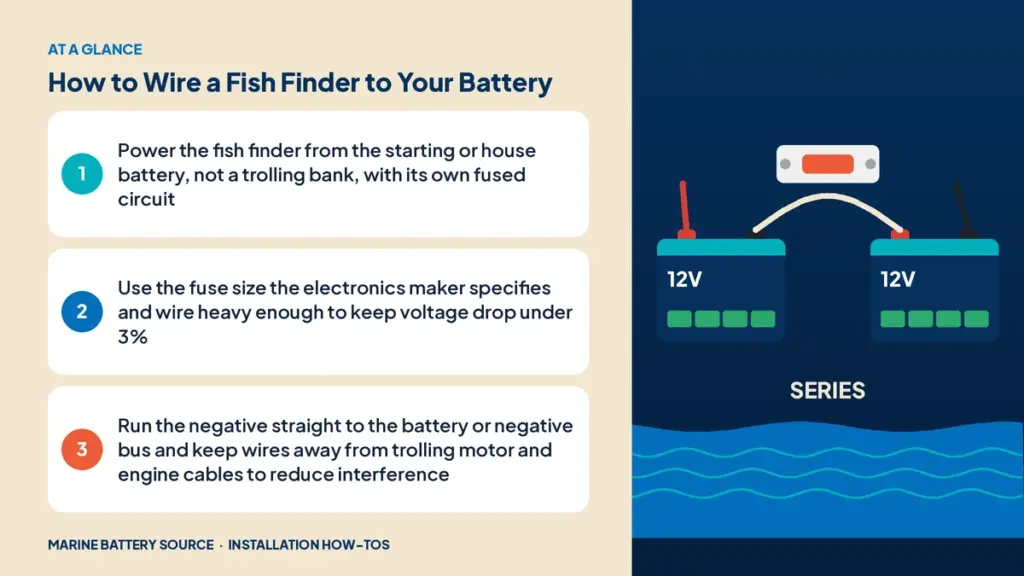
Starting or house battery
Most fish finders run on 12V. Connect them to the boat’s 12V starting battery, a dedicated house or accessory battery, or a fuse block fed from one of those.
Not the trolling bank
Avoid powering electronics from one battery in a 24V or 36V trolling bank. It unbalances the series string and introduces noise from the trolling motor. If you want electronics on a separate battery, use a dedicated 12V battery.
Dedicated electronics battery
On some bass boats and kayaks, electronics run from their own small lithium battery. It isolates them from engine and trolling motor noise. Small batteries like the EPOCH 12V 50Ah LiFePO4 are popular for this.
Wire size
Use tinned copper marine wire sized for the fish finder’s current and the round-trip run length. Most fish finders draw 1A to 3A, but larger units with multiple transducers can draw more. Keep voltage drop under 3%. For a 20-foot round trip, 16 AWG or 14 AWG is typically enough; longer runs need heavier wire.
Fuse
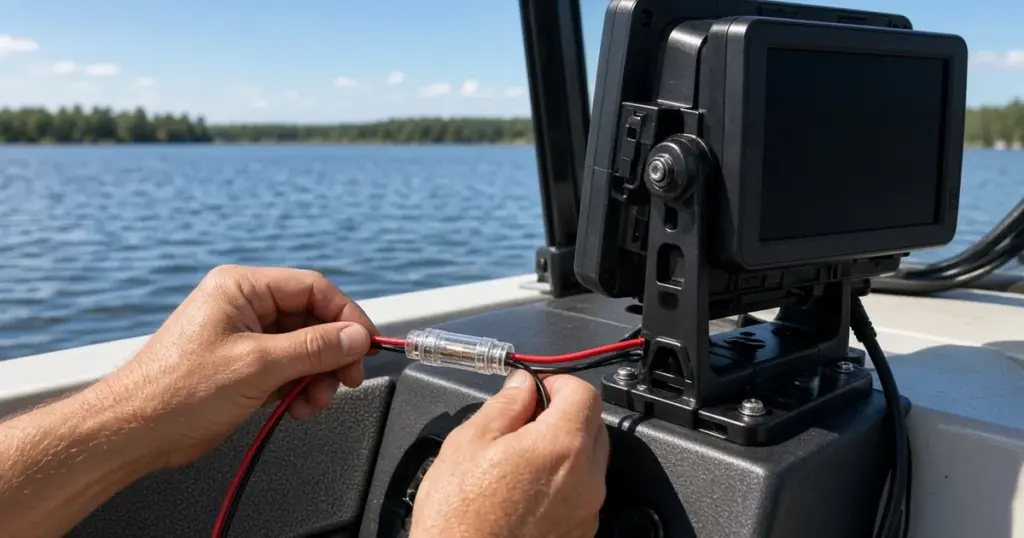
Install the fuse the electronics maker specifies, often 3A to 5A, as close to the power source as possible. Many fish finders include an inline fuse holder on the power cable; mount it near the battery or fuse block, not at the display.
Step-by-step wiring
- Turn off the battery switch.
- Plan the route from the battery or fuse block to the console. Avoid running alongside trolling motor cables or engine harnesses.
- Connect the positive to the fuse block or battery positive through the fuse.
- Connect the negative directly to the battery negative or negative bus. Don’t share a negative with pumps or the trolling motor.
- Use heat-shrink connectors for any splices.
- Secure the wires every 18 inches with clamps or ties.
- Connect to the fish finder power cable.
- Turn on and test.
Reducing interference
- Separate power from noisy loads. Give electronics their own circuit and negative.
- Route transducer cables away from power cables.
- Twist positive and negative together to reduce induced noise.
- Check the trolling motor wiring. Interference only when the trolling motor runs often points to shared grounds or cable routing.
- Use ferrite chokes on power cables if recommended.
Using a fuse block
On boats with several electronics, a fuse block near the console simplifies wiring. Feed it from the battery with a properly sized and fused cable, then connect each device to its own fuse. See our marine battery wiring guide for layouts. The MRBF fuse block protects the feed at the battery end.
Wiring with a battery monitor
If you have a shunt-based monitor, the fish finder’s negative should go to the load side of the shunt (the negative bus), not directly to the battery. See how to install a battery monitor.
Calculating wire size
To pick a wire gauge, you need the fish finder’s maximum current and the round-trip distance: the length from the battery to the display and back. For example:
- A unit drawing 2A with a 30-foot round trip at 3% voltage drop on 12V needs about 16 AWG.
- A large display with a sonar module drawing 5A over the same distance needs about 12 AWG.
- Very long runs to a T-top or bow mount may need 10 AWG.
When in doubt, go one size heavier. The cost difference is small, and the benefit is steadier voltage, fewer reboots and better sonar performance when the battery is lower.
Wiring multiple units
Many boats now run two or three displays plus side-scan, forward-facing sonar and a networking hub. Each device should have its own fuse at a fuse block. Feed the fuse block with a single heavier cable from the battery, fused at the battery end for that cable’s size. Keep a dedicated negative bus for electronics, fed by its own negative cable back to the battery or main negative bus. This keeps the high-draw sonar modules from causing voltage dips on the displays.
Using a switch
Wiring electronics through a switch on the helm panel lets you shut them off without unplugging. Use a switch rated for the circuit’s current, and put the fuse before the switch so the wire to the switch is protected.
Troubleshooting
- Screen flickers or reboots: voltage drop, loose connections or a weak battery.
- Noise on sonar: shared grounds, transducer cable near power cables, or trolling motor interference.
- No power: blown fuse, bad connection or switch off.
- Low voltage warning: undersized wire or a discharged battery.
Kayaks and small boats
On kayaks, fish finders often run on small lithium batteries in a waterproof box. Use a short, fused lead and keep connections sealed. Kits like the Dakota Lithium 12V connection kit can be adapted for small electronics and trolling motor setups.
Related installs
If you’re adding a DC-DC charger to keep the electronics battery charged, see how to install a DC-DC charger. For trolling motor plugs, see how to install a trolling motor plug. For removing the battery safely, see how to remove a boat battery.
For complete installation steps, see how to install a marine battery and DIY vs professional installation.
Frequently asked questions
Can I wire my fish finder directly to the battery?
Yes, with a fuse close to the battery. A fuse block is cleaner if you have several devices.
What size fuse does a fish finder need?
Use the maker’s specified fuse, often 3A to 5A.
Should I power my fish finder from the trolling motor battery?
Not from one battery in a series trolling bank. Use the starting battery, a house battery or a dedicated electronics battery.
Why does my fish finder show interference?
Common causes include shared grounds, cables near trolling motor wires, poor connections and transducer cable routing.
What wire size do I need for a fish finder?
Usually 16 AWG to 14 AWG for typical runs, sized to keep voltage drop under 3%.