


How to Install a Battery Monitor and Shunt

Voltage alone is a poor fuel gauge for a battery, especially lithium, whose voltage stays nearly flat from 90% to 20% charge. A battery monitor solves that by measuring current in and out and calculating state of charge, amp-hours used and time remaining. On a cruising boat, pontoon or fishing boat with a big accessory load, it takes the guesswork out of power management. This guide explains how to install a battery monitor on a boat.
Types of battery monitors
Voltage-only monitors
Simple meters that show battery voltage. Useful for lead-acid batteries at rest, but they can’t tell you how much capacity is left under load, and they’re almost useless for lithium state of charge.
Shunt-based monitors
A shunt is a precision resistor installed in the battery’s negative cable. The monitor measures the tiny voltage across it to calculate current, then counts amp-hours in and out. This is the type to install for accurate readings.
Built-in battery Bluetooth
Many lithium batteries, such as the EPOCH 12V 300Ah LiFePO4, report state of charge through a phone app from their internal BMS. That’s often enough for a single battery. For multi-battery banks or mixed systems, a separate shunt monitor gives a single, whole-bank reading. Some lithium product lines also offer a data hub, such as the EPOCH Pro Series communications box for EPOCH Pro Series batteries; check compatibility with your battery model.
What you need
- Battery monitor with shunt, display and cable (or Bluetooth)
- Short heavy cables for the shunt connections, the same gauge as the main negative
- Small fused wire for the monitor’s power sense lead
- Ring terminals and heat-shrink
- Mounting screws for the shunt and display
Cables, fuses and distribution hardware are in our marine battery accessories.
Where the shunt goes
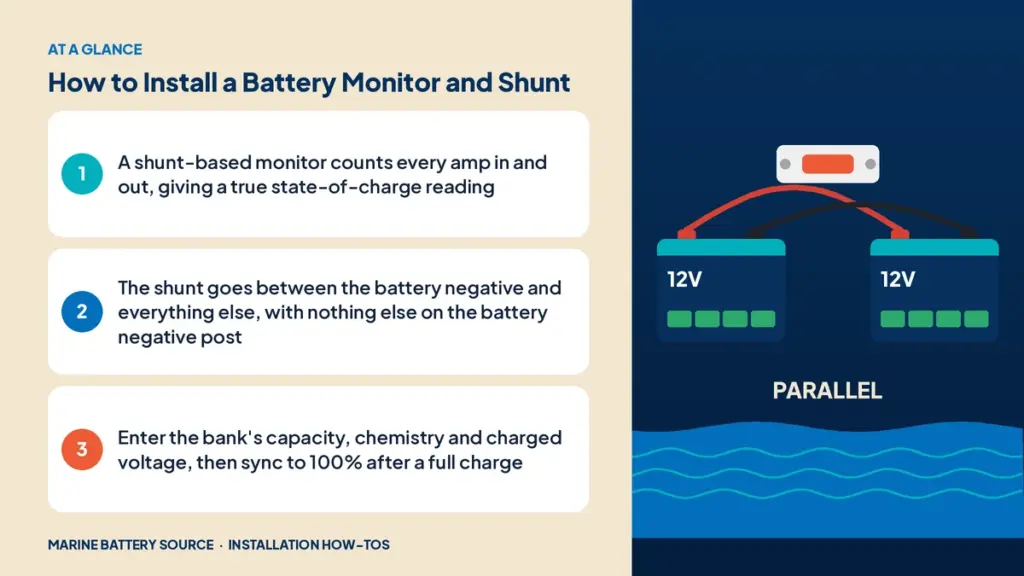
The shunt must be the only thing connected to the battery negative. Every load and every charging source must connect on the other side of the shunt, so all current passes through it.
Order:
- Battery negative terminal
- Shunt battery side
- Shunt load side
- Negative bus, with every load, charger, inverter, solar controller and engine negative connected there
If anything connects directly to the battery negative, the monitor won’t see that current, and its readings will drift.
Step 1: Disconnect the battery
Turn off loads and chargers, open the battery switch and disconnect the negative cable from the battery.
Step 2: Mount the shunt
Mount it close to the battery on a solid, dry surface. Many shunts include a cover; use it.
Step 3: Connect the shunt
- Connect a short cable from the battery negative to the shunt’s battery side.
- Move all other negative cables from the battery post to the negative bus.
- Connect the shunt’s load side to the negative bus with a cable as heavy as the main negative.
Step 4: Connect the sense wire
Most monitors need a small positive wire to the battery positive to measure voltage and power the monitor. Fuse it close to the battery, typically with a 1A to 2A fuse.
Step 5: Mount and connect the display
Run the data cable from the shunt to the display location. Keep it away from heavy power cables. Bluetooth monitors may not need a display at all.
Step 6: Program the monitor
- Battery capacity in amp-hours
- Chemistry (lithium, AGM or flooded)
- Charged voltage (the voltage at which the battery is considered full)
- Tail current (the charge current at which the battery is considered full)
- Peukert exponent and charge efficiency for lead-acid, if offered
Step 7: Sync and test
Charge the battery fully. Most monitors sync to 100% automatically when they detect charged voltage and low tail current. Then switch on a known load and confirm the monitor shows the correct current direction and value.
Using the monitor
- Watch amp-hours used, not just voltage.
- Track daily consumption to plan battery size and charging.
- Recharge lead-acid before 50% state of charge.
- Use the time-remaining readout on long days at anchor.
Monitors with lithium
Lithium batteries hold voltage steady, so a shunt-based monitor is especially valuable. Set the charged voltage slightly below the charger’s absorption voltage, and tail current to the maker’s recommendation. With several lithium batteries in parallel, one shunt on the bank’s negative measures the whole bank.
Monitors with trolling banks
For a 24V or 36V trolling bank, use a monitor rated for that voltage and install the shunt on the bank’s main negative. A separate 12V monitor can cover the starting or house battery.
Integration with solar and DC-DC charging
A monitor shows how much your solar panels or DC-DC charger are putting back. See how to install a solar panel on a boat and how to install a DC-DC charger.
Common mistakes
- Loads or chargers connected directly to the battery negative, bypassing the shunt.
- Unfused sense wire.
- Wrong capacity entered.
- Never syncing to a full charge, so the reading drifts.
- Data cable run alongside heavy power cables, causing noise.
Wiring electronics on a monitored battery
Every electronics negative should land on the negative bus. See how to wire a fish finder to a battery for electronics wiring and how to install a trolling motor plug for trolling motor connections.
For full system diagrams, see our marine battery wiring guide, how to install a marine battery and DIY vs professional installation.
Frequently asked questions
Do I need a battery monitor?
It’s not required, but it’s the only accurate way to know how much charge is left, especially with lithium batteries or heavy loads.
Where does the battery monitor shunt go?
Between the battery negative terminal and the negative bus. Nothing else connects to the battery negative.
Can I use a voltage meter instead?
For lead-acid at rest, voltage gives a rough idea. Under load or with lithium, voltage isn’t a reliable indicator of state of charge.
Do lithium batteries need a separate monitor?
Many lithium batteries report state of charge through Bluetooth. A shunt monitor is useful for multi-battery banks or for a single reading across the system.
Why is my battery monitor reading wrong?
Something may be bypassing the shunt, the capacity may be set incorrectly, or it hasn’t synced to a full charge recently.