


How to Install a Solar Panel on a Boat
Solar panels turn sunshine into free charging for your boat batteries. A small panel can keep a starting battery topped off on a mooring, while a larger array can cover a cruiser’s fridge and electronics at anchor. Installing solar on a boat involves choosing the right panel and location, mounting it securely and wiring it through a charge controller to the batteries. This guide explains how to install a solar panel on a boat.
Plan your system
How much solar do you need?
Estimate your daily power use in amp-hours, then size panels to replace it. A rough rule: in good sun, each 100W of panel produces about 25Ah to 35Ah per day on a 12V system. Shading, angle and latitude reduce that. Our boat solar panel sizing guide walks through the math.
Panel types
- Rigid panels: most efficient and durable, but need a frame or mounting structure.
- Flexible panels: lightweight and can conform to curved surfaces, but generally less efficient and shorter-lived.
- Semi-flexible panels: a middle ground, often mounted on biminis or decks.
Charge controller
A charge controller regulates panel output to the battery’s charge profile. MPPT controllers are more efficient, especially with higher-voltage panels; PWM controllers are simpler and cheaper for small systems.
Choosing the location
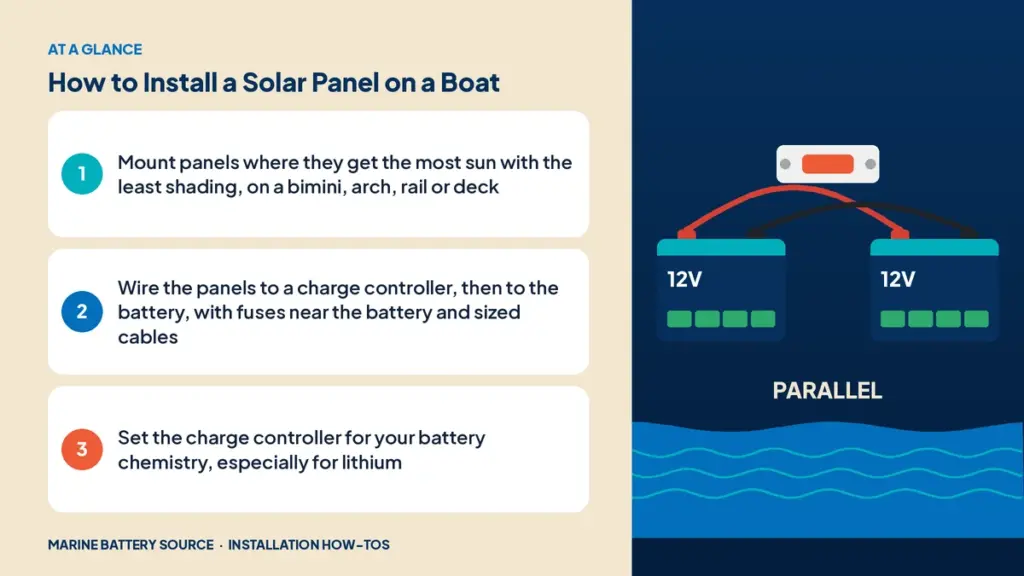
- Bimini tops on sailboats and pontoons.
- Arches and davits on cruisers.
- Hardtops on center consoles.
- Rails and decks for smaller panels.
Avoid shading from masts, antennas and rigging. Even partial shade can drastically cut a panel’s output.
Mounting the panels
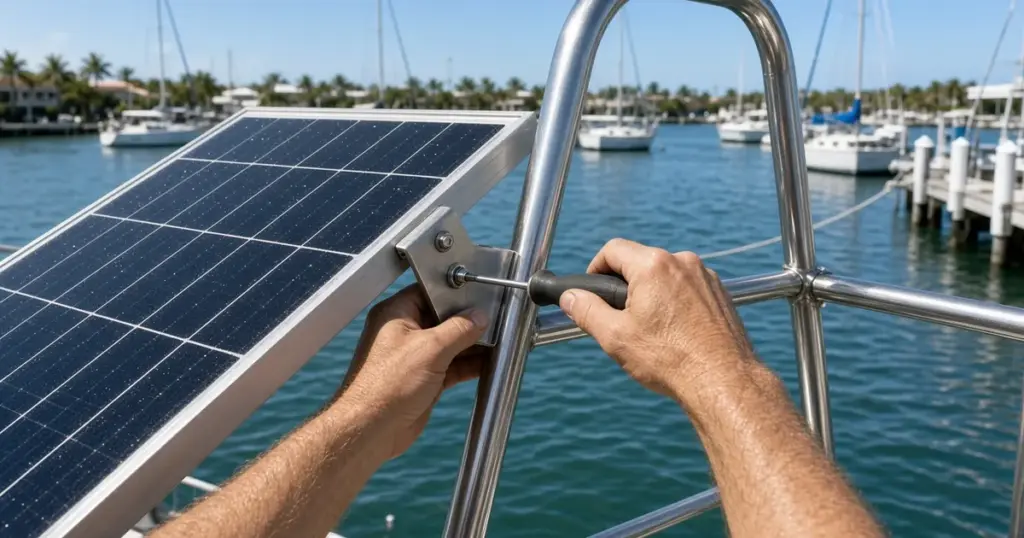
- Use marine-grade mounting hardware: stainless steel brackets and fasteners.
- For rigid panels, use rail mounts or frames that allow airflow behind the panel.
- For flexible panels, use adhesive or snaps designed for marine use, or sew-on mounts for biminis.
- Make sure mounts can handle wind loads at speed.
Wiring the system
- Panel to charge controller. Run cables from the panel to the controller, sized for low voltage drop. Use marine solar cable or tinned copper wire.
- Controller to battery. Connect the controller’s battery output to the battery with a fuse close to the battery.
- Fuse the panel side if required by the controller maker, especially with multiple panels in parallel.
- Use a disconnect between panels and controller for service.
Always connect the controller to the battery first, then connect the panels. This lets the controller detect the battery voltage.
Setting the charge controller
Set it for your battery chemistry:
- Flooded and AGM: standard lead-acid profiles.
- Lithium: absorption around 14.2V to 14.6V and float around 13.5V for most LiFePO4, or per the battery maker.
Disable equalization for AGM and lithium.
Solar for trolling batteries
Small panels can help top up trolling batteries between trips, especially for anglers who fish multi-day tournaments without shore power. For 24V and 36V banks, choose a controller that supports the bank voltage. See solar for trolling motor batteries.
Testing
- In full sun, measure panel voltage at the controller.
- Check the controller’s display for charging current.
- Measure battery voltage; it should rise during charging.
- Compare output with expectations for the panel size and sun conditions.
Combining solar with other charging
Solar works alongside onboard chargers, alternators and DC-DC chargers. A battery monitor shows how much solar is contributing. See how to install a battery monitor and how to install an onboard battery charger.
Batteries for solar systems
Lithium batteries pair well with solar because they accept charge efficiently at any state of charge. A EPOCH 12V 300Ah LiFePO4 house battery can store a full day’s solar harvest. Our store doesn’t sell solar panels or controllers, but our house bank batteries and lithium batteries work with most marine solar systems.
Example: 200W on a pontoon bimini
A pontoon owner who runs a stereo, LED lights and a small cooler might use 40Ah to 60Ah on a typical day. A practical setup:
- Two 100W semi-flexible panels on the bimini, wired in series for higher voltage to an MPPT controller.
- An MPPT controller mounted under the helm seat near the accessory battery.
- A fuse on the controller’s battery output near the battery, sized per the controller maker.
- A 12V 100Ah lithium accessory battery, with the controller set to a lithium profile.
On a sunny week at the dock, the panels keep the accessory battery full without plugging in. On a cloudy weekend, an onboard charger or a DC-DC charger fills the gap.
Common mistakes
- Shaded panels.
- Undersized wire between panels and controller.
- No fuse at the battery end.
- Wrong charge controller settings for lithium.
- Connecting panels before the battery to the controller.
Related installs
If you’re installing a lithium trolling battery at the same time, see how to install a lithium trolling motor battery. For a trolling motor plug, see how to install a trolling motor plug.
Routing cables through the deck
Panel cables need to get from the bimini or arch down to the controller. Use a deck gland or cable entry fitting designed for marine use, and seal it well. Create a drip loop in the cable before the entry point so water runs off rather than following the cable into the boat. Inside, route cables away from fuel lines and moving parts and secure them every 18 inches.
Keeping panels working
- Rinse salt off panels regularly; salt film reduces output.
- Check connectors and mounts at the start of each season.
- Inspect flexible panels for delamination or cracks.
- Watch for new shade sources as you add antennas or gear.
For complete installation steps, see how to install a marine battery, DIY vs professional installation and our marine battery wiring guide.
Frequently asked questions
Do I need a charge controller for a boat solar panel?
Yes, except for very small trickle panels. A controller prevents overcharging and matches the battery’s charge profile.
Can I charge lithium batteries with solar?
Yes. Set the controller to a lithium profile per the battery maker’s recommendations.
How much solar do I need for my boat?
It depends on your daily power use. Each 100W of panel can produce roughly 25Ah to 35Ah per day on 12V in good sun.
Where’s the best place to mount solar on a boat?
Where the panel gets the most sun with the least shading, such as a bimini, arch or hardtop.
Should I use MPPT or PWM?
MPPT is more efficient and handles higher-voltage panels; PWM is fine for small, simple systems.