


How to Install an Onboard Battery Charger
An onboard charger makes battery care automatic. Plug in at the dock or in the garage, and every battery charges on its own bank with the right profile. No more carrying portable chargers or clipping leads to terminals. This guide explains how to install an onboard battery charger, from choosing the charger to wiring, fusing and testing.
Choosing the charger
Number of banks
Each battery, or each series bank on some chargers, gets its own output. Common setups:
- 1 bank: single battery.
- 2 banks: starting battery plus one trolling or house battery.
- 3 banks: starting battery plus a 24V trolling bank (two batteries).
- 4 banks: starting battery plus a 36V trolling bank (three batteries).
Chargers like the EPOCH 4-bank 12V charger handle four 12V batteries. For a single 36V lithium plus a 12V starting battery, the EPOCH 12V and 36V onboard charger is built for the job.
Amps per bank
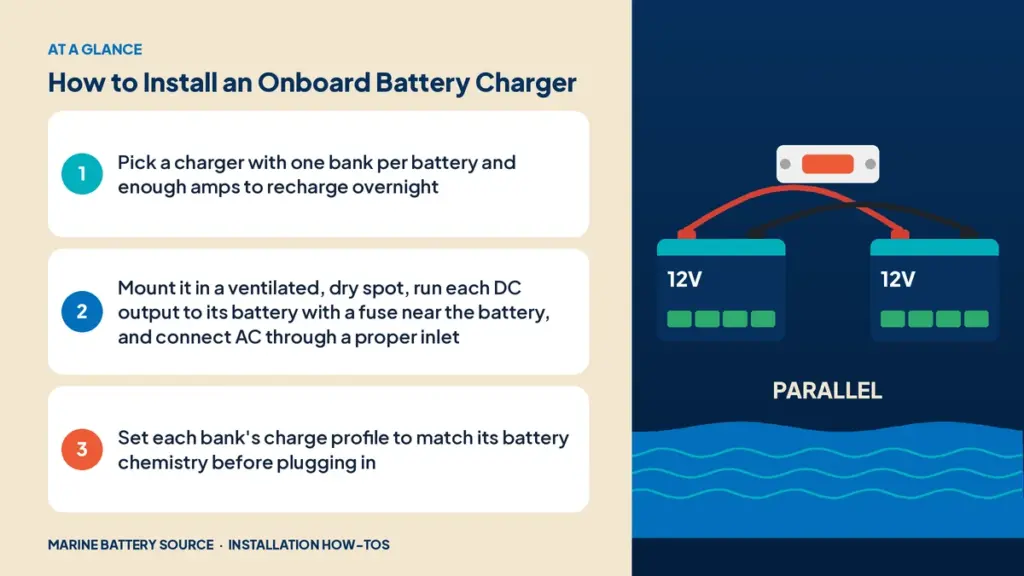
Choose enough amps to recharge overnight. A rough guide: divide the battery’s amp-hours by the hours you have to charge. A 100Ah battery that’s 80% discharged needs about 80Ah; at 10A, that’s eight hours plus the absorption phase.
Chemistry support
Make sure each bank supports your battery chemistry: flooded, AGM or lithium. Mixed-chemistry chargers can set each bank separately.
Browse our marine battery chargers for options.
Planning the location
- Ventilated: chargers produce heat and need airflow.
- Dry: away from bilge water and spray.
- Close to the batteries: to keep DC cables short.
- Accessible: for checking indicator lights.
- Not in a gasoline engine space unless ignition-protected.
Tools and materials
- Charger and mounting screws
- DC output cables (often supplied) and extension wire if needed
- Fuses or fuse holders for each DC output
- AC inlet or extension cord with a marine plug
- Ring terminals, heat-shrink and cable ties
- Multimeter
Step 1: Mount the charger
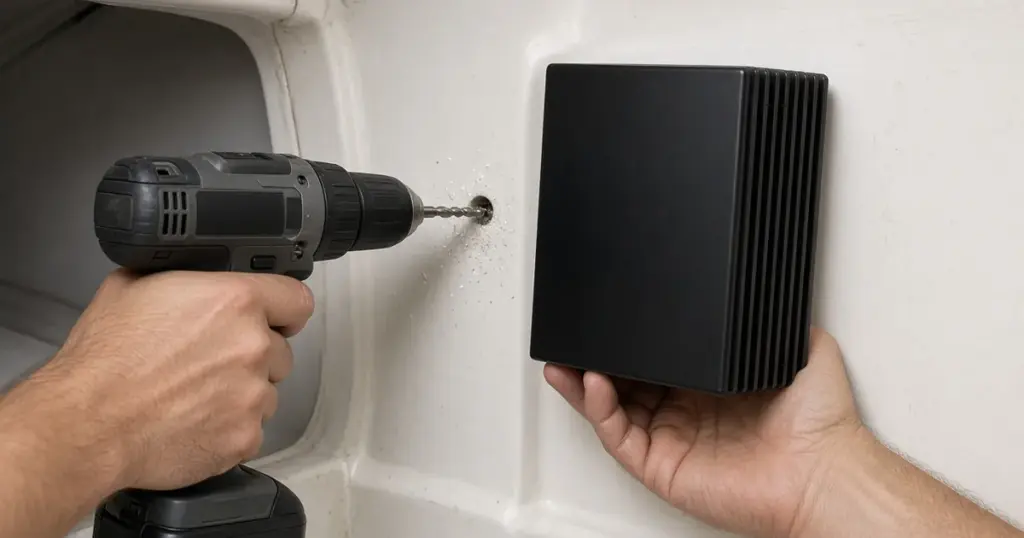
Mount it vertically or as the maker specifies, with screws into solid material. Leave clearance around it for airflow.
Step 2: Run the DC outputs
- Route each bank’s positive and negative leads to its battery.
- Keep leads away from sharp edges and moving parts. Use cable clamps.
- Install a fuse in each positive lead close to the battery, sized per the charger maker. Many chargers include inline fuses.
- Crimp ring terminals of the correct size for the battery terminals.
Series trolling banks
For a 24V or 36V bank of 12V batteries, each charger bank connects across one battery. Bank 1 to battery 1, bank 2 to battery 2, and so on. The charger treats each 12V battery individually, even though they’re wired in series for the motor.
Step 3: Connect the batteries
Connect the positive lead to the battery positive and the negative lead to the battery negative. Torque to spec and apply terminal protectant.
Step 4: AC connection
- Plug-in cord: many chargers have an AC cord that you plug into an extension cord. Route it to an accessible spot.
- AC inlet: for a cleaner install, mount a marine AC inlet in the hull or console and wire it to the charger.
- Hardwired to an AC panel: on boats with shore power, the charger connects to a dedicated breaker on the AC panel. This work should follow ABYC AC standards and is best done by a qualified electrician.
Use a GFCI-protected outlet at the dock or garage.
Step 5: Set charge profiles
Before plugging in, set each bank to the correct chemistry using the charger’s switches or settings. A lithium battery charged on a flooded profile may not reach full charge or may see an unwanted equalization voltage.
Step 6: Test
- Plug in the charger.
- Check that each bank’s indicator shows charging.
- Measure voltage at each battery; it should rise above resting voltage.
- After a few hours, confirm the charger moves to absorption or float.
- Check that cables and terminals stay cool.
Lithium notes
- Use a charger with a lithium profile.
- Avoid chargers with automatic equalization on lithium banks.
- Lithium batteries charge faster and don’t need a long float.
- For lithium trolling installs, see how to install a lithium trolling motor battery.
Combining with other charging
An onboard charger works alongside an alternator, DC-DC charger or solar. If you add solar later, see how to install a solar panel on a boat.
Mounting the batteries properly
A charger won’t help if a battery is loose. Make sure every battery is secured. See marine battery hold-down guide.
Sizing the charger for lithium banks
Lithium batteries accept charge faster than lead-acid and don’t need hours of absorption, so a lithium bank recharges quickly with the right charger. Many lithium batteries accept charge at 0.2C to 0.5C or more, which means a 100Ah battery could take 20A to 50A. Check the battery maker’s maximum charge current, then size the charger so it’s at or below that rating. A larger charger shortens charge time but adds cost and heat, so most owners pick enough amps to finish overnight with room to spare.
Routing and protecting the leads
Charger leads often run through the same compartments as fuel lines, steering cables and bilge hoses. Keep them:
- Above the bilge water line
- Clamped every 18 inches or so
- Protected by grommets or loom where they pass through bulkheads
- Away from exhaust components and hot engine parts
- Bundled neatly with other DC wiring, but separate from AC wiring
Label each lead with its bank number at both ends. If a bank stops charging, you’ll know which lead to check.
Common mistakes
- No fuses on the DC outputs.
- Wrong chemistry setting.
- Charger mounted where it can’t breathe.
- Leads connected across the whole series bank instead of each battery.
- Using an ungrounded or non-GFCI outlet.
Maintenance
- Check indicator lights each time you plug in.
- Inspect leads and fuses each season.
- Keep the charger clean and the vents clear.
Removing an old charger
If you’re replacing an existing charger, disconnect the AC first, then the DC leads. See how to remove a boat battery for safe disconnect practices.
For more on installing batteries, see how to install a marine battery and DIY vs professional marine battery installation.
Frequently asked questions
How many banks does my onboard charger need?
One bank per battery. A 36V trolling bank made of three 12V batteries plus a starting battery needs four banks.
How many amps should my onboard charger have?
Enough to recharge your batteries overnight. Divide the amp-hours you need to replace by your available charging hours.
Can I charge lithium and lead-acid with one onboard charger?
Yes, if the charger lets you set the profile per bank.
Do I need fuses on the charger outputs?
Yes. Each positive output lead should have a fuse close to the battery.
Can I leave the onboard charger plugged in all the time?
Most modern smart chargers are designed to maintain batteries indefinitely. Check your charger’s instructions.