


A Monthly Marine Battery Checklist
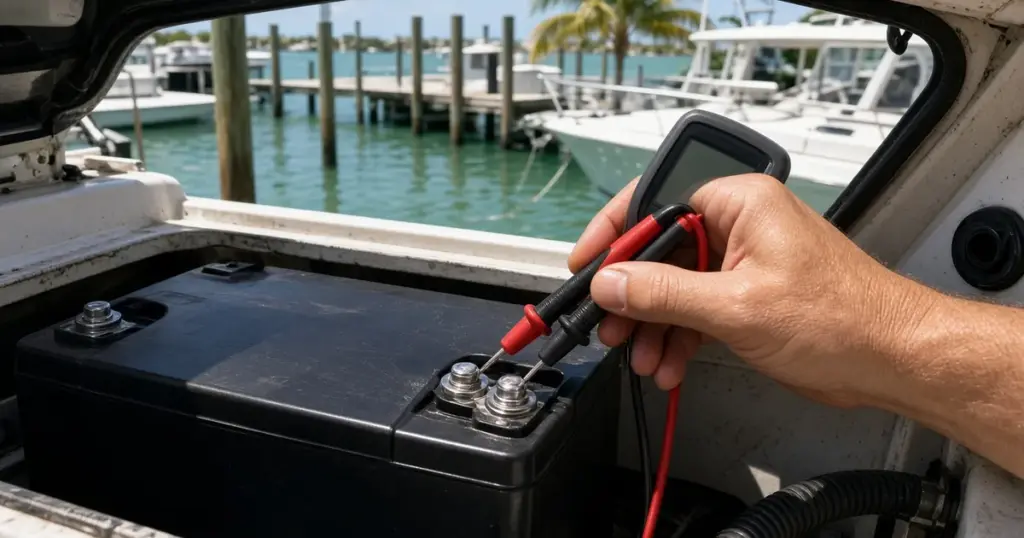
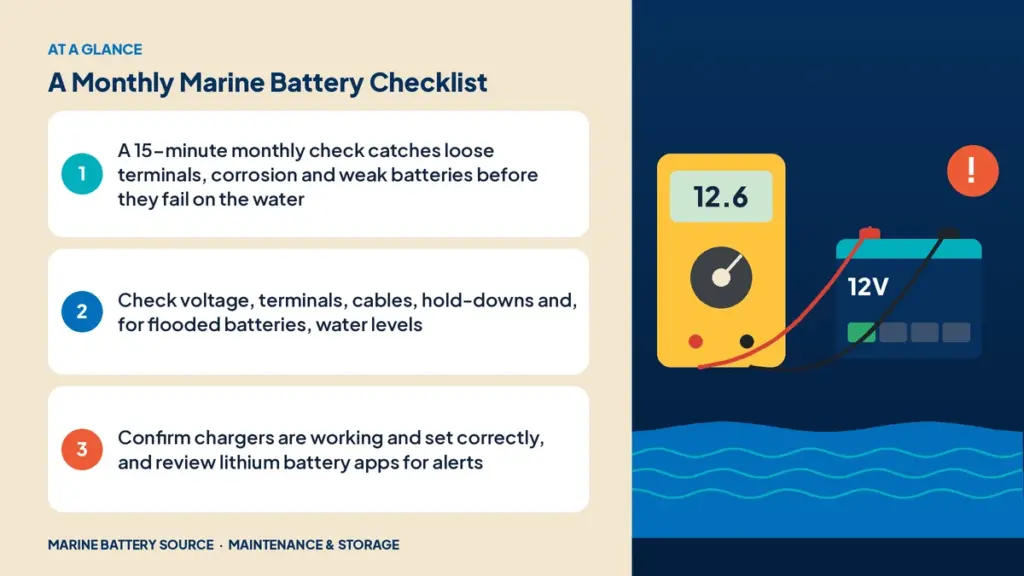
Most battery failures don’t happen suddenly. A terminal works loose over a few weeks, corrosion creeps in, water levels drop or a charger stops doing its job. A quick monthly check catches these problems early, when they’re easy to fix. This monthly boat battery checklist takes about 15 minutes and works for flooded, AGM and lithium batteries.
Before you start
- Turn off the battery switch and loads.
- Wear safety glasses and gloves.
- Have a multimeter, wrench, rag and terminal protectant handy.
- If the batteries were just charged, let them rest an hour for accurate voltage readings.
1. Visual inspection
- ☐ Case free of cracks, bulging or leaks
- ☐ Battery top clean and dry
- ☐ No signs of overheating (melted plastic, discoloration)
- ☐ No acid residue around the battery (lead-acid)
- ☐ Compartment dry, with no standing water
2. Terminals and connections
- ☐ Terminals tight (try to twist each lug by hand; it shouldn’t move)
- ☐ No corrosion on posts or lugs. If there is, clean it. See how to clean boat battery terminals.
- ☐ Terminal protectant applied
- ☐ Positive terminal cover in place
- ☐ No more than a few lugs stacked on each terminal
3. Cables
- ☐ Insulation intact, no cracks or chafing
- ☐ Lugs firmly crimped, no loose strands
- ☐ No green corrosion under the insulation near the lugs
- ☐ Cables secured and not rubbing on sharp edges
4. Hold-downs
- ☐ Battery can’t move more than about one inch
- ☐ Straps and brackets intact and tight
- ☐ Mounting screws secure
5. Voltage check
Measure resting voltage with a multimeter.
12V lead-acid (at rest):
- 12.6V to 12.8V: fully charged
- 12.4V: about 75%
- 12.2V: about 50%; recharge soon
- Below 12.0V: discharged; recharge immediately
12V lithium (at rest):
- 13.3V to 13.4V: nearly full
- 13.0V to 13.2V: mid-range
- Below 12.8V: getting low
Lithium voltage is flat across most of the charge range, so use the battery app or a battery monitor for state of charge.
6. Water levels (flooded only)
- ☐ Electrolyte covers the plates in every cell
- ☐ Top up with distilled water after charging if needed. See how to water flooded batteries.
7. Charging system
- ☐ Onboard charger powers on and shows charging or maintenance
- ☐ Charger set to the correct chemistry for each bank
- ☐ Charger leads and fuses intact
- ☐ Alternator charging voltage normal with the engine running (about 13.8V to 14.6V)
8. Lithium app check
- ☐ State of charge reasonable
- ☐ Cell voltages close to each other after a full charge
- ☐ No alerts or BMS events
- ☐ Temperature normal
9. Fuses and switches
- ☐ Main fuses intact and holders not discolored
- ☐ Battery switch operates smoothly
- ☐ Spare fuses aboard
10. Notes
Record voltages, water added and any issues in a log. Trends over months help you spot a weakening battery early.
Why each step matters
It’s tempting to skip steps when everything seems fine, so here’s why each one earns its place:
- Visual inspection catches swelling and leaks, which are signs of overcharging or internal failure that can get dangerous.
- Terminal checks prevent the most common cause of hard starts and melted lugs.
- Cable checks catch hidden corrosion that raises resistance long before it’s visible at the lug.
- Hold-down checks keep a battery from breaking loose in a chop and shorting.
- Voltage checks reveal whether the charger is actually doing its job.
- Water checks keep flooded plates covered so they don’t sulfate and dry out.
- Charger checks confirm the batteries will be full for the next trip.
- Fuse checks catch heat damage that signals a loose connection.
A single loose terminal found on a monthly check can save a tow, a ruined tournament day or a damaged alternator.
Quarterly additions
Every three months, add:
- Load test lead-acid batteries
- Hydrometer test flooded batteries. See battery hydrometer test.
- Equalize flooded batteries if recommended
Signs to act on
- Voltage low after charging
- Corrosion returning quickly
- Battery hot after charging
- One battery in a bank reading differently from the others
- Water use increasing
These can point to sulfation, overcharging or a failing battery. See battery sulfation explained, how long marine batteries last and the troubleshooting guide.
AGM vs flooded differences
AGM batteries skip the water check but are more sensitive to charge voltage. Flooded batteries need water checks but tolerate overcharging better. See AGM vs flooded battery maintenance.
Off-season version
During storage, check monthly:
- Maintainer working
- Voltage stable
- No corrosion
See winter storage for marine batteries.
Making it a habit
Keep this checklist with your boat, or set a monthly reminder on your phone. Fifteen minutes a month can add years to your batteries. For the full care routine, see our marine battery maintenance guide.
Tools for the monthly check
- Digital multimeter
- Wrench set matching your terminals
- Wire brush and baking soda
- Terminal protectant spray
- Distilled water and a filler bottle (flooded)
- Flashlight or headlamp
- Rags
Keep them together in a small bag so the check is easy to do.
Checking trolling motor banks
For 24V and 36V trolling banks made of 12V batteries, check each battery’s voltage separately after charging and rest. All batteries should read within about 0.1V to 0.2V of each other. A battery that’s consistently lower may be weak or not charging fully. Check the charger lead and fuse for that battery, then test it. Replacing one battery in an older bank often leads to imbalance; replace the whole bank when one fails.
When to upgrade
If monthly checks keep turning up the same problems, such as constant corrosion, low water or weak batteries, it may be time to upgrade. Sealed AGM batteries like the Interstate 31M AGM remove the watering step, and lithium batteries like the EPOCH 12V 105Ah LiFePO4 need very little upkeep. Browse our lithium marine batteries.
Frequently asked questions
How often should I check my boat battery?
Monthly during the boating season, and monthly during storage if it’s on a maintainer.
What voltage should a boat battery read?
A fully charged 12V lead-acid battery reads about 12.6V to 12.8V at rest. A 12V lithium battery reads about 13.3V to 13.4V near full.
How do I check if my battery terminals are tight?
Try to twist each cable lug by hand. It shouldn’t move. Use a wrench to tighten if needed.
Do lithium batteries need a monthly check?
Yes, but it’s shorter: check connections, hold-downs and the app for alerts.
What should I do if a battery reads low?
Recharge it fully, let it rest and test again. If it stays low, test it further or replace it.