


Battery Disconnect Switches: Where and Why
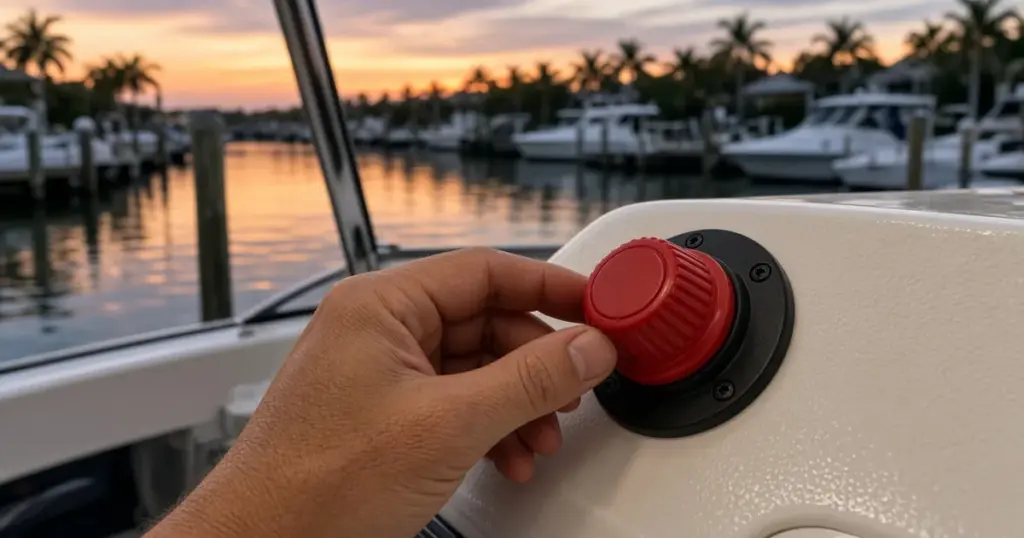
A battery disconnect switch is one of the simplest and most useful parts of a boat’s electrical system. It lets you cut power from the batteries to the rest of the boat with a twist of a knob. That stops parasitic drains during storage, makes wiring work safer and gives you a quick way to kill power in an emergency. This guide explains how battery disconnect switches work on boats, how to pick the right one and how to wire it.
What a battery disconnect switch does
A disconnect switch sits in the positive cable between the battery and the boat’s loads. In the On position, current flows normally. In the Off position, the battery is isolated from everything downstream: the engine, the fuse panel, electronics and accessories.
That gives you:
- No parasitic drain from stereos, chartplotters, bilge pump float switches and other small loads while the boat is stored.
- Safe service. You can work on wiring without the risk of a dead short across a wrench.
- Emergency shutdown if you smell burning insulation or see smoke.
- Theft deterrence, especially with a removable-key switch.
Types of disconnect switches
- Rotary on/off switches: the classic red-knob marine switch. Simple, durable and easy to see.
- Removable-key switches: a key that slides out when off, handy for security and for trolling motor banks.
- Selector switches: 1-2-Both-Off switches that combine disconnect and battery selection. See our dual battery switch wiring guide.
- Remote battery switches: electrically operated switches controlled from the helm or a phone app, common on larger boats.
- Switch with alternator field disconnect: cuts the alternator field before the main contacts open, protecting the alternator.
For an overview of all marine switch styles, see marine battery switch basics.
Ratings to check
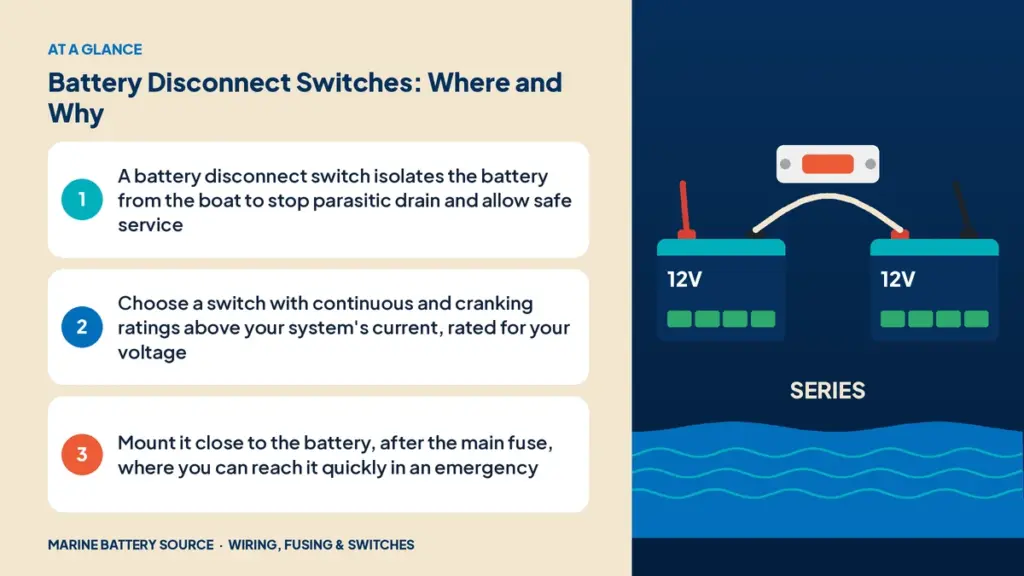
- Continuous current: the current the switch can carry indefinitely. It should exceed your maximum steady load, such as an inverter or trolling motor.
- Intermittent or cranking current: the short burst it can handle, important if the switch is in the engine starting circuit.
- Voltage rating: most marine switches cover 12V to 48V DC, but check before using one on a 36V or 48V system.
- Ignition protection: required for switches in gasoline engine compartments.
- Stud size: match it to your cable lugs.
Where a disconnect fits in the circuit
The usual order is:
- Battery positive terminal
- Main fuse, close to the battery
- Disconnect switch
- Positive busbar, fuse block or breaker panel
- Branch circuits
Putting the main fuse before the switch means the cable from the battery to the switch is protected. On larger lithium systems, that fuse is often a Class T fuse because of lithium’s high short-circuit current. On smaller boats, a terminal-mounted fuse such as the marine-rated 300A battery fuse works well.
Things that should stay connected
Some loads should keep power even when the main switch is off:
- Automatic bilge pumps. Most builders wire the automatic float switch directly to the battery through its own fuse, so the pump can still run in storage.
- Battery monitor or BMS communication, if the manufacturer requires it.
- Some security systems or alarms.
Each of these needs its own fuse at the battery. Keep these circuits minimal and clearly labeled.
Disconnects for trolling motor banks
A trolling motor bank is a separate system from the boat’s 12V house and starting batteries, and it benefits from its own disconnect. A switch between the bank and the motor lets you:
- Kill power while trailering so the motor can’t be bumped on
- Stop any drain during storage
- Isolate the motor while working on the plug or wiring
Make sure the switch is rated for the bank voltage. A 36V trolling bank needs a switch rated for at least 36V DC. Connection kits such as the Dakota Lithium 36V trolling motor connection kit make the bank wiring cleaner. Many anglers combine this with a resettable breaker; see circuit breaker vs fuse.
Mounting tips
- Close to the batteries to keep the unswitched cable short.
- Easy to reach, ideally without tools or removing hatches, so you can shut it off in a hurry.
- Protected from spray and standing water.
- On a solid surface that won’t flex. A switch mounted on a thin panel can crack.
- Clearly labeled, so guests and crew know what it does.
How to install a disconnect switch
- Disconnect the battery negative first, then the positive.
- Mount the switch at the chosen location.
- Cut the positive cable at the switch location, or make new cables. Battery-side cable goes from the main fuse to one switch stud; load-side cable goes from the other stud to the busbar or panel.
- Crimp lugs on the cable ends, using the correct die and tooling.
- Connect the cables and torque to the switch maker’s spec.
- Reconnect any always-on circuits (like the bilge pump) directly to the battery through their own fuse.
- Reconnect the battery positive, then negative.
- Test: with the switch off, confirm the loads are dead; with it on, confirm they work.
Lithium batteries and disconnect switches
Lithium batteries have their own BMS, but that’s not a substitute for a disconnect switch. A BMS cuts off at extreme conditions; it isn’t designed to be a daily isolation switch. Some lithium batteries have a built-in on/off button or sleep mode for storage, which is useful, but a mechanical switch is still the safest way to isolate the battery. For storage, disconnect, charge to the level the maker recommends and keep it in a moderate temperature. Batteries like the EPOCH 12V 105Ah Essential LiFePO4 have very low self-discharge, so a disconnected battery holds charge for months.
Remote and smart switches
Remote switches use a solenoid or latching relay controlled from a helm button or a wireless app. They’re convenient on larger boats where the batteries are far from the helm. Choose a latching type, which draws no current once switched, rather than a continuous-duty solenoid that drains the battery to stay closed. Always keep a manual override.
Troubleshooting
- Switch gets warm: loose connection, corroded studs or a switch that’s undersized for the load.
- Intermittent power: worn internal contacts. Replace the switch.
- Loads still on with the switch off: something is wired directly to the battery. Trace it.
- Engine won’t crank with the switch on: check the switch contacts with a voltage-drop test while cranking.
For a full wiring overview, see the marine battery wiring guide, our switch panel wiring guide and the marine battery safety guide.
Frequently asked questions
Do I need a battery disconnect switch on my boat?
It’s strongly recommended. It stops parasitic drain, makes service safer and gives you a quick way to cut power in an emergency.
Should the bilge pump be on the battery switch?
The automatic float switch circuit is usually wired directly to the battery through its own fuse, so it works even when the main switch is off. The manual bilge switch at the helm can run through the main panel.
Where should the main fuse go relative to the switch?
Put the main fuse close to the battery, before the switch, so the cable to the switch is protected.
Can I use a car battery disconnect on a boat?
Use a marine-rated switch with enough current capacity, a DC voltage rating for your system and ignition protection if it’s in a gasoline engine space.
Does a lithium battery need a disconnect switch?
Yes. The BMS isn’t meant to be used as a daily switch. A disconnect lets you isolate the battery for storage and service.