


Wiring 12V Accessories to a Boat Switch Panel
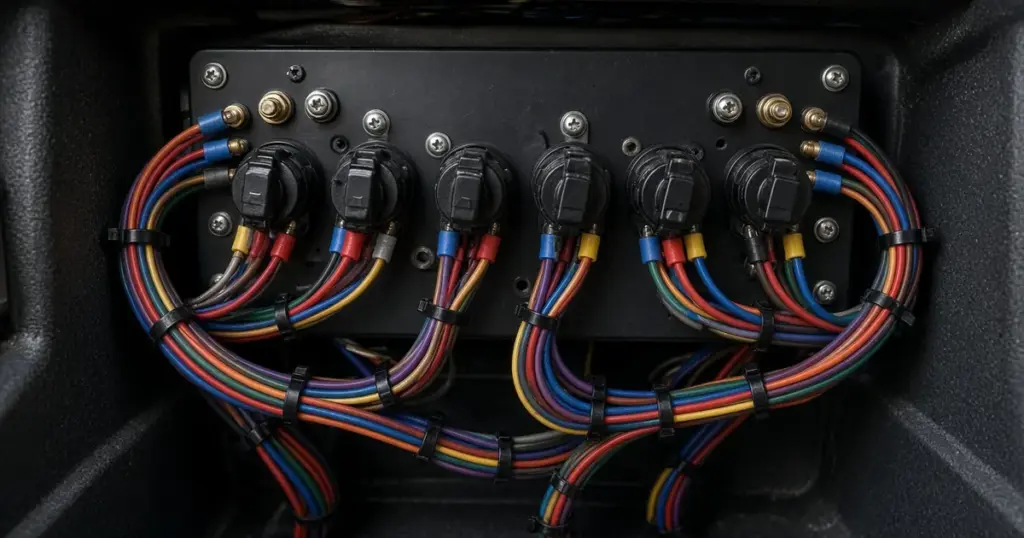
The switch panel is where you control the boat’s lights, pumps, electronics and accessories. A well-wired panel makes everything easy to use and troubleshoot. A poorly wired one leads to flickering lights, mystery drains and blown fuses. Whether you’re replacing an old toggle panel or adding a new one, this guide covers boat switch panel wiring from the main feed to individual circuits.
How a switch panel fits into the system
Power flows like this:
- Battery positive
- Main fuse close to the battery
- Battery switch
- Panel main feed (often through a main breaker)
- Panel bus feeding each switch
- Each switch’s fuse or breaker
- Wire to the load
- Load’s negative wire back to the negative bus
- Negative bus to battery negative
Each step needs the right size wire and secure, protected connections.
Types of switch panels
- Toggle switch panels with inline or built-in blade fuses, common on small boats.
- Rocker switch panels with LED indicators and integrated fuses or breakers, common on modern center consoles and bass boats.
- Breaker panels, where each breaker acts as both switch and protection.
- Digital switching systems, where helm buttons or displays control remote modules near the loads.
Planning the circuits
Before you wire anything, list every circuit:
- Navigation and anchor lights
- Bilge pump (manual)
- Livewell and baitwell pumps
- Washdown pump
- Courtesy and deck lights
- Electronics (often several circuits)
- Horn
- Stereo
- Accessory outlets (USB, 12V socket)
- Spares
For each one, note the load current, the wire run length and the wire gauge needed. Leave at least two spare positions for future additions.
Feeding the panel
The main feed cable must carry the total current of all circuits likely to run at once. Size it for that current and the round-trip length to keep voltage drop low. Fuse it close to the battery or after the battery switch, and many panels add a main breaker at the panel too.
The panel’s negative connects to a negative bus that returns to the battery, with a cable as heavy as the positive feed.
Wiring each switch
- Positive in: the panel bus feeds the switch input, usually through its fuse or breaker.
- Positive out: the switch output terminal connects to the load’s positive wire.
- Negative: the load’s negative wire runs back to the negative bus, not to the panel.
- LED indicator: lighted rocker switches often need a ground connection for the indicator. Connect it to the negative bus or the panel’s ground terminal.
Use the right colors: red or the circuit-specific color for positive, and yellow (preferred) or black for negative. Our marine wire color codes guide lists standard colors for common circuits.
Fuse or breaker sizing per circuit
Size each fuse or breaker for that circuit’s wire. Examples:
- Nav lights on 16 AWG: 5A to 7.5A
- Livewell pump on 14 AWG: 10A to 15A
- Washdown pump on 12 AWG: 15A to 20A
- Fish finder on 16 AWG: per the manufacturer, often 3A to 5A
Follow the device maker’s recommendations, which may call for a smaller fuse than the wire would allow.
Wire sizing
Use tinned copper marine wire throughout. Size each wire for both ampacity and voltage drop. Electronics and nav lights should stay under 3% voltage drop, while less critical loads can tolerate up to 10%. Longer runs need heavier wire. Run positive and negative wires together for each circuit.
Labeling and documentation
- Label both ends of every wire with circuit names.
- Label the panel clearly. Most panels include label strips.
- Draw a simple diagram showing each circuit, its fuse size, wire gauge and route, and keep it aboard.
You’ll thank yourself the first time something stops working on the water.
Mounting the panel
- Choose a dry, protected location within reach of the helm.
- Ensure there’s room behind the panel for wires and connections.
- Use a gasket or sealant to keep water out of the cutout.
- Support wire bundles behind the panel so they don’t hang on the terminals.
Common mistakes
- One fuse for multiple circuits, so a fault in one kills everything.
- Undersized main feed, causing voltage drop when several circuits run at once.
- Negatives connected to the panel frame instead of a dedicated negative bus.
- No main fuse on the feed cable at the battery.
- Automotive butt connectors without heat-shrink, which corrode quickly.
- No spare positions for future accessories.
Adding a second battery to the panel
If you add a second battery for accessories, the panel can run from that house battery while the engine runs from the starting battery. Feed the panel from the house battery’s switch or a disconnect switch so you can shut off accessories without affecting the engine. A dual-purpose battery like the EPOCH 12V 105Ah LiFePO4 is a popular choice for accessory banks.
Fuse blocks behind the panel
Some installers mount a separate fuse block behind the panel, feeding each switch from its own fuse. The MRBF fuse block handles higher-current feeds near the battery, while blade fuse blocks handle panel circuits. For large lithium house banks, the main feed should be protected with a Class T fuse. A heavy-duty power distribution block can serve as the junction for the main feed and the negative return.
Testing the panel
- With the battery switch on, test each switch one at a time.
- Measure voltage at each load while it runs. It should be within a few percent of battery voltage.
- Check for warm connections after running several circuits for 10 minutes.
- Turn everything off and measure any remaining current draw from the battery. Track down unexpected drains.
For the full picture, see our marine battery wiring guide and the marine battery safety guide.
Frequently asked questions
How do I wire a boat switch panel?
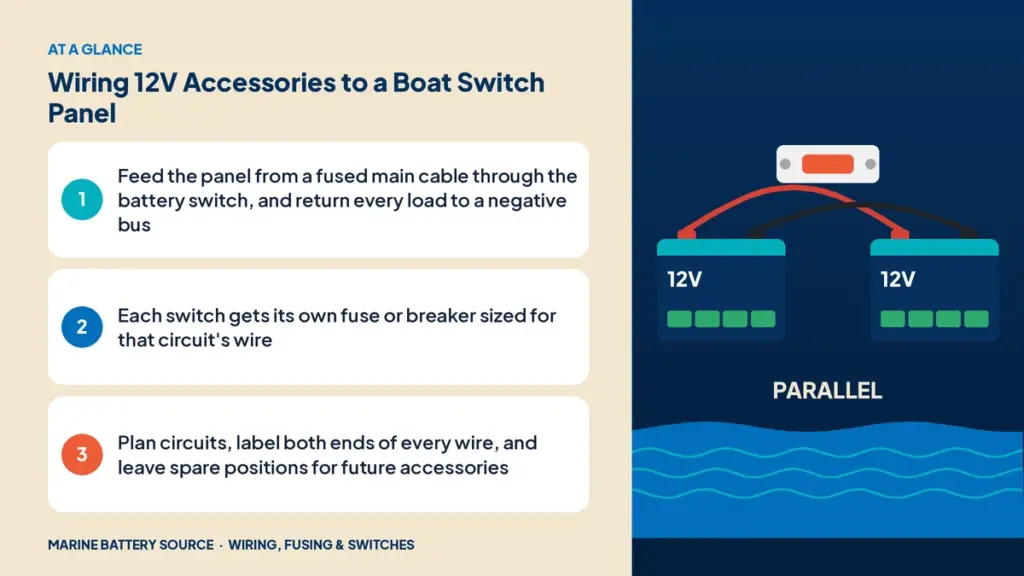
Feed the panel from a fused cable through the battery switch. Each switch gets its own fuse, its output wire runs to the load, and each load’s negative returns to a negative bus.
What size wire do I need for a boat switch panel feed?
Size it for the total current of circuits likely to run at once and the round-trip length, keeping voltage drop under about 3%.
Where should the LED indicator ground go on a rocker switch?
Connect it to the negative bus or the panel’s designated ground terminal.
Can I put multiple circuits on one fuse?
It’s not recommended. Each circuit should have its own fuse sized for its wire so one fault doesn’t take down everything.
What color wires should I use on a boat panel?
Red for positive feeds, yellow or black for negatives, and standard color codes for specific circuits such as nav lights and bilge pumps.