


The 10-Minute Pre-Trip Boat Battery Check
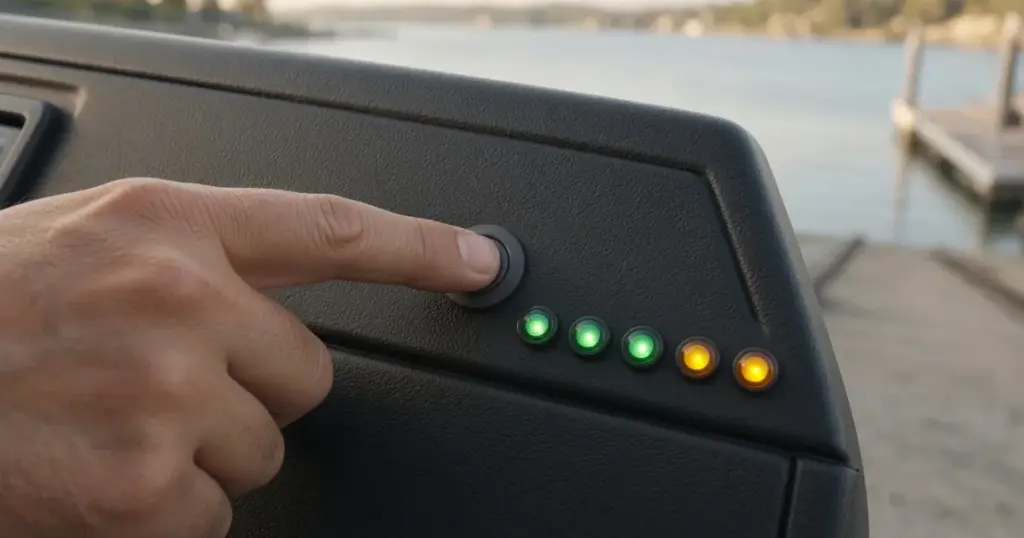
A dead battery rarely fails without warning. More often, the signs were there before the boat left the trailer or the slip: the battery wasn’t fully charged, a terminal was loose, the bilge pump ran all night or the engine cranked a little slowly last trip. A short check before every launch catches most of these problems while they’re still easy to fix.
This routine takes about ten minutes. It works for small fishing boats, bass boats, center consoles and pontoons, and it’s worth doing even if you were out last weekend.
1. Check state of charge
Start with the most important question: are the batteries full?
- Lead-acid and AGM: after the boat has rested with no charging or loads for a few hours, a 12V flooded battery reads about 12.6–12.7V when full and about 12.2V at half charge. AGM is usually around 12.8V full. If a battery reads well below full after charging, it may be failing.
- Lithium: check the Bluetooth app or battery monitor. Voltage is flat for most of the range, so a percentage reading is far more useful. A full LiFePO4 battery typically rests around 13.3–13.4V.
- Trolling banks: check each battery in a lead-acid series string, not just the total voltage. One weak battery drags down the whole bank.
If a battery isn’t full, charge it before you go. Launching with a half-charged battery is the most common way to end up needing a tow.
2. Look at terminals and cables
Open the battery compartment and look:
- Are terminals tight? Try to twist each cable end by hand; it shouldn’t move.
- Any white, green or blue corrosion? Clean it with a terminal brush and a baking soda solution, rinse and dry.
- Cables cracked, chafed or melted? Replace damaged cables before the trip.
- Terminal covers in place on positive terminals?
- Batteries strapped down so they can’t move?
Loose connections cause more electrical problems on boats than failed batteries. They also heat up under load, which can be a fire risk.
3. Test switches and relays
Turn the battery switch through its positions and make sure it moves cleanly. If you have a charging relay or isolator, confirm its indicator light works as expected. Set the switch where you need it for the trip. On boats with a kicker or second engine, know which battery each engine uses; see kicker motor batteries.
4. Check fuses and breakers
Look over the main fuses and breaker panel. Reset any tripped breakers and find out why they tripped. Carry spare fuses of each size your boat uses. A blown fuse on the bilge pump or navigation lights is a common, easily fixed problem if you have a spare.
5. Test the bilge pump
Flip the manual switch and listen for the pump. Then lift the float switch, if you can reach it, to make sure the automatic function works. A pump that runs constantly may have a stuck float, which can drain a battery overnight.
6. Test lights and horn
Turn on navigation lights, the anchor light and any courtesy or deck lights. Sound the horn. Even if you plan to be back before dark, trips run late. Night anglers should test fishing lights too; see night fishing lights.
7. Power up electronics
Turn on displays, sonar, VHF and the trolling motor. Check that the VHF transmits and receives on a test call if appropriate. Watch for displays that flicker or reboot, which can mean low voltage or a loose connection.
8. Crank the engine
Start the engine before you leave the dock or ramp. A slow, labored crank is a warning: the battery may be weak, the cables may be corroded or the connection may be loose. Once it’s running, check that the charging system is working. Voltage at the battery should rise to roughly 13.8–14.6V for lead-acid with the engine running above idle, depending on the engine and battery type.
9. Pack your backups
- A charged portable jump pack.
- Spare fuses.
- A small tool kit with wrenches for terminal nuts.
- A handheld VHF as a radio backup.
Quick checklist
- ☐ Batteries fully charged
- ☐ Terminals tight and clean
- ☐ Cables undamaged; batteries secured
- ☐ Battery switch set correctly
- ☐ Fuses and breakers OK; spares aboard
- ☐ Bilge pump works on manual and auto
- ☐ Navigation and anchor lights work
- ☐ Electronics and VHF power up
- ☐ Engine cranks strongly; charging voltage OK
- ☐ Jump pack charged and aboard
When to dig deeper
If a battery won’t hold a charge, cranks slowly after a full charge or loses charge overnight, the pre-trip check has done its job: it found a problem. Next steps:
- Load test lead-acid batteries. A healthy battery should stay above about 9.6V at half its CCA rating for 15 seconds.
- Test for parasitic drain if batteries go flat while the boat sits; more than about 25 mA usually points to a problem. See parasitic drain testing.
- Replace batteries that are several seasons old and failing tests.
For a deeper look every month, see the monthly battery checklist.
Special trips
Longer or more demanding trips need extra planning beyond this routine. Tournament anglers should also check every trolling battery and electronics battery; see bass tournament planning. Overnight trips add anchor lights and other loads; see boat camping power. For estimating how much power a trip needs, see fishing trip power planning, and for typical layouts, battery setup by boat type.
Make it a habit
Doing the check before every trip makes problems obvious, because you’ll notice when something changes. Pair it with seasonal maintenance from the seasonal battery calendar.
Products that help
- EPOCH 12V 15A lithium charger
- Interstate group 31M AGM dual-purpose battery
- Dakota Lithium 12V 60Ah dual-purpose battery
- Browse battery accessories.
Frequently asked questions
What should I check on my boat battery before a trip?
State of charge, terminals and cables, switches, fuses, bilge pump, lights, electronics and engine cranking.
What voltage should my boat battery be before a trip?
A rested 12V flooded battery should read about 12.6–12.7V when full; AGM about 12.8V. Use the app or monitor for lithium.
Why does my boat crank slowly?
A weak or partly charged battery, corroded cables or loose connections are common causes.
How long does a pre-trip battery check take?
About ten minutes once you’re used to it.
What backups should I carry?
A charged jump pack, spare fuses, basic tools and a handheld VHF.