


How to Test a Marine Battery
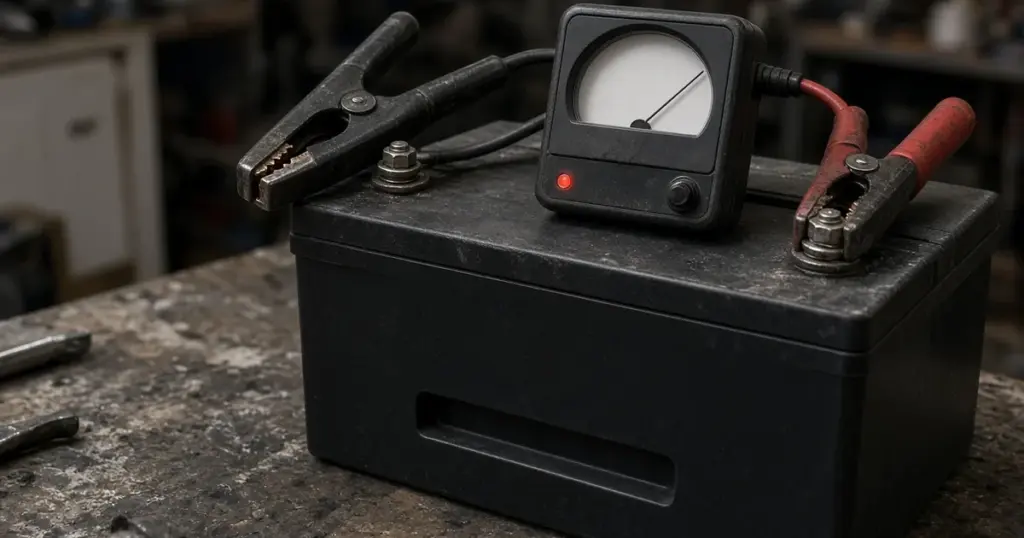
Testing a marine battery tells you whether it’s charged, whether it’s healthy and whether it’ll get you through a day on the water. Many boaters only check voltage, but voltage alone can’t tell you if a battery has lost capacity or will collapse under a starter load. This guide covers how to test lead-acid, AGM and lithium marine batteries properly, from a quick visual check to a full capacity test.
What you’ll need
- Digital multimeter
- Battery load tester (handheld carbon-pile or electronic)
- Hydrometer for flooded batteries (optional)
- A known load and a timer, or a battery monitor, for capacity testing
- Safety glasses and gloves
If you’re new to multimeters, start with multimeter battery testing for boaters.
Step 1: Visual inspection
Look before you measure:
- Cracks, bulges or leaks in the case
- Corrosion on terminals and cable ends
- Loose terminals or hold-downs
- Low electrolyte in flooded batteries
- Burn marks or melted insulation
A swollen, leaking or hot battery should be taken out of service. See hot, swollen or smelly batteries.
Step 2: Charge fully
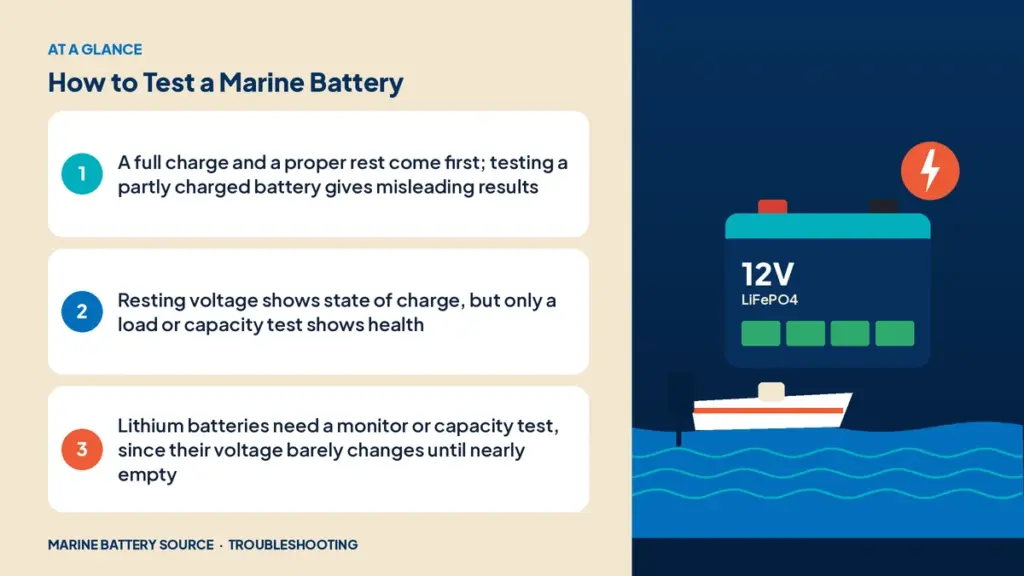
Tests are only meaningful on a fully charged battery. Charge with a smart charger set to the right profile, then let it rest:
- Lead-acid and AGM: rest several hours, ideally overnight, so surface charge dissipates. Or apply a small load for a few minutes to remove surface charge.
- Lithium: rest at least 30 minutes to an hour.
Step 3: Measure resting voltage
Set the multimeter to DC volts and measure across the terminals with all loads and chargers disconnected.
| State of charge | Flooded | AGM | LiFePO4 (approx.) |
|---|---|---|---|
| 100% | 12.6–12.7V | about 12.8V | 13.3–13.4V |
| 75% | about 12.4V | about 12.5V | about 13.2V |
| 50% | about 12.2V | about 12.3V | 13.1–13.2V |
| 25% | about 12.0V | about 12.0V | about 13.0V |
Values vary by manufacturer and temperature. See the marine battery voltage chart for more detail.
If a fully charged lead-acid battery rests well below 12.6V, it may have a sulfated or failed cell.
Step 4: Load test (starting and dual-purpose batteries)
A load test simulates a starting load.
- Make sure the battery is fully charged.
- Connect the load tester following its instructions.
- Apply the load (commonly half the CCA rating for 15 seconds with a carbon-pile tester).
- Watch the voltage. For a 12V lead-acid battery at room temperature, it should stay above about 9.6V at the end of the test.
- If it drops below, recharge and retest. A second failure means the battery is weak.
Electronic testers estimate health by measuring internal resistance or conductance. They’re quick and safe, though less direct. More on the difference in battery load test vs voltage test.
Step 5: Hydrometer test (flooded only)
A hydrometer measures the specific gravity of each cell.
- Fully charged cells typically read about 1.265–1.280 (check your battery’s spec).
- A difference of more than about 0.050 between cells points to a weak cell.
Step 6: Capacity test (deep-cycle and lithium)
Deep-cycle batteries are about capacity, not cranking.
- Charge fully.
- Apply a known, steady load (for example, a 10A light or an electronic load).
- Time how long until voltage reaches the cutoff (about 10.5V for lead-acid, or the BMS cutoff for lithium).
- Multiply amps by hours to get delivered amp-hours.
- Compare with the rated capacity at that discharge rate.
A battery delivering much less than its rated capacity has aged. A battery monitor with a shunt makes this easier by counting amp-hours in and out.
Testing lithium batteries
LiFePO4 voltage is flat across most of the charge range, so voltage tells you little.
- Use the battery’s Bluetooth app or a shunt-based monitor for state of charge.
- Check the BMS status for fault codes.
- A capacity test is the best health check.
- Don’t load test lithium with a carbon-pile tester designed for lead-acid unless the manufacturer approves it.
Interpreting results
| Result | Likely meaning |
|---|---|
| Good voltage, passes load test | Healthy |
| Good voltage, fails load test | Weak or failing; replace soon |
| Low voltage after full charge | Sulfated or failed cell |
| Passes tests but dies after sitting | Parasitic drain |
| Never reaches full charge | Charger or charging system issue |
If the battery is healthy but keeps dying, read boat battery keeps dying and the parasitic drain test guide.
Testing a dual-battery or multi-bank system
On boats with a start battery and a house or trolling bank, test each battery individually. Batteries wired together in a bank should be disconnected from each other for testing, because a healthy battery can mask a weak one when they’re connected in parallel. In series banks (24V or 36V trolling setups), measure each 12V battery separately as well. A single weak battery in a series bank drags down the whole bank and gets overcharged or overdischarged relative to the others. If one battery in a bank tests much lower than its neighbors, the bank is out of balance. Replacing the whole bank at once usually works better than adding one new battery to old ones.
Testing in cold or hot weather
Temperature changes readings. A cold battery shows lower voltage and less cranking power, so a battery that passes on a summer afternoon may struggle on a cold morning. Hot batteries read slightly higher. Test at moderate temperatures when you can, and keep the temperature in mind when you compare results over time.
How often to test
- Twice a year: before and after peak season
- Before long trips
- Any time you notice slow cranking or shorter run times
Common mistakes
- Testing a partly charged battery
- Measuring right after charging (surface charge)
- Relying on voltage alone
- Load testing lithium with lead-acid equipment
- Ignoring temperature: cold batteries test lower
After testing
Record results in a log so you can spot trends. Replace batteries that fail. A sealed AGM like the Interstate 31M AGM or a lithium deep-cycle like the EPOCH 12V 105Ah are common replacements. Shop dual-purpose marine batteries.
For the broader process, see the marine battery troubleshooting guide. If the battery tests fine but problems continue, it may be wiring; see boat electrical problems troubleshooting. Regular testing is part of the marine battery maintenance guide.
Frequently asked questions
How do I test a marine battery with a multimeter?
Fully charge it, let it rest, then measure DC voltage across the terminals and compare with a voltage chart.
What voltage means a marine battery is bad?
A fully charged 12V lead-acid battery that rests well below 12.6V, or drops below about 9.6V during a load test, is likely weak.
Can I load test a lithium battery?
Use a capacity test or the manufacturer’s recommended method. Lead-acid carbon-pile testers aren’t designed for lithium.
Do I need to charge the battery before testing?
Yes. Testing a partly charged battery gives misleading results.
How long should a battery rest before testing?
Several hours for lead-acid, ideally overnight, and at least 30 minutes for lithium.