


Labeling and Documenting Your Boat’s Battery Wiring
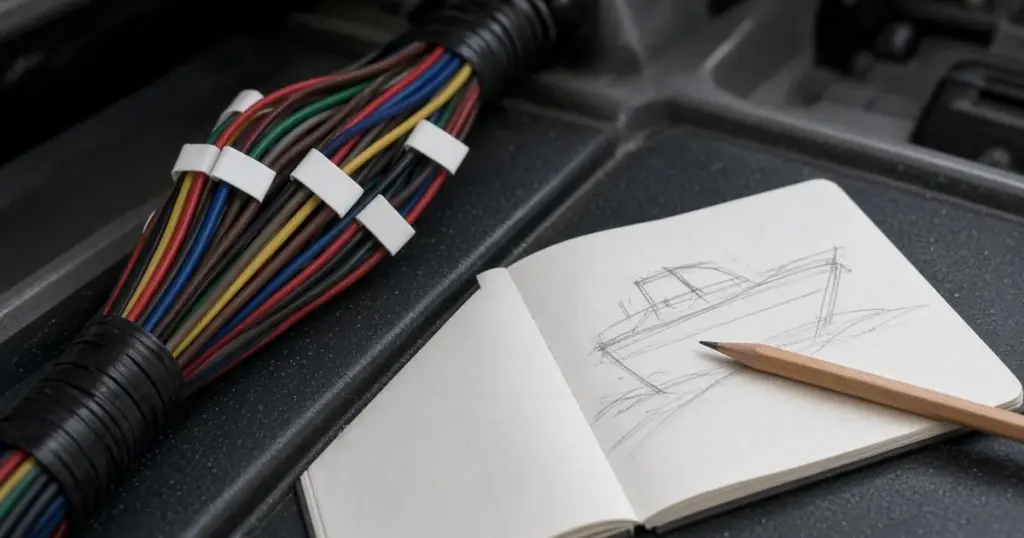
Every boat owner eventually crawls into a locker with a flashlight, staring at a dozen black and red wires, trying to figure out which one runs the bilge pump. Good labeling and documentation turn that hour of guessing into a two-minute job. They also help mechanics and surveyors, add value at resale, and make future upgrades far easier. This guide explains how to label boat wiring and keep a useful wiring diagram.
Why document your wiring
- Faster troubleshooting on the water and at the dock
- Safer work, because you know which circuit you’re touching
- Easier upgrades when you know what’s already there
- Better surveys and resale with clear, professional records
- Help for mechanics, which can lower labor costs
Labeling wires
What to label
- Both ends of every wire
- Every cable at batteries, switches, busbars and fuse blocks
- Circuits at the switch panel
- Fuses and breakers with their circuit and rating
Labeling methods
- Heat-shrink labels: printed sleeves that slip over the wire before termination and shrink tight. Durable and professional.
- Wrap-around labels: self-laminating labels that wrap around existing wires.
- Numbered markers: clip-on or slide-on numbers that match a circuit list.
- Tags: for large cables, a tag attached with a cable tie.
Avoid masking tape and marker, which fade and peel in a marine environment.
What to write
Use short, consistent names or numbers:
- “NAV LT” for navigation lights
- “BILGE AUTO” for the automatic bilge circuit
- “LW PUMP” for the livewell
- Or numbers like “12” matching the circuit list on your diagram
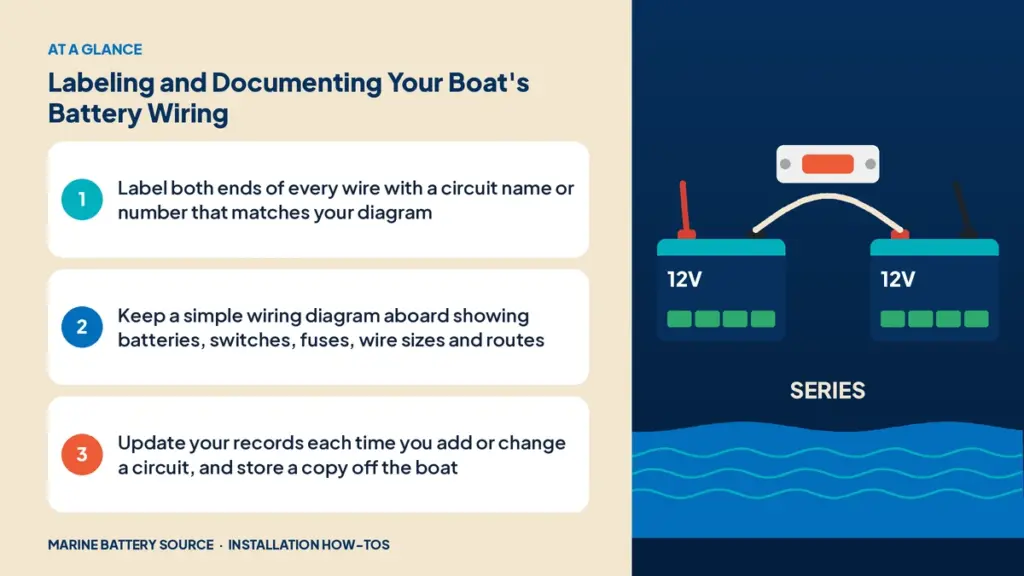
Drawing a wiring diagram
You don’t need professional CAD software. A clear hand drawing or simple diagram tool works.
Include
- Batteries with type, capacity and location
- Battery switches, ACR, DC-DC chargers and onboard chargers
- Main fuses with ratings
- Busbars and fuse blocks
- Each circuit with fuse size, wire gauge and color
- Wire routes through the boat
- Trolling motor bank wiring and charger connections
- Grounding and bonding connections
Tips
- Start with the batteries and work outward.
- Use standard colors where possible. See marine wire color codes.
- Keep the diagram up to date with every change.
- Take photos of key areas to go with the diagram.
Circuit list
Alongside the diagram, keep a table with each circuit:
- Circuit number or name
- Fuse or breaker size and location
- Wire gauge and color
- Switch location
- Load description
- Notes (date installed, changes)
Storing the documentation
- Keep a copy aboard in a waterproof bag or binder.
- Store a digital copy on your phone or in cloud storage.
- Give a copy to your mechanic if they service the boat regularly.
Logging changes
Every time you add a circuit, replace a battery or change a fuse size, log it:
- Date
- What changed
- Who did the work
- Parts used
This history helps diagnose problems and shows buyers the boat has been cared for.
Documenting battery installs
When you replace or add batteries, note:
- Battery model, chemistry and capacity
- Install date
- Charger settings
- Fuse sizes on each battery cable
For example, a lithium upgrade might note the battery, such as the EPOCH 12V 105Ah LiFePO4, the charger profile and the main fuse rating.
Tools for labeling
A label maker with heat-shrink tube cartridges is a worthwhile investment. See marine electrical tools for more.
Documenting professional work
If a professional does the work, ask for an updated diagram and circuit list as part of the job. See DIY vs professional installation.
Documenting chargers and charge settings
Charge settings are easy to forget and costly to get wrong. Write down the profile selected on every charging source: the onboard charger’s bank settings, the DC-DC charger’s chemistry setting and any solar controller’s absorption and float voltages. If you replace a lead-acid battery with lithium, update every one of these and note the date. On a multi-bank charger like the EPOCH 4-bank charger, also record which bank goes to which battery.
Common mistakes
- Labeling only one end of a wire.
- Using tape and marker that fades.
- Outdated diagrams that no longer match the boat.
- No record of fuse sizes, leading to wrong replacements.
Related guides
Use our marine battery installation checklist to make sure documentation is part of every install. For specific installs, see how to install an ACR, how to install an inverter and how to install a marine battery.
Example circuit list for a center console
- 1: Nav lights, 7.5A, 16 AWG gray, panel switch 1
- 2: Anchor light, 5A, 16 AWG gray, panel switch 2
- 3: Bilge manual, 10A, 14 AWG brown, panel switch 3
- 4: Bilge auto, 10A, 14 AWG brown, fused at battery, always on
- 5: Livewell, 15A, 12 AWG brown, panel switch 4
- 6: Washdown, 15A, 12 AWG brown, panel switch 5
- 7: Electronics, 15A, 12 AWG red, panel switch 6
- 8: Stereo, 20A, 10 AWG red, panel switch 7
- 9: Spare, 10A, panel switch 8
A list like this, taped inside the console door, saves time every time something stops working.
Photographs as documentation
Photos are quick and surprisingly useful. Before and after any electrical work, photograph the battery compartment, switch panel back, fuse blocks and busbars from a few angles. Name the files clearly and keep them with your diagram. A photo of how cables were connected before a battery swap can save an hour of head-scratching.
Labeling battery banks
On boats with several batteries, label each battery with its role and number: “START,” “HOUSE 1,” “HOUSE 2,” “TROLL 1,” “TROLL 2,” “TROLL 3.” Label series links on trolling banks and the charger leads that go to each battery. This prevents miswiring during replacement and helps anyone charging or testing the batteries. Keep fuses and labels on hand in your kit; our marine battery accessories include fuse blocks and distribution hardware.
Frequently asked questions
How should I label boat wires?
Use heat-shrink or self-laminating labels on both ends of every wire, with names or numbers that match your wiring diagram.
Do I need a wiring diagram for my boat?
It’s not required, but it makes troubleshooting, upgrades and surveys much easier.
What should a boat wiring diagram include?
Batteries, switches, fuses, busbars, each circuit’s fuse size, wire gauge and color, and wire routes.
Where should I keep my wiring documentation?
A copy aboard in a waterproof bag, plus a digital copy on your phone or in cloud storage.
How often should I update my wiring records?
Every time you add, remove or change a circuit or battery.