


Installing a New House Bank on a Sailboat
A sailboat’s house bank powers everything except the engine starter: navigation instruments, autopilot, fridge, lights, water pump, radio and sometimes an inverter. A well-designed house bank lets you spend days at anchor without running the engine. This guide covers how to install a sailboat house bank, from sizing and chemistry to wiring, charging and commissioning.
Step 1: Do an energy audit
List every load, its current draw and how many hours a day it runs. Typical cruising sailboat loads:
- Fridge: 4A to 6A while running, often 40% to 60% duty cycle, totaling 40Ah to 70Ah a day
- Autopilot: 2A to 8A while steering, depending on sea state
- Chartplotter and instruments: 2A to 4A
- LED cabin lights: 1A to 3A for a few hours
- Anchor light: about 0.2A to 1A overnight
- Water pump: brief bursts
- Electronics charging: phones, tablets, laptops
A typical coastal cruiser uses 80Ah to 150Ah a day at 12V.
Step 2: Size the bank
- Lead-acid (AGM or flooded): usable capacity is about 50% of rated. For 120Ah a day with a day’s margin, you’d need about 480Ah of AGM.
- Lithium (LiFePO4): usable capacity is about 80% to 90%. The same needs could be met with about 300Ah of lithium.
Popular lithium options include the EPOCH 12V 300Ah and the EPOCH 12V 460Ah. For AGM, the Trojan 31-AES AGM is a common choice. Browse our house bank batteries.
Step 3: Choose the location
- Low and near the centerline for stability
- Close to the main distribution panel to keep cables short
- Ventilated and dry
- Away from the engine’s heat
- Accessible for inspection
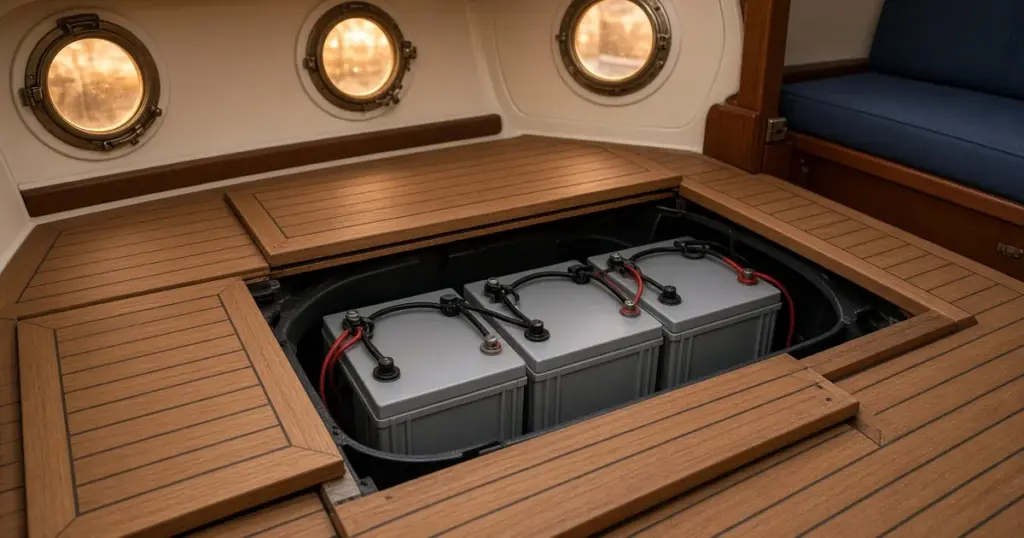
Many sailboats keep the house bank under a settee or the cabin sole.
Step 4: Mount and secure
Build or reinforce a platform if needed, then secure each battery with trays or brackets fastened to structure. Batteries must not move, even in a knockdown. For heavy banks, use through-bolted brackets.
Step 5: Wire the bank
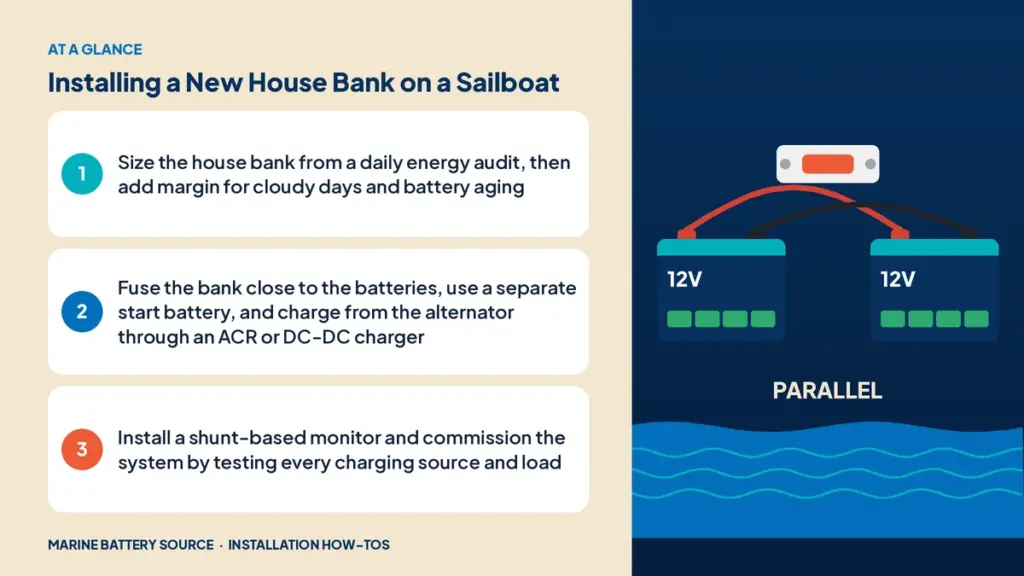
- Parallel batteries: connect positives and negatives with equal-length cables, taking the main positive from one end and the main negative from the other, or use busbars.
- Main cables: size for the total current, especially if there’s an inverter.
- Shunt: install on the bank’s negative, before the negative bus.
Step 6: Fusing
Install a main fuse close to the bank positive. For large lithium banks, a Class T fuse is common because of its high interrupt rating. Fuse every other cable connected to the bank, including chargers and the windlass.
Step 7: Switching
Use separate switches for the house bank and the start battery, plus an emergency parallel switch. The house switch feeds the DC panel; the start switch feeds the engine.
Step 8: Charging sources
Alternator
- Lead-acid bank: an ACR between the start battery and house bank works well. See how to install an ACR.
- Lithium bank: a DC-DC charger protects the alternator and charges lithium correctly. Larger systems use an external regulator with a temperature sensor on the alternator.
Shore power charger
A lithium-compatible charger with enough output to recharge the bank overnight.
Solar and wind
Solar panels on a bimini or arch, and wind or hydro generators, keep the bank charged at anchor.
Step 9: Monitoring
A shunt-based battery monitor is essential. It tracks amp-hours used and state of charge, so you know when to start the engine or reduce loads.
Step 10: Inverter
If you need AC power, add an inverter or inverter-charger, fused separately and wired with heavy cables. See how to install an inverter on a boat.
Step 11: Commissioning
- Charge the bank fully.
- Program the battery monitor.
- Test each charging source: alternator, shore charger, solar.
- Test each load.
- Check all connections for heat after an hour of heavy loads.
- Document the system with a wiring diagram.
Lithium-specific considerations
- Alternator protection: lithium can pull more current than the alternator can safely provide.
- BMS disconnect: if the BMS disconnects while the alternator is charging, the voltage spike can damage the alternator. A DC-DC charger or alternator protection device prevents this.
- Cold charging: most LiFePO4 can’t charge below freezing.
- Communication: some batteries can share data with chargers and monitors.
Example: 34-foot coastal cruiser
An owner replaces four tired group 31 AGM batteries (about 400Ah rated, 200Ah usable) with a 12V 460Ah lithium bank. The plan:
- Energy audit: about 130Ah a day at anchor, mostly fridge and autopilot.
- Bank: 460Ah lithium gives about 370Ah to 410Ah usable, close to three days at anchor without charging.
- Weight: the bank drops from about 260 pounds to roughly 100 pounds, freeing space under the settee.
- Charging: a 40A DC-DC charger from the engine start battery, a 40A shore charger with a lithium profile, and 300W of solar on the bimini.
- Protection: a Class T fuse at the bank, separate start and house switches, and an emergency parallel switch.
- Monitoring: a shunt monitor on the bank negative.
After commissioning, the owner spends long weekends on the hook without starting the engine on sunny days.
Wiring details that matter
Parallel banks need careful cable layout so every battery shares the load evenly. Our guide to wiring batteries in parallel explains diagonal connections and busbar layouts.
Common mistakes
- Undersized bank for actual loads.
- Mixing old and new batteries.
- No main fuse close to the bank.
- Charging lithium directly from a standard alternator without protection.
- No battery monitor.
Professional help
Large house banks with lithium, inverters and alternator upgrades are complex. Consider a professional for design or commissioning. See DIY vs professional installation.
For related installs, see 36V lithium install on a bass boat, pontoon lithium installation, how to install a marine battery and the trolling motor power system guide.
Frequently asked questions
How big should my sailboat house bank be?
Base it on a daily energy audit. Many coastal cruisers use 80Ah to 150Ah a day and size lithium banks around 300Ah to 400Ah.
Should I use lithium or AGM for a sailboat house bank?
Lithium offers more usable capacity, lighter weight and longer life. AGM is cheaper upfront and simpler to integrate with older charging systems.
Do I need a DC-DC charger for a lithium house bank?
It’s strongly recommended to protect the alternator and charge lithium properly.
Where should the house bank be mounted?
Low and near the centerline, close to the distribution panel, in a dry, ventilated space.
Do I need a battery monitor?
Yes. It’s the only reliable way to track state of charge, especially with lithium.