


How to Install a Trolling Motor Plug and Receptacle
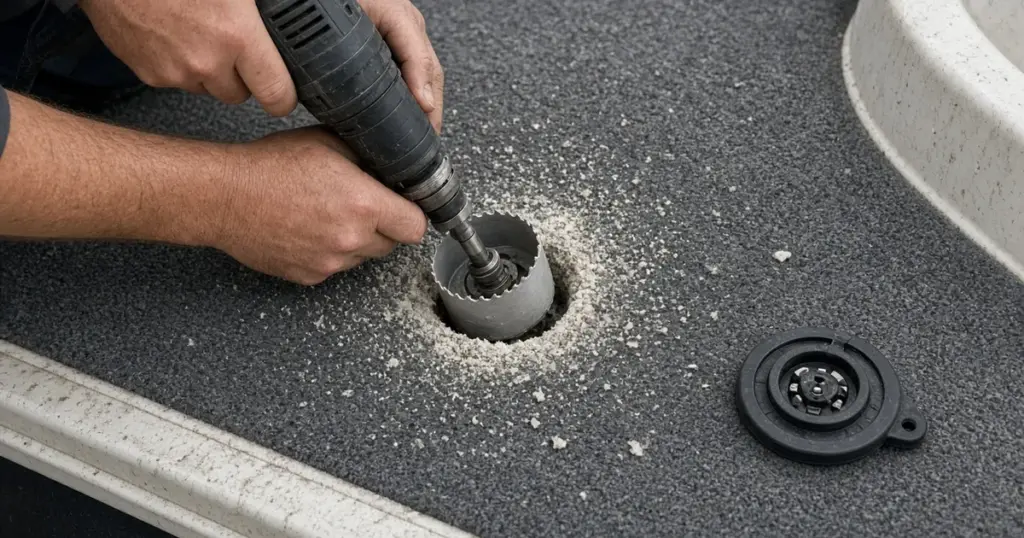
A trolling motor plug and receptacle make it easy to remove the motor for storage, service or theft prevention, and they protect the connection from spray and rain. Many boats come with one at the bow, but older boats, aftermarket installs and motor upgrades often need a new plug. This guide covers how to install a trolling motor plug from choosing the hardware to testing.
Choosing a plug
- Current rating: must exceed the motor’s maximum draw, typically 50A to 60A for 24V and 36V motors. Many plugs are rated 60A or more.
- Voltage rating: must cover your system, whether 12V, 24V or 36V.
- Conductor size: the plug must accept the wire gauge your motor maker specifies.
- Sealing: look for a cover that seals the receptacle when the motor is unplugged.
- Mounting style: flush-mount through a deck or panel, or surface mount.
Wire size
Use the gauge your trolling motor maker specifies for the run from the batteries to the plug, based on distance. Bow-mount runs on bass boats are often 15 to 20 feet one way, needing 6 AWG or heavier. Use tinned copper marine wire.
Breaker or fuse
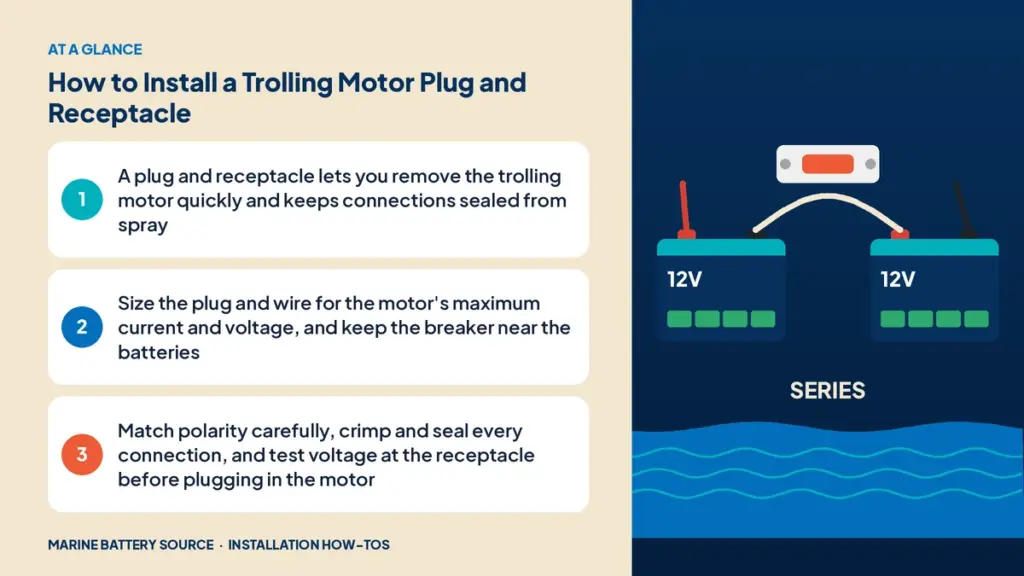
The breaker or fuse goes near the batteries, not at the plug. It protects the long cable run to the bow. Use the size the motor maker recommends. Many anglers mount the breaker on the battery compartment bulkhead where it’s easy to reset.
Where to mount the receptacle
- Near the trolling motor mount, so the motor’s lead reaches without strain
- On a flat surface with access behind it for wiring
- Away from standing water on deck
- Where the plug won’t be stepped on or kicked
Tools and materials
- Plug and receptacle
- Hole saw sized for the receptacle
- Drill and screws
- Marine sealant
- Heavy-duty crimper and heat-shrink
- Multimeter
Step 1: Disconnect power
Turn off the breaker and disconnect the trolling batteries.
Step 2: Cut the mounting hole
Mark the receptacle’s location, check for wires and structure behind it, then cut the hole with a hole saw. Seal exposed core material with epoxy or sealant.
Step 3: Run the cables
Route the cables from the batteries to the receptacle. Secure them every 18 inches and protect them where they pass through bulkheads.
Step 4: Wire the receptacle
- Strip the wire ends to the length specified by the plug maker.
- Connect the positive cable to the receptacle’s positive terminal.
- Connect the negative cable to the negative terminal.
- Tighten terminal screws to spec, or crimp and solder if the design requires.
- Seal the back of the receptacle against moisture.
Step 5: Wire the plug
Connect the motor’s lead to the plug, matching polarity to the receptacle. Most plugs are keyed, but double-check positive and negative.
Step 6: Mount the receptacle
Apply sealant, insert the receptacle and fasten it with screws.
Step 7: Test
- Reconnect the batteries and reset the breaker.
- Measure voltage at the receptacle. It should match the bank voltage.
- Confirm polarity with the meter.
- Plug in the motor and test all speeds.
- Check the plug and receptacle for heat after a few minutes at full speed.
Connection kits
Kits like the Dakota Lithium 36V trolling motor connection kit with onboard charging or the Dakota Lithium 24V connection kit include matched cables and connectors for a cleaner install.
Making solid connections
Most plug failures come down to the terminations, not the plug itself. A few habits prevent trouble:
- Use the right crimp tool. Heavy cable needs a hammer crimper or hydraulic crimper sized for the lug. Pliers don’t make a reliable crimp.
- Strip to the correct length. Too short and the conductor doesn’t fully seat; too long and bare copper is exposed.
- Use adhesive-lined heat-shrink over every lug and splice to keep water out.
- Don’t tin the wire before clamping in screw-type terminals. Solder can cold-flow under the screw and loosen over time.
- Strain-relieve the cables behind the receptacle so wave slap and trailer bumps don’t work the terminals loose.
Taking an extra half hour on the connections is the difference between a plug that lasts the life of the boat and one that melts on a hot afternoon.
Maintenance
- Keep the cover closed when the motor is unplugged.
- Inspect terminals for corrosion each season.
- Apply dielectric grease to contacts if the maker recommends it.
- Replace plugs with burned or loose contacts.
Common mistakes
- Undersized plug or wire that heats up at full speed.
- Reversed polarity that can damage the motor.
- Breaker at the bow instead of near the batteries.
- Unsealed receptacle that corrodes.
- Strained motor lead because the receptacle is too far from the mount.
Upgrading to lithium
If you’re switching to lithium at the same time, see how to install a lithium trolling motor battery. A single 36V battery, such as the EPOCH 36V 100Ah, simplifies the wiring to the plug.
Related installs
For monitoring the trolling bank, see how to install a battery monitor. If you add solar to keep the bank topped up, see how to install a solar panel on a boat. For electronics, see how to wire a fish finder to a battery.
For general installation steps, see how to install a marine battery and DIY vs professional installation.
Plugs for trolling motors at the stern
Transom-mount trolling motors on jon boats and small aluminum boats usually connect directly to a battery with clamps or ring terminals. A plug near the transom still helps: it keeps the battery connection protected and lets you remove the motor without tools. The same sizing rules apply.
Testing an existing plug
If your motor runs weak or cuts out, test the plug before blaming the batteries:
- Run the motor at full speed.
- Measure voltage at the batteries and at the receptacle.
- A difference of more than about half a volt on a 24V or 36V system suggests a poor connection, undersized wire or a worn plug.
- Feel the plug after running. Heat is a sign of high resistance.
Frequently asked questions
What size plug do I need for my trolling motor?
Choose a plug rated above your motor’s maximum current and system voltage, and that accepts the wire gauge specified by your motor maker.
Where should the trolling motor breaker go?
Near the batteries, protecting the cable run to the plug.
Do I need a trolling motor plug?
It isn’t required, but it makes removing the motor easier and protects the connection.
Why does my trolling motor plug get hot?
Usually a loose or corroded connection, an undersized plug or wire, or worn contacts.
Can I use the same plug for 24V and 36V?
If it’s rated for the higher voltage and current, yes.