


How to Install a DC-DC Charger on a Boat
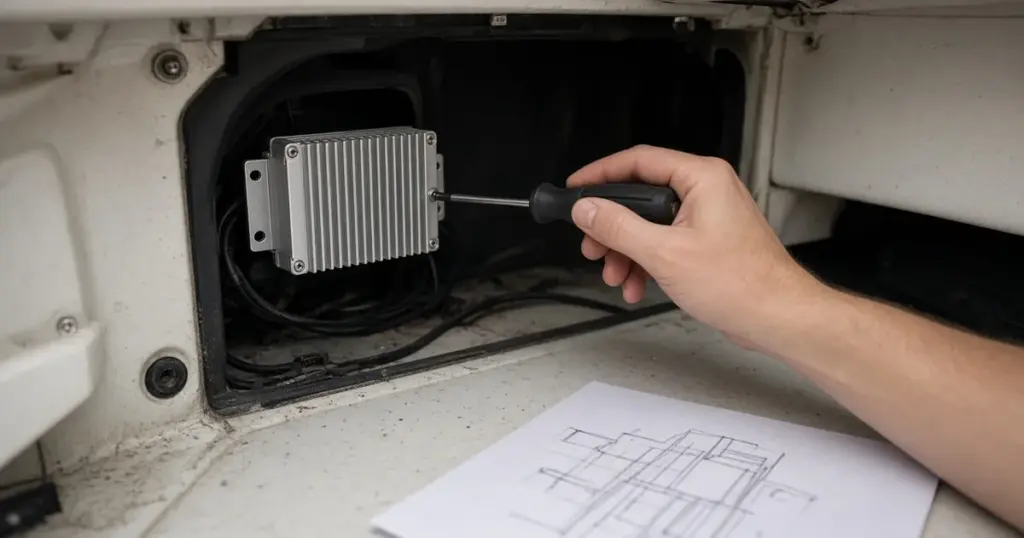
A DC-DC charger is the cleanest way to charge a lithium house or trolling battery from your engine. It takes power from the starting battery and alternator, then delivers a controlled charge to the second battery with the correct voltage for its chemistry. It also protects your alternator from the heavy current a lithium bank can pull. This guide explains how to install a DC-DC charger on a boat, step by step.
Why use a DC-DC charger
- Mixed chemistries. Charge a lithium battery from a lead-acid starting battery without overcharging or undercharging either one.
- Different voltages. Charge a 36V trolling bank from a 12V engine system with a step-up charger like the EPOCH 12V-to-36V DC-DC charger.
- Alternator protection. Limits current so the alternator doesn’t overheat trying to fill a lithium bank.
- Long cable runs. Compensates for voltage drop between the engine and a distant battery.
- Starting battery protection. Only charges when the engine is running or the input voltage indicates charging.
Sizing the charger
- Output current: 20A to 60A is common for 12V house batteries; trolling bank chargers often deliver 10A to 20A at 24V or 36V.
- Alternator capacity: the charger’s input current should be well within your alternator’s output, leaving room for engine and electronics loads. Small outboards may only have 15A to 40A to spare.
- Battery acceptance: don’t exceed the charged battery’s maximum charge current.
A dual-output unit like the EPOCH dual-output 12V/36V DC-DC charger can charge both a 12V house battery and a 36V trolling bank.
Where to mount it
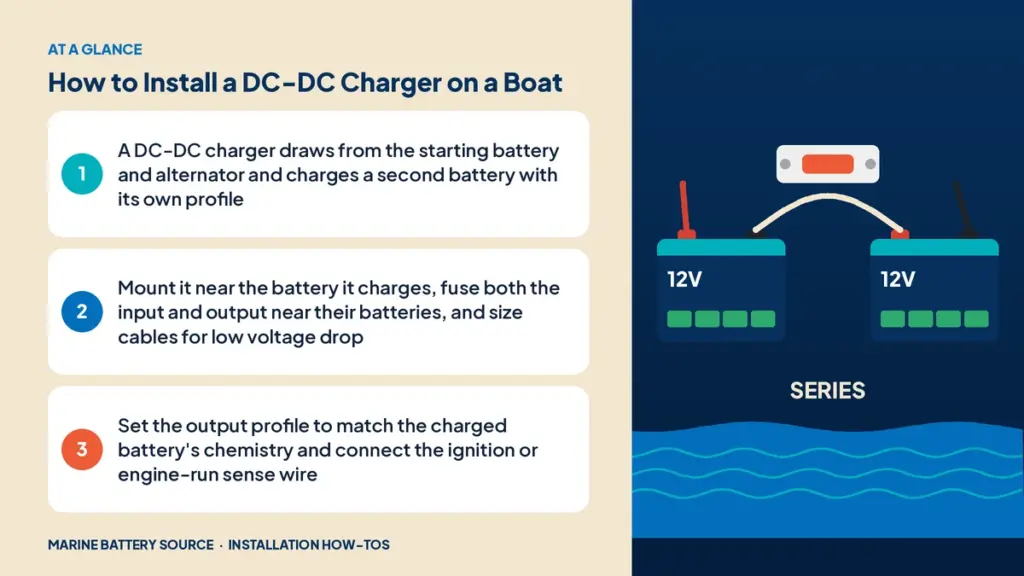
- Near the battery it charges (the output side), since output voltage accuracy matters most there.
- Ventilated and dry. DC-DC chargers produce heat.
- On a solid, non-flammable surface, with clearance for airflow.
- Not in a gasoline engine space unless the unit is ignition-protected.
Materials
- DC-DC charger and mounting hardware
- Input and output cables sized for current and length
- Fuses or breakers for input and output
- Ring terminals, heat-shrink, cable clamps
- Ignition sense wire (if required)
- Multimeter
Step 1: Disconnect power
Turn off the battery switches, disconnect the charger and any shore power, and remove the negative cables from the batteries you’ll be working on.
Step 2: Mount the charger
Mount it following the maker’s orientation and clearance guidance.
Step 3: Wire the input
- Run a positive cable from the starting battery (or its switched side, per instructions) to the charger’s input.
- Install a fuse or breaker on this cable close to the starting battery, sized per the charger maker.
- Size the cable to keep voltage drop low; many installs need 8 AWG to 4 AWG depending on current and distance.
Step 4: Wire the output
- Run a positive cable from the charger output to the battery being charged.
- Fuse it close to that battery.
- Size it like the input cable for the output current.
Step 5: Negatives
Most DC-DC chargers require a common negative. Connect the charger’s negative to the negative bus or directly to the battery negatives, as the instructions specify. Isolated chargers may need separate input and output negatives. Follow the manual exactly.
Step 6: Ignition or engine-run sense
Many chargers need a signal that the engine is running:
- Ignition sense wire connected to a circuit that’s live only with the key on.
- Voltage sensing, where the charger turns on when input voltage rises above a set level.
Smart alternators and some outboards may need ignition sensing, since their voltage doesn’t always rise.
Step 7: Set the charge profile
Set the output for the charged battery’s chemistry: lithium, AGM or flooded. For lithium, set absorption and float voltages per the battery maker.
Step 8: Reconnect and test
- Reconnect the battery negatives.
- Turn on the battery switches.
- Start the engine.
- Check that the charger turns on and indicates charging.
- Measure voltage at the output battery; it should rise toward the absorption voltage.
- Check input voltage at the starting battery; it should remain healthy.
- Run for 20 minutes and check cables, fuses and the charger for heat.
Example: 12V lithium house battery on an outboard boat
A common setup is a lead-acid starting battery on a 150hp outboard and a 12V 100Ah lithium accessory battery for electronics and a livewell.
- Check the outboard’s charging output. Many deliver 40A to 60A, but only part of that is available beyond the engine’s own needs.
- Choose a 20A to 30A DC-DC charger so the alternator isn’t overworked at idle.
- Mount the charger near the lithium battery, in the console or rear compartment.
- Run 8 AWG input cable from the starting battery, with a 40A fuse near the starting battery, adjusted to the charger maker’s spec.
- Run the output to the lithium battery with its own fuse near that battery.
- Set the charger to the lithium profile.
On a typical day of running between spots, a 25A charger can replace a good share of what the electronics use. Shore charging with an onboard charger tops it off overnight. Lithium batteries like the EPOCH 12V 105Ah LiFePO4 accept this charge rate easily.
Example: charging a 36V trolling bank on the run
For bass boats with a 36V trolling motor, a 12V-to-36V DC-DC charger lets the outboard put charge back into the trolling bank while you run between spots. Size the charger’s input current within the outboard’s spare output, wire the input from the starting battery and the output to the trolling bank’s main terminals, and fuse both ends. Pair it with an onboard charger for overnight charging at home.
Troubleshooting
- Charger doesn’t turn on: check the ignition sense wire or input voltage threshold.
- Low output: check for voltage drop on the input cable or an undersized alternator.
- Starting battery runs low: the charger may be running without the engine; check the ignition sense or low-voltage cutoff.
- Fuse blows: fuse too small, short or wrong cable size.
Mounting the batteries
Make sure both batteries are secured. See our hold-down guide.
Combining with a battery monitor
A battery monitor shows how much charge the DC-DC charger is delivering and how full the battery is. See how to install a battery monitor.
Common mistakes
- No fuse on input or output.
- Undersized input cable causing voltage drop and low output.
- Wrong chemistry setting.
- Missing ignition sense on smart alternators.
- Mounting far from the output battery with thin cable.
For related installs, see how to install a marine battery, how to wire a fish finder to a battery and how to remove a boat battery.
Frequently asked questions
Do I need a DC-DC charger for lithium?
If you’re charging lithium from an alternator, especially with a lead-acid starting battery, a DC-DC charger is strongly recommended.
Where should I mount the DC-DC charger?
Near the battery it charges, in a ventilated and dry location.
What size fuse do I need for a DC-DC charger?
Use the sizes the charger maker specifies for input and output, and make sure each is within the cable’s ampacity.
Will a DC-DC charger drain my starting battery?
Not if it’s wired correctly. Most have ignition sensing or a low-voltage cutoff to stop charging when the engine is off.
Can a DC-DC charger charge a 36V trolling bank?
Yes. Step-up DC-DC chargers convert 12V from the engine to 36V for trolling banks.