


How to Safely Remove an Old Boat Battery
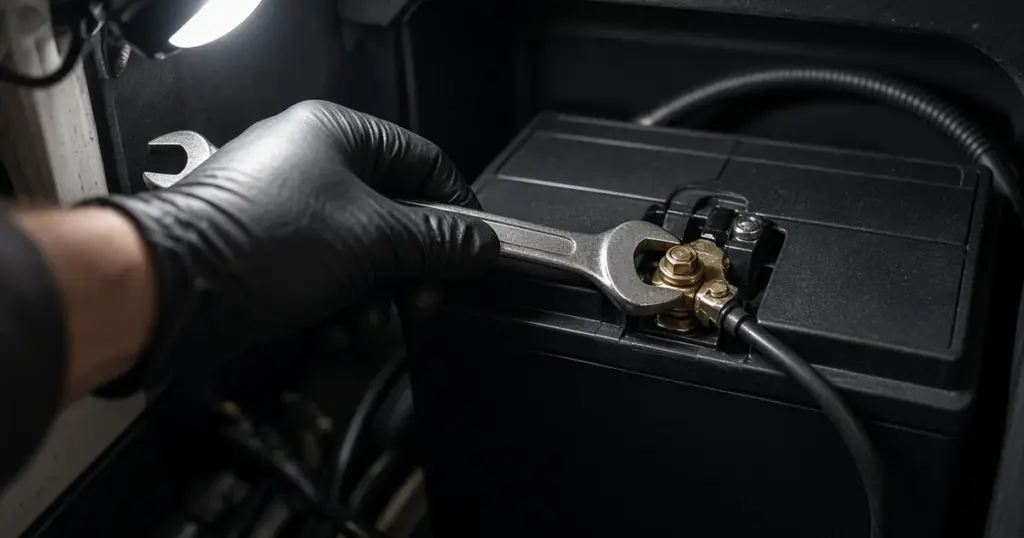
Removing a boat battery seems simple, but it’s easy to make mistakes: a wrench that touches the positive and a metal fitting at the same time, a mislabeled cable, or a strained back from lifting 60 pounds out of a tight compartment. Whether you’re replacing a battery, storing it for the winter or working on wiring, this guide explains how to remove a boat battery safely.
Safety first
- Wear safety glasses and gloves. Batteries contain acid and can spark.
- Remove jewelry. Rings and watches can short across terminals.
- Ventilate. Flooded batteries can vent hydrogen, especially after charging.
- No sparks or flames near the battery.
- Turn off all loads and the battery switch.
- Unplug the charger from AC before touching the battery.
Tools you’ll need
- Wrenches or sockets for terminal nuts
- Battery terminal puller (for stuck post clamps)
- Wire brush and terminal cleaner
- Masking tape and a marker for labels
- Battery carrier strap
- Baking soda and water for cleaning acid residue
Step 1: Label the cables
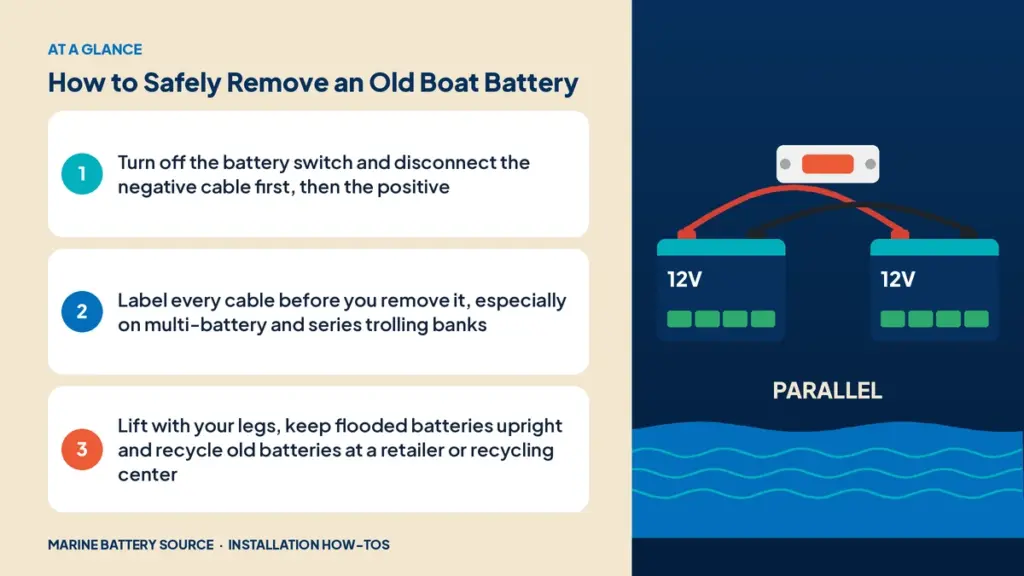
Before you disconnect anything, label every cable with its terminal and battery. This is especially important for:
- Dual battery systems with a switch or ACR
- Series trolling banks where links connect batteries in a specific order
- Batteries with several accessory leads on the terminals
Take a photo with your phone, too.
Step 2: Disconnect the negative first
Remove the negative cable before the positive. If your wrench touches a metal part of the boat while you’re working on the negative, nothing happens. If you started with the positive and the wrench touched metal connected to the negative, you’d create a short.
- Loosen the negative terminal nut.
- Remove the cable and move it away from the battery.
- Tuck it so it can’t spring back.
Step 3: Disconnect the positive
- Remove the positive terminal cover.
- Loosen and remove the nut.
- Remove the cable and move it away.
- Disconnect any accessory leads.
Step 4: Remove the hold-down
Remove the strap, bracket or box lid. Keep the hardware together for reinstallation. If hardware is corroded, plan to replace it. See our hold-down guide.
Step 5: Lift the battery out
- Use the battery’s handles or a carrier strap.
- Lift with your legs, keeping your back straight.
- Keep flooded batteries upright to avoid spills.
- Get help for heavy batteries or awkward compartments.
Group 31 lead-acid batteries can weigh 60 to 75 pounds. Lithium batteries are much lighter, often 25 to 35 pounds for a similar capacity.
Dealing with corrosion
If terminals are corroded:
- Mix baking soda and water.
- Brush it on the terminals and cable ends. It will fizz as it neutralizes acid.
- Rinse with clean water and dry.
- Use a wire brush to clean to bright metal.
Severely corroded cables should be replaced.
Removing series trolling banks
- Unplug the trolling motor and charger.
- Label each battery (1, 2, 3) and each link.
- Disconnect the motor negative first, then the motor positive.
- Remove the series links.
- Disconnect the charger leads from each battery.
- Remove the batteries one at a time.
Removing a battery with a DC-DC charger
Turn the DC-DC charger off or disconnect its input fuse before removing either battery. See how to install a DC-DC charger for the wiring layout.
Removing electronics connections
Fish finders and other electronics often connect directly to a battery or fuse block. Disconnect them before removing the battery. See how to wire a fish finder to a battery for proper connection points.
Storing the battery
- Charge it fully before storage.
- Store in a cool, dry place. Modern cases are fine on concrete, but a shelf keeps the battery clean and easy to reach.
- Use a maintainer on lead-acid batteries.
- Lithium batteries should be stored at the maker’s recommended charge level, often 50% to 80%.
Recycling old batteries
Lead-acid batteries are highly recyclable and must not go in the trash. Return them to a battery retailer, auto parts store or recycling center. Many charge a core fee that’s refunded when you return the old battery. Lithium batteries also need proper recycling; check local programs.
Reinstalling or replacing
When reinstalling, connect the positive first and the negative last. If you’re replacing the battery, consider upgrading to lithium for weight savings. Browse our lithium marine batteries and cranking batteries. See how to install a marine battery and how to install an onboard battery charger for the next steps.
Inspecting the battery once it’s out
With the battery on the bench, take a minute to check it before you decide what to do with it:
- Case: look for cracks, bulging or leaks. A swollen lead-acid case usually means overcharging or freeze damage, and the battery should be recycled.
- Terminals: check for melted plastic or discoloration, which points to a loose connection that ran hot.
- Resting voltage: after it sits a few hours off the charger, a healthy 12V lead-acid reads about 12.6V or more. Below about 12.2V after a full charge suggests it’s failing.
- Age: most lead-acid marine batteries last three to five years. If yours is older and struggling, replacement is usually cheaper than another season of hard starts.
- Load test: many battery retailers will load test a lead-acid battery free of charge.
If you’re upgrading, a lithium replacement like the EPOCH 12V 105Ah LiFePO4 saves weight and lasts many more cycles.
Cleaning the compartment
An empty battery compartment is the best chance you’ll get to clean it. Neutralize any acid residue with baking soda solution, rinse and dry. Check the tray or box for cracks, look for chafed cables, and inspect the hold-down hardware. Replace corroded cable lugs now rather than reinstalling a new battery onto bad connections.
Common mistakes
- Disconnecting the positive first.
- Not labeling cables on multi-battery systems.
- Lifting with your back.
- Leaving cables where they can spring back onto terminals.
- Throwing old batteries away.
When to get help
If cables are seized, terminals are damaged or the battery is in a hard-to-reach spot, consider professional help. See DIY vs professional installation.
Frequently asked questions
Which battery cable do I remove first?
Remove the negative first, then the positive.
How do I remove a stuck battery terminal?
Loosen the nut fully and use a terminal puller. Don’t pry against the battery case.
How heavy is a marine battery?
Lead-acid group 24 to 31 batteries usually weigh 45 to 75 pounds. Lithium equivalents often weigh 25 to 35 pounds.
Can I store a boat battery on concrete?
Modern battery cases are fine on concrete, but a shelf in a cool, dry place makes maintenance easier.
Where do I recycle an old marine battery?
Return it to a battery retailer, auto parts store or recycling center.