


Trolling Motor Wire Size and Circuit Breaker Guide
Choosing the right trolling motor wire size is one of the cheapest ways to get more thrust and runtime from the batteries you already have. Undersized cable wastes energy as heat, lowers the voltage at the motor and can overheat connections. This guide explains how to size cable for your run, how to choose and place a circuit breaker, and how to install both correctly.
Start with your motor’s manual
Trolling motor manufacturers publish recommended wire gauges for different extension lengths, plus the breaker rating to use. Those recommendations are based on the motor’s maximum current draw, so they should be your baseline. The guidance below explains the reasoning so you can check your installation and decide when to go one size larger.
Why wire size matters
Every wire has resistance. Current flowing through resistance produces voltage drop and heat:
Voltage drop = current × resistance of the round-trip wire
A trolling motor at full speed can draw 40 to 50 amps or more, so even a small resistance matters. If the batteries are at 25V and you lose 1V in the wiring, the motor sees 24V. That’s about 4% of your power turned into heat in the cable instead of thrust.
Measuring the run
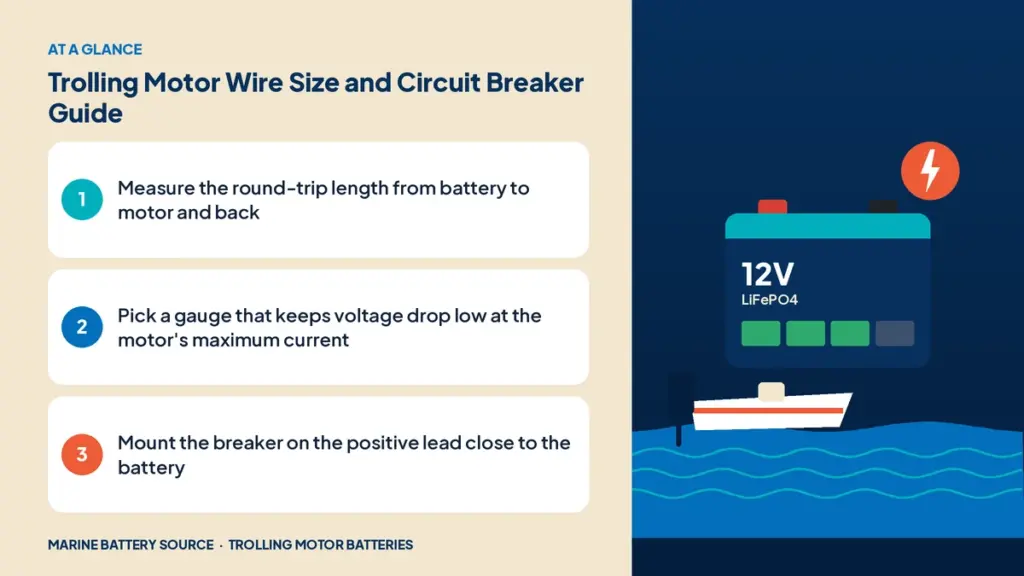
Measure the cable path from the battery positive to the motor and back to the battery negative. On a bass boat with batteries in the stern and the motor on the bow, the one-way path is often 15 to 20 feet, so the round trip is 30 to 40 feet. Follow the actual cable route, not a straight line.
Approximate copper resistance by gauge
| Gauge (AWG) | Approx. resistance per foot | Drop at 50A over 30 ft round trip |
|---|---|---|
| 8 | 0.63 milliohm | about 0.94V |
| 6 | 0.40 milliohm | about 0.59V |
| 4 | 0.25 milliohm | about 0.37V |
| 2 | 0.16 milliohm | about 0.23V |
These are approximate values for copper conductors at room temperature. They show the pattern: each step up in size cuts the loss noticeably.
How much drop is acceptable?
The ABYC standards that U.S. boat builders follow distinguish between critical circuits, where they call for a maximum 3% voltage drop, and other circuits, where they allow up to 10%. Many installers treat 3% as the target for trolling motors because the payoff is more thrust. As a percentage:
- 12V system: 3% is about 0.36V.
- 24V system: 3% is about 0.72V.
- 36V system: 3% is about 1.08V.
Higher-voltage systems tolerate the same absolute drop with a smaller percentage loss. That’s one reason 36V motors can use reasonable cable sizes on long runs. Our trolling motor power system guide explains how voltage, cable and battery choices interact.
Choosing the gauge
- Find the motor’s maximum current draw in the manual.
- Measure the round-trip length.
- Use the motor maker’s chart, or calculate drop with the resistance table above.
- If you’re on the edge between two sizes, choose the larger one.
Also check ampacity, the current a wire can safely carry continuously. That depends on insulation temperature rating and whether the wire runs inside an engine space or bundled with others. Voltage drop usually drives trolling motor cable size on long runs, but ampacity matters on short runs.
Use marine-grade tinned copper
Use stranded, tinned copper marine cable. Tinning protects each strand from corrosion, which spreads along bare copper inside the insulation in a wet environment. Avoid household or automotive solid-core wire, and never use aluminum cable for this job.
Circuit breakers and fuses
What the breaker protects
The breaker protects the cable from overheating in a short circuit or a severe overload. It should be sized to the motor maker’s recommendation and must not exceed the ampacity of the wire.
Where to install it
Install it on the positive conductor as close to the battery as practical. ABYC calls for protection within 7 inches of the battery in most cases, with some allowances for sheathed cable. Keep the unprotected run as short as you can.
Breaker or fuse?
A manual-reset breaker is the norm for trolling motors. It can be reset after a trip caused by a fouled prop, and it doubles as a disconnect for trailering. A fuse works too. Battle Born’s marine-rated 58V 300A fuse is one example of high-current protection for main battery cables, but a trolling motor circuit usually needs a much smaller rating set by the motor maker. Match the rating to your system.
In a 24V or 36V series bank, the breaker goes in the main positive lead to the motor, not in the jumpers between batteries. The series wiring layout is covered in our 24V and 36V wiring guide.
Making good connections
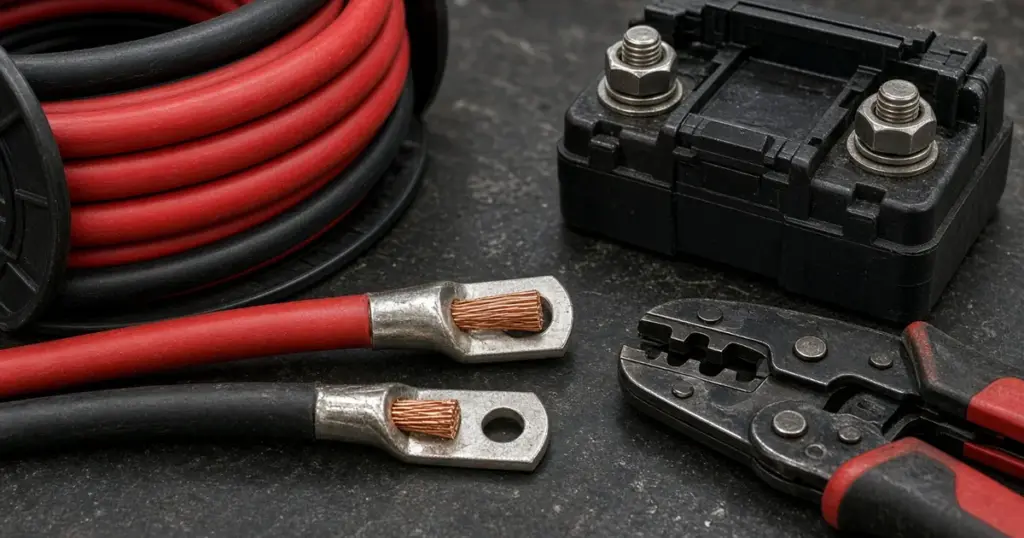
- Use properly sized copper lugs and crimp them with a proper crimping tool.
- Seal each lug with adhesive-lined heat-shrink.
- Tighten terminal nuts to the battery maker’s torque spec.
- Avoid stacking more than four lugs on a single stud.
- Support cable every 18 inches or so and protect it where it passes through bulkheads.
The plug and receptacle are part of the circuit too. Pick one rated for your current and wire gauge; our guide to trolling motor plugs and receptacles covers the choices.
Signs your wiring is undersized
- Cables or plug feel warm after running at high speed.
- Voltage at the motor under load is noticeably lower than at the batteries.
- The motor seems weak even with fully charged batteries.
Better wiring is one of the most effective ways to extend trolling motor run time. When you upgrade, also check the charger leads; the same corrosion and sizing rules apply, as covered in our charging guide.
Upgrading batteries at the same time?
If you’re rewiring because you’re switching to lithium, make sure the battery’s maximum continuous discharge rating exceeds your motor’s maximum draw. The Dakota Lithium 36V 60Ah, for example, is listed at 60A maximum continuous with a higher short pulse rating. Read the details in our trolling motor battery buying guide, and browse wiring and accessories and trolling motor batteries.
Frequently asked questions
What gauge wire do I need for a trolling motor?
It depends on the motor’s maximum current and the round-trip cable length. Start with the motor maker’s chart and choose the larger size if you’re between two. Long runs on bass and bay boats often call for 6 AWG or heavier.
Where should the trolling motor breaker go?
On the positive lead, as close to the battery as practical, typically within about 7 inches.
Can I use a fuse instead of a breaker?
Yes, if it’s rated correctly for the circuit. Breakers are popular because they can be reset and used as a disconnect.
Does bigger wire improve trolling motor performance?
If your current wire causes significant voltage drop, larger wire delivers more voltage to the motor, which can improve thrust and efficiency.