


Trolling Motor Plugs and Receptacles Explained
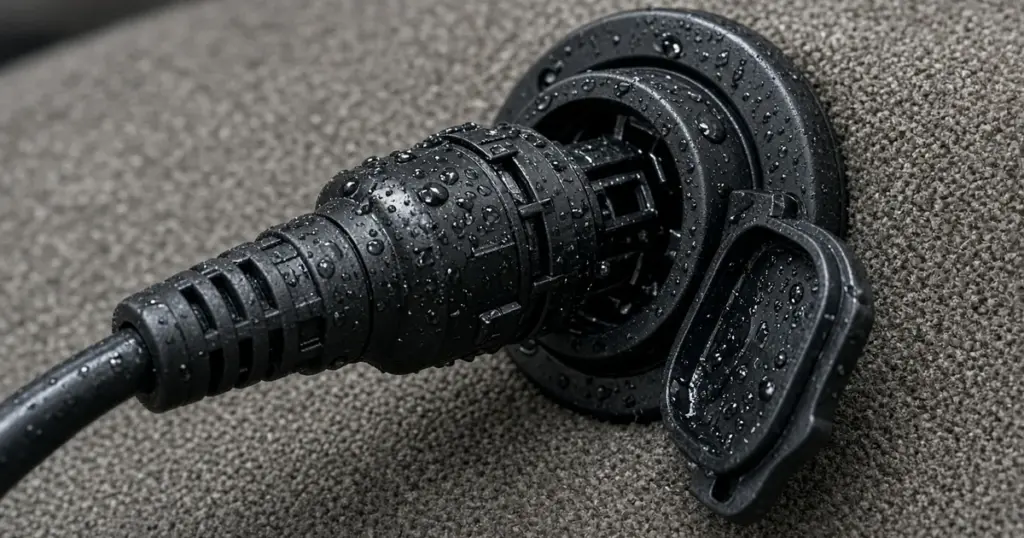
A trolling motor plug looks like a simple part, but it carries every amp your motor draws. When it is undersized, corroded or loose, it becomes a hot spot that robs thrust and can melt. This guide covers what a trolling motor plug does, how to choose one, how to install it correctly and how to keep it reliable in fresh and salt water.
Why use a plug at all?
A plug and receptacle let you disconnect the motor quickly. That helps when you:
- Remove the motor for storage or security.
- Switch a motor between boats.
- Service the motor or batteries.
- Disconnect the motor while trailering.
Many anglers wire the motor directly with a breaker as the disconnect. A plug adds convenience but also adds two contact surfaces to the circuit. Both approaches work if the parts are rated correctly. The plug is one link in the chain described in our trolling motor power system guide.
Types of trolling motor connectors
- Two-pole plug and receptacle sets. The common choice for 12V and 24V motors. The receptacle mounts in the deck or gunwale with a weather cover.
- Three-pole connectors. Used on some setups so the same receptacle can serve both 12V and 24V configurations, or to carry an extra conductor. Wiring must follow the maker’s diagram exactly.
- Battery-side quick connectors. Some kits use high-current connectors near the batteries for removable banks.
Several battery makers also sell complete connection kits. Dakota Lithium offers a 12V trolling motor connection kit and a 24V connection kit with onboard charging leads, which bundle the connectors and leads for a tidy installation.
Choosing the right plug
Current rating
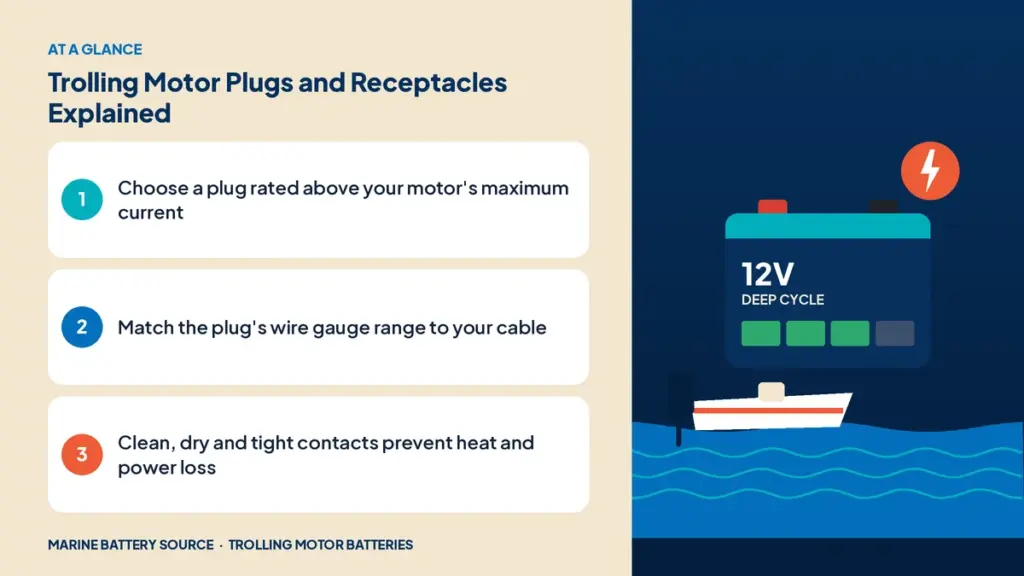
The plug’s continuous current rating must exceed your motor’s maximum current draw. Look up the motor’s maximum draw in its manual and choose a plug comfortably above it.
Wire gauge range
Each plug accepts a range of wire sizes. If you upsized your cable to reduce voltage drop, make sure the plug can accept it. Squeezing a heavy cable into a plug made for lighter wire leaves loose strands and poor contact. Our wire size guide helps you choose the cable first.
Voltage
Most plugs are rated for typical trolling motor voltages, but check, especially if you run 36V or higher.
Environment
In saltwater, choose a receptacle with a sealing cover and corrosion-resistant contacts, and mount it where it won’t sit in standing water.
Installation steps
- Disconnect the batteries and switch off the breaker.
- Choose the location. The receptacle should be reachable, protected from spray, and above any standing water.
- Cut the mounting hole per the template and seal the receptacle to the deck with marine sealant.
- Prepare the cable. Strip only the length the contact needs. Twist strands neatly and avoid nicking them.
- Terminate correctly. Some plugs use set screws and some use crimp contacts. Follow the plug maker’s method and torque.
- Check polarity. Mark positive and negative, and confirm the motor plug and receptacle match. Reversed polarity can damage some motors.
- Install the breaker on the positive lead near the battery.
- Test under load. Run the motor at high speed for a few minutes, then feel the plug and check voltage at both sides.
Polarity and multi-voltage setups
On boats with both 12V and 24V wiring, or with three-pole receptacles, follow the wiring diagram carefully. A mistake can put the wrong voltage to the motor. Label each conductor at the battery and the receptacle. If your system includes series batteries, review our guide to wiring 24V and 36V trolling motor batteries.
Why plugs fail
- Corrosion on contacts raises resistance and creates heat.
- Loose set screws or poorly crimped contacts.
- Undersized plugs for high-thrust motors.
- Water intrusion in receptacles mounted low or left uncovered.
- Heat damage from sustained high current through a weak contact.
A melted or discolored plug is a warning that something is undersized or poorly connected. Replace it, and check the wire for heat damage near the plug.
Maintenance routine
- Keep the receptacle cover closed when the motor is unplugged.
- Inspect contacts a few times a season for green or white corrosion.
- Clean contacts with a contact cleaner and a small brush.
- Apply a thin film of dielectric grease to keep moisture out.
- Check that the plug seats firmly, with no wobble.
Clean plugs matter for charging too, especially if your charger connects through the same circuit. Our guide on charging trolling motor batteries covers charger connections.
Plug problems and GPS anchoring
GPS anchoring modes pulse the motor hard and often, putting repeated high-current loads through the plug. A marginal plug that seems fine at slow speed may heat up when the motor fights wind all afternoon. See how spot-lock affects battery life for more on those loads.
When to skip the plug
If your motor never leaves the boat, a direct connection with a breaker can be the most reliable option: fewer contacts, less resistance. Many tournament anglers wire this way. If you do, use the breaker as your disconnect and label it clearly.
Quick troubleshooting
| Symptom | Likely cause | Fix |
|---|---|---|
| Plug warm after high-speed run | Undersized plug or high resistance | Clean or replace; upgrade rating |
| Intermittent power | Loose contact or corroded pin | Clean, tighten, or replace |
| Motor dead but batteries charged | Tripped breaker or open connection | Reset breaker; check plug continuity |
| Green crust on pins | Moisture and corrosion | Clean, grease, keep cover closed |
For the full picture, see how to choose a trolling motor battery and our marine battery wiring guide. Browse battery accessories and Dakota Lithium connection kits.
Frequently asked questions
What amp rating do I need for a trolling motor plug?
Choose a plug whose continuous current rating exceeds your motor’s maximum current draw, and that accepts your wire gauge.
Why is my trolling motor plug getting hot?
Usually because of corrosion, a loose contact or an undersized plug. High resistance at the contacts turns current into heat. Clean or replace the plug and check its rating.
Should I use dielectric grease on a trolling motor plug?
A thin film of dielectric grease helps keep moisture out. Clean the contacts first, then apply sparingly.
Is a trolling motor plug required?
No. Many anglers wire the motor directly through a breaker. A plug simply makes it easy to disconnect or remove the motor.