


How to Install an Inverter on a Boat
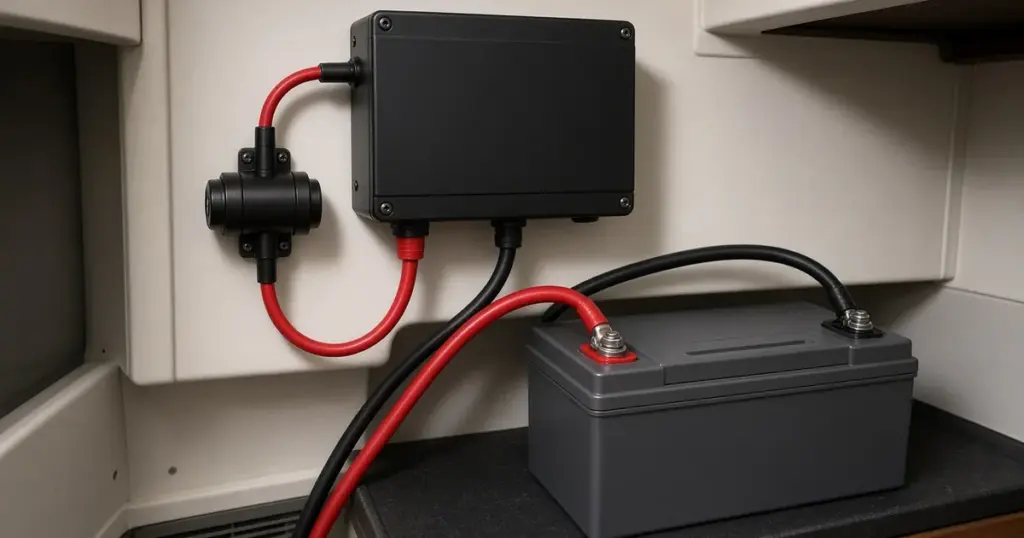
An inverter turns your boat’s 12V DC battery power into 120V AC, so you can run a coffee maker, microwave, laptop charger or power tools away from the dock. Installing one involves serious DC current and AC wiring, so it’s one of the more demanding electrical projects on a boat. This guide explains how to install an inverter on a boat, what to plan for and which parts are best left to a professional.
Step 1: Size the inverter
List the AC loads you want to run and their wattage:
- Laptop and phone chargers: 50W to 150W
- TV: 50W to 150W
- Coffee maker: 600W to 1,200W
- Microwave: 1,000W to 1,500W input
- Hair dryer: 1,200W to 1,800W
- Power tools: varies, with high surge
Choose an inverter with a continuous rating above the largest combination you’ll run at once, and a surge rating for motors and compressors. Pure sine wave inverters are recommended for electronics and appliances.
Step 2: Size the battery bank
Inverters draw large DC currents. A 2,000W inverter at full load on 12V draws about 170A to 190A. Running a 1,200W coffee maker for 10 minutes uses about 18Ah to 20Ah.
Lithium batteries handle these currents well and hold voltage under load. A house bank like the EPOCH 12V 300Ah LiFePO4 or the EPOCH 12V 460Ah is common for inverter use. Check that the battery’s continuous discharge rating covers the inverter’s maximum draw. For larger systems, 24V or 48V banks reduce current and cable size.
Step 3: Choose the location
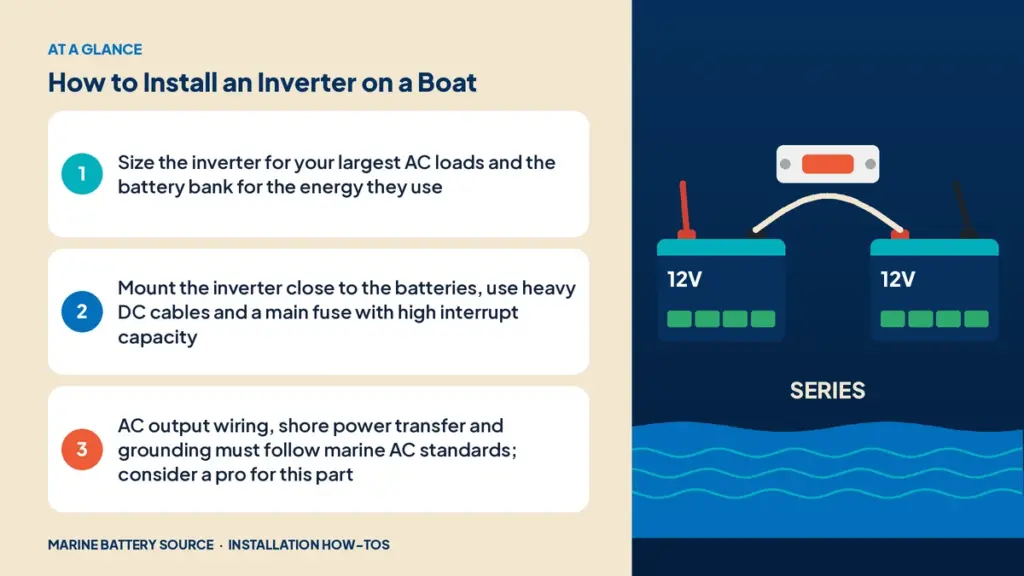
- Close to the batteries, within a few feet, to keep heavy DC cables short
- Dry and ventilated, since inverters produce heat
- Not in an engine room with gasoline engines, unless ignition-protected
- Accessible for the display or remote panel connection
Step 4: DC cables and fusing
- Size cables for the inverter’s maximum continuous current and the round-trip length. A 2,000W inverter on 12V often needs 2/0 or 4/0 cable.
- Install a main fuse close to the battery positive. For lithium banks, use a fuse with high interrupt capacity, such as a Class T.
- Add a battery switch or disconnect between the fuse and the inverter.
- Connect the inverter negative to the negative bus on the load side of the battery monitor shunt.
Distribution hardware like the EPOCH heavy-duty power distribution block helps where several heavy cables meet.
Step 5: AC output wiring
This is where professional help is often worth it. Inverter AC output must be wired to marine AC standards:
- Outlet circuits: dedicated outlets with GFCI protection
- Panel integration: connecting to the boat’s AC panel requires a transfer switch or an inverter-charger with automatic transfer, so the inverter and shore power never connect to the same circuit at the same time
- Neutral and ground: the inverter must handle neutral-to-ground bonding correctly depending on whether shore power is connected
Mistakes here can cause shock hazards or damage. See DIY vs professional installation.
Step 6: Inverter-chargers
An inverter-charger combines an inverter and a battery charger. On shore power, it charges the batteries and passes AC through to the boat; off shore power, it switches to inverting. Make sure the charger profile matches your battery chemistry.
Step 7: Grounding
Connect the inverter’s chassis ground to the boat’s DC grounding system as specified by the manufacturer. This is a safety connection, separate from the DC negative.
Step 8: Pre-charge and power up
Large inverters have input capacitors that draw a big inrush current. With lithium batteries, this can spark at the switch or trip the BMS. Use a pre-charge resistor or a switch with built-in pre-charge, per the inverter maker’s instructions.
Step 9: Test
- Turn on the inverter and check its display.
- Measure AC voltage at an outlet.
- Test with a small load, then larger loads.
- Check DC cables and connections for heat after running a heavy load.
- Test the transfer switch or inverter-charger switching between shore and inverter.
Charging the bank
Inverter use drains batteries fast. Plan your charging: shore power, alternator via DC-DC charger or ACR (see how to install an ACR), and solar.
Documenting the system
Label the inverter’s DC and AC circuits and update the wiring diagram. See boat wiring labeling and documentation.
Reducing inverter energy use
An inverter loses some energy converting DC to AC, typically 8% to 15%, and many draw 0.5A to 2A just being switched on with no load. A few habits stretch your battery bank:
- Turn the inverter off when you’re not using AC power, or use its search or power-saving mode.
- Use DC alternatives for phones, laptops and lights where possible. A 12V laptop charger skips the conversion loss.
- Run high-wattage appliances briefly. A microwave or coffee maker is fine for a few minutes; running an electric heater all night isn’t.
- Run big loads while charging, such as when the engine is running or the sun is strong on your solar panels.
Example: 2,000W inverter on a 12V lithium bank
A cruiser wants to run a coffee maker, microwave and laptop. The plan:
- A 2,000W pure sine inverter-charger with automatic transfer.
- A 12V 460Ah lithium house bank, with a BMS rated well above 200A continuous.
- 4/0 DC cables, under 6 feet round trip.
- A 300A Class T fuse at the bank positive, then a battery switch.
- Inverter negative to the negative bus on the load side of the shunt.
- AC output wired by a marine electrician to a dedicated inverter sub-panel.
Morning coffee and a microwave lunch use about 40Ah to 50Ah, easily covered by the bank and replaced by solar and the engine’s DC-DC charger.
Common mistakes
- Undersized DC cables that overheat or cause low-voltage shutdowns.
- Inverter far from the batteries.
- No fuse or wrong fuse type on lithium banks.
- AC wired without transfer protection, risking backfeeding shore power.
- Battery bank too small for the loads.
Related installs
For sailboat house banks, see installing a sailboat house bank. For bass boats that use small inverters for tournament gear, see 36V lithium install on a bass boat. For general installs, see how to install a marine battery.
Frequently asked questions
What size inverter do I need for my boat?
Choose one with a continuous rating above the largest combination of AC loads you’ll run at once and enough surge for motors.
How many batteries do I need for an inverter?
It depends on the loads and how long they run. A 2,000W inverter at full load draws about 170A to 190A on 12V, so a large lithium bank is common.
Can I install an inverter myself?
The DC side is within reach for experienced DIYers. AC wiring and transfer switching are best handled by a qualified marine electrician.
Do I need a special fuse for an inverter?
Use a fuse sized for the DC cable with adequate interrupt capacity. Class T fuses are common for lithium banks.
Should I use a pure sine wave inverter?
Yes, for electronics, appliances and anything with a motor or sensitive power supply.