


Upgrading a Sailboat House Bank from AGM to Lithium
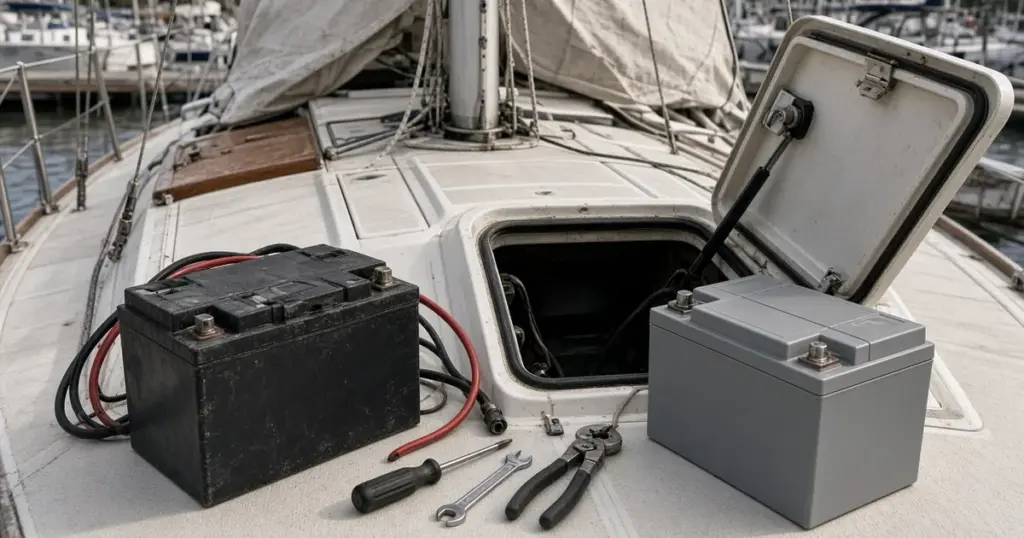
Upgrading a sailboat house bank from AGM to lithium is one of the most popular refits among cruisers. The benefits are real: more usable energy, less weight, faster charging and long cycle life. But it’s not just a battery swap. Every charging source, the fusing and the monitoring need attention. This guide walks through a sailboat AGM to lithium upgrade step by step.
Why upgrade?
- Usable capacity. A 400Ah AGM bank gives about 200Ah of planned usable energy; a 400Ah lithium bank gives about 320Ah.
- Weight. Lithium can save well over 100 lb on a typical cruising bank.
- Charging. Lithium accepts charge quickly almost to full, so solar and engine hours go further.
- No sulfation. Lithium doesn’t suffer from being left partially charged.
- Voltage stability for fridges, inverters and electronics.
Step 1: Review your energy budget
Check how much you actually use per day. The upgrade may let you choose a smaller rated capacity and still gain usable energy. Our pillar on sailboat and liveaboard battery systems explains energy budgets.
Step 2: Choose batteries
Look at available space, weight capacity and terminal locations. Store options include:
- Battle Born 100Ah 12V: Group 27/31 case, 31 lb. Several can be paralleled.
- EPOCH 12V 300Ah Essential: 3.84 kWh in a Group 31 size, 58 lb, Bluetooth and heating.
- EPOCH 12V 460Ah Essential: 5.89 kWh in an 8D size, 84 lb.
Check continuous and peak discharge ratings against your inverter and windlass loads, and maximum charge current against your charging sources. For more on bank design, see building a lithium house bank.
Step 3: Review every charging source
Shore charger or inverter/charger
Set a lithium profile with the battery maker’s voltages. If the charger can’t be configured for lithium, replace it. See shore power and chargers.
Solar charge controller
Most modern MPPT controllers have lithium settings or custom voltages. Set them to the battery maker’s recommendations.
Alternator
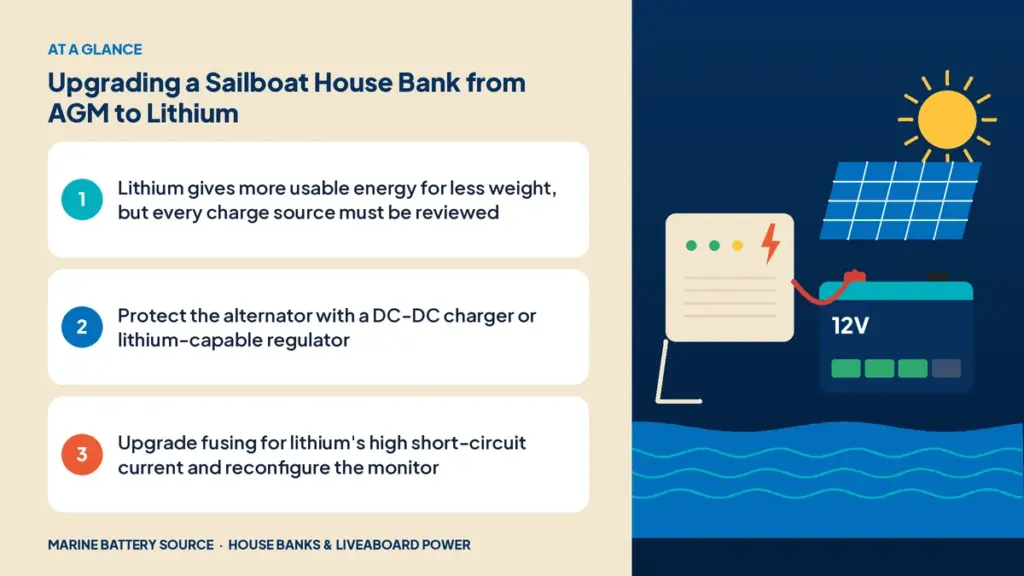
This is the most important change. Standard alternators with internal regulators were designed for lead-acid. A lithium bank can draw full alternator output for long periods, risking overheating. Options:
- DC-DC charger between the starting battery and the lithium house bank. Limits current and applies a lithium profile. Simple and widely used.
- External smart regulator with alternator temperature sensing and a lithium profile, for higher-output charging.
Also plan for BMS disconnects: if the bank disconnects while the alternator is charging, the voltage spike can damage the alternator or electronics. Battery and regulator makers provide specific guidance.
Wind and hydro generators
Check that their controllers can be set for lithium voltages and that they have a safe way to divert or stop if the BMS disconnects.
Step 4: Upgrade fusing
Lithium banks can deliver very high short-circuit current. Install a main fuse with adequate interrupting capacity, such as a Class T fuse, close to the battery. Fuse each battery individually if the maker recommends it.
Step 5: Reconfigure monitoring
Set the shunt monitor’s chemistry to lithium and its capacity to the new bank. Adjust charged-voltage and tail-current settings so it resynchronizes correctly.
Step 6: Keep the starting battery lead-acid
Most owners keep an AGM or flooded starting battery charged directly by the alternator, with the lithium house bank charged through the DC-DC charger. That protects engine starting and simplifies alternator management.
Step 7: Install
- Disconnect all charge sources and loads.
- Remove the AGM batteries; recycle them responsibly.
- Install trays and hold-downs for the new batteries.
- Connect batteries with equal-length cables if paralleling, using bus bars.
- Install the main fuse and switch.
- Connect the shunt in the main negative, with all loads and chargers on the system side.
- Reconnect charge sources and loads.
Step 8: Commission and test
- Charge the bank fully per the maker’s instructions.
- Verify each charge source’s voltage and current.
- Run the engine and monitor alternator temperature and DC-DC charger output.
- Test inverter loads and check cable temperatures.
- Confirm the monitor reads correctly.
Physical installation tips
- Weight distribution. Removing heavy AGMs changes trim slightly. If batteries move to a new location, keep them low and near the centerline.
- Ventilation. Lithium doesn’t vent gas in normal use, but avoid hot locations. Engine rooms are usually a poor choice.
- Hold-downs. Lighter batteries still need secure mounting that can resist a knockdown.
- Access. Leave room to reach terminals, check torque and read any onboard indicators.
- Terminal hardware. Use the bolts, washers and torque values the battery maker specifies. Stacking too many lugs on a terminal is a common cause of loose, hot connections; use bus bars instead.
After the first month
Recheck terminal torque, review monitor data against your energy budget, and confirm the alternator stays within safe temperatures on long motoring days. Small adjustments to charge settings are common once you see real-world data.
Costs to expect
Beyond the batteries, budget for a DC-DC charger or external regulator, charger reprogramming or replacement, fusing, cables and possibly a new monitor. These are essential parts of a safe, reliable conversion.
Generator and A/C implications
With faster charging, generator run time often drops significantly. See generator vs big lithium bank. Catamaran owners have their own considerations, covered in catamaran battery banks.
Common mistakes
- Leaving the alternator directly connected without protection.
- Keeping lead-acid float or equalize settings on chargers.
- Using an inadequate main fuse.
- Forgetting to reconfigure the battery monitor.
- Mixing lithium batteries of different brands or ages in one bank.
For reserve planning, read house bank sizing for overnight boating. Browse lithium batteries and Battle Born in the store.
Frequently asked questions
Can I just swap my AGM batteries for lithium?
Not safely without reviewing charging. Chargers, solar controllers and especially the alternator need lithium-appropriate settings or protection, and fusing should be upgraded.
Do I need a DC-DC charger for a lithium house bank?
It’s one of the most common ways to protect the alternator and apply a lithium profile. An external smart regulator with temperature sensing is an alternative.
Should my starting battery also be lithium?
Many owners keep a lead-acid or AGM starting battery charged directly by the alternator and use lithium only for the house bank.
How much weight will I save switching to lithium?
It depends on the bank, but replacing several AGM batteries with lithium of similar usable energy can save well over 100 lb.