


When to Replace Battery Cables on a Boat
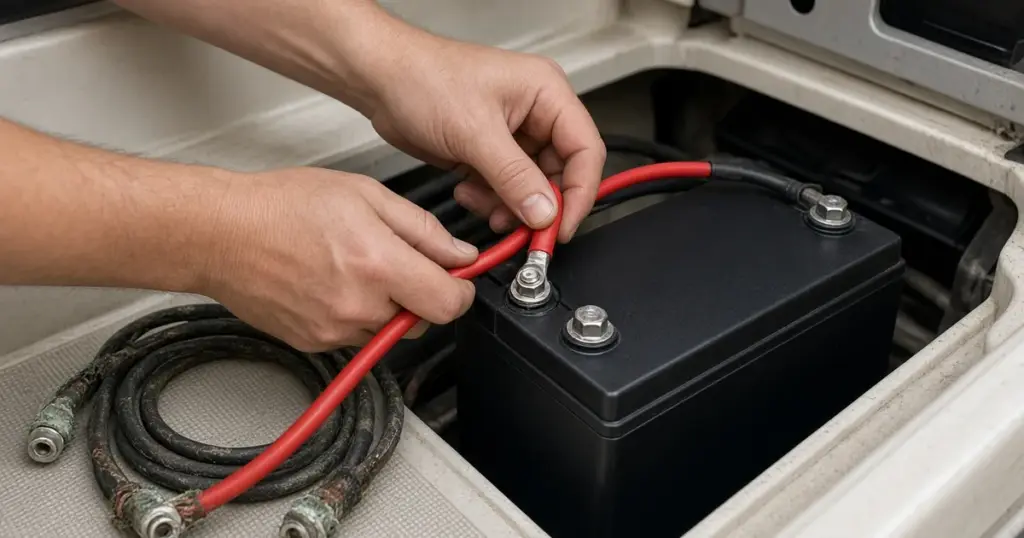
Battery cables carry the heaviest currents on a boat, from engine cranking to trolling motor loads. When they corrode, loosen or get damaged, everything downstream suffers: slow cranking, weak trolling motors, flickering electronics and hot connections. Replacing battery cables is one of the most valuable electrical upgrades you can make. Here’s how to know when it’s time and how to do it right.
When to replace battery cables
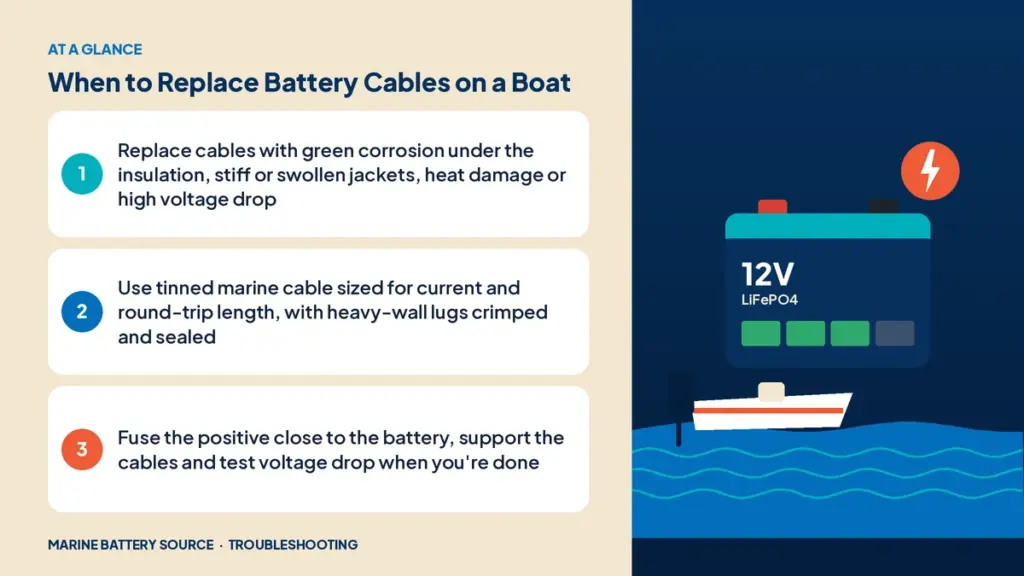
- Green or white corrosion at the lug or under the insulation
- Stiff, swollen or cracked insulation
- Black, brittle strands when you peel back the jacket
- Heat damage: discolored lugs, melted insulation
- High voltage drop under load (see voltage drop under load)
- Loose crimps where the lug turns on the cable
- Bare copper cable on a saltwater boat
- Upgrading to a higher-current battery or motor
Tools and materials
- Tinned copper marine battery cable in the correct gauge
- Heavy-wall tinned copper lugs sized for the cable and stud
- Adhesive-lined heat-shrink tubing
- Hammer crimper or hydraulic crimper sized for the lugs
- Cable cutter
- Heat gun
- Wrenches and a torque wrench if specified
- Fuses or breakers and holders as needed
- Cable clamps and chafe protection
Step 1: Plan the circuit
- Measure the round-trip length (positive plus negative).
- Find the maximum current: starter, trolling motor maker’s spec or total house load.
- Choose the gauge from a marine wire sizing chart for your target voltage drop. Trolling motor makers often specify cable gauge and breaker size.
- Decide on fusing: every positive cable needs protection close to the battery (starter circuits have specific exceptions in the standards).
Step 2: Disconnect safely
- Turn off all loads and the battery switch.
- Disconnect shore power and chargers.
- Disconnect the negative cable first, then the positive.
- Label each cable before removing it.
Step 3: Cut and strip
- Cut the cable cleanly to length with a proper cable cutter.
- Strip just enough insulation to fully seat the cable in the lug barrel.
- Make sure every strand goes into the lug.
Step 4: Crimp
- Slide the heat-shrink onto the cable first.
- Insert the cable fully into the lug.
- Crimp with the correct tool and die. A good crimp is solid; you shouldn’t be able to twist the lug on the cable.
- Pull test it firmly.
Step 5: Seal
Slide the adhesive-lined heat-shrink over the barrel and onto the insulation. Heat until adhesive appears at the ends. This keeps moisture out of the strands, which is the main way corrosion starts.
Step 6: Route and support
- Route away from sharp edges, hot surfaces and moving parts.
- Use chafe protection through bulkheads.
- Support cables every 18 inches or so with clamps.
- Leave a drip loop so water runs off before reaching terminals.
- Keep positive and negative runs together to reduce interference.
Step 7: Install fuses and connect
- Install the fuse or breaker on the positive cable close to the battery.
- Connect the positive first, then the negative.
- Lug directly against the battery post or stud, with the washer and nut on top.
- Torque to the battery maker’s spec.
- Add terminal boots and a thin film of protectant.
A marine-rated 300A battery fuse in a Battle Born MRBF fuse block is a clean way to protect a heavy cable right at the battery.
Step 8: Test
- Turn on the load or crank the engine.
- Measure voltage drop on each side.
- Feel connections for heat after a heavy run.
Series jumper cables
In 24V and 36V trolling banks, the short jumpers between batteries matter just as much. Use the same gauge as the main cables, with sealed lugs. Corroded jumpers cause imbalance; see unbalanced battery bank.
Trolling motor kits
For trolling motor installs, a purpose-built kit simplifies the job. The Dakota Lithium 24V trolling motor connection kit is one option for 24V systems.
Choosing lugs
Lugs come in different stud sizes and barrel sizes. The barrel must match the cable gauge, and the hole must match the battery stud or post. A lug with a hole that’s too big makes poor contact; one that’s too small won’t fit. Heavy-wall tinned copper lugs crimp more reliably and resist corrosion better than thin stamped terminals. Avoid lugs with open barrels or seams for battery cables.
Removing old cables
Take photos before you remove anything, especially at the battery switch, busbars and engine. Remove one cable at a time and replace it before moving to the next, so you don’t lose track of the circuit. Inspect each connection point as you go. A corroded busbar stud or switch terminal should be cleaned or replaced, or the new cable will inherit the same problem.
Common mistakes
- Using automotive cable on a boat
- Undersizing for long runs
- Poor crimps with pliers or a hammer on a screwdriver
- Skipping heat-shrink
- No fuse on the positive
- Stacking too many lugs on a battery post
- Not supporting cables
Lithium upgrades
Lithium batteries can deliver very high current. Cables and fuses must be sized for the battery’s maximum discharge and the load. A larger cable also reduces voltage drop, so you get the full benefit of lithium’s steady voltage. If your new lithium battery has charging issues after the install, see lithium battery won’t charge.
Related guides
If your trolling motor is still losing power after new cables, see trolling motor losing power. For the bigger picture, read boat electrical problems troubleshooting and the marine battery troubleshooting guide.
Find fuses and hardware in our marine battery accessories.
Frequently asked questions
How often should boat battery cables be replaced?
There’s no fixed schedule. Replace them when you see corrosion, damage, heat or high voltage drop, more often on saltwater boats.
Can I use car battery cables on my boat?
Use tinned marine cable instead. It resists corrosion much better.
What size battery cable do I need?
It depends on current and round-trip length. Use a marine wire sizing chart or the equipment maker’s recommendation.
Should I solder or crimp battery cables?
Crimp with the right tool and seal with adhesive heat-shrink. That’s the marine standard.
Do I need a fuse on my battery cable?
Yes, on the positive cable close to the battery, sized to protect the cable.