


Converting Your Boat to Lithium: A Step-by-Step Guide
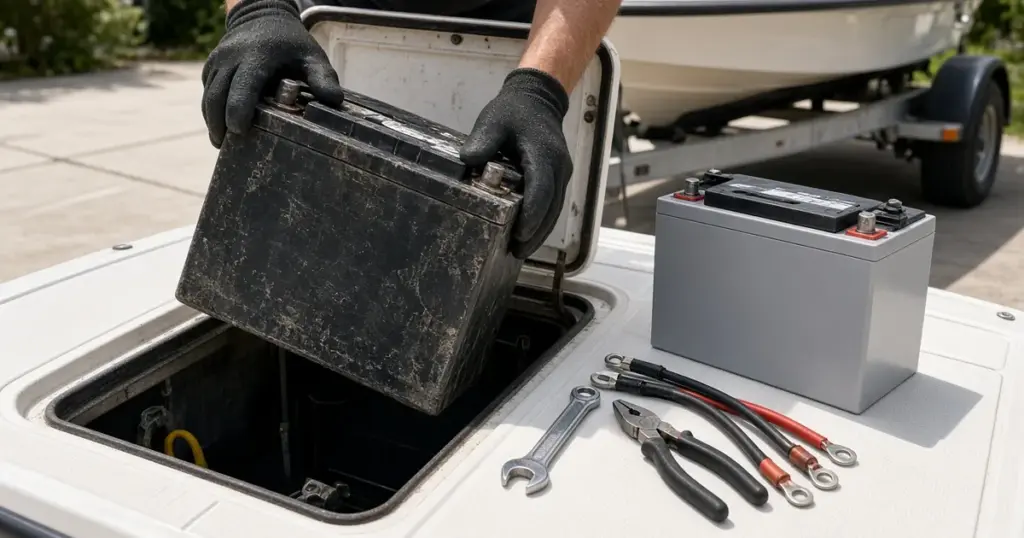
Lithium iron phosphate (LiFePO4) batteries can transform a boat. Your trolling motor runs longer, the house bank keeps the fridge cold overnight, and the boat sheds a lot of weight. But a lithium conversion is more than swapping one box for another. To convert your boat to lithium safely and get the full benefit, you need to look at the whole electrical system: what you’re replacing, how the batteries get charged, and how they’re protected and switched.
This guide walks through the process step by step.
Why boaters switch to lithium
- Weight: LiFePO4 weighs a fraction of comparable lead-acid capacity. On small boats that can improve ride, draft and hole shot.
- Usable capacity: lithium tolerates deep discharge, so more of its rated capacity is available day to day.
- Steady voltage: trolling motors hold speed, and electronics stay stable until the battery is nearly empty.
- Fast, efficient charging with a suitable charger.
- Low maintenance: no watering, and no equalizing.
The tradeoffs are a higher upfront cost and the need for lithium-compatible charging. For many boaters, the long cycle life and performance make the cost worth it, but that’s a personal call.
Step 1: Inventory your current system
Before you buy anything, list what you have:
- Every battery: its job (starting, trolling or house), voltage, group size, chemistry and age.
- How batteries are wired: single, parallel or series (24V/36V).
- Every charging source: onboard charger, engine alternator, solar and any DC-DC chargers.
- Switches, isolators or automatic charging relays (ACRs).
- Fuses and breakers, and cable sizes.
A simple sketch of your system is worth the time. It’ll make every decision below easier.
Step 2: Decide which batteries to convert
You don’t have to convert everything at once. Common approaches:
- Trolling motor bank only: the most popular first step for anglers. Keep your lead-acid starting battery, and replace the trolling bank with lithium. It’s simple, because the trolling bank is usually charged only by the onboard charger.
- House bank: great for cruisers and liveaboards, but it often touches more charging sources, so plan carefully.
- Starting battery: possible with lithium batteries rated for cranking, such as the Dakota Lithium DL+ 12V 60Ah dual purpose or the EPOCH 12V 172Ah dual purpose. Check your engine manufacturer’s guidance on lithium and its charging system.
Don’t mix lithium and lead-acid within the same bank. Separate banks with separate charging are fine.
Step 3: Choose the right lithium batteries
Match voltage
For 24V or 36V trolling motors, choose either a matched series set of 12V lithium batteries or a single native 24V or 36V battery. A native battery, like the EPOCH 36V 100Ah or the Lithium Rhino 24V 100Ah conversion kit, simplifies wiring and charging.
Size capacity
Because more of lithium’s capacity is usable, you can often match or beat a lead-acid bank’s real-world runtime with fewer rated amp-hours. See choosing a trolling motor battery and house bank sizing for overnights to run the numbers.
Check fit and features
Measure the compartment, and check terminal type and placement. Features to compare include Bluetooth monitoring, internal heating for cold charging, ingress rating, and maximum continuous and peak discharge current. That last one matters for big trolling motors and inverters. Browse the Lithium collection.
Step 4: Sort out charging
This is where most conversions succeed or fail.
Onboard charger
Lithium needs a LiFePO4 or lithium charge profile. Some existing chargers have a lithium mode; check the manual. If yours doesn’t, replace it with a lithium charger matched to your batteries, such as the Dakota Lithium 12V 20A onboard charger or an EPOCH 12V and 36V onboard charger, which handles a lead-acid or lithium starting battery and a 36V lithium trolling battery.
Engine alternator
Alternators are built around lead-acid. A lithium battery can draw heavy current from an alternator for a long time, which can overheat some alternators. The alternator’s regulator also may not suit lithium’s needs. The usual solution is a DC-DC charger between the starting battery and the lithium bank. It limits current, applies a proper profile, and lets the engine charge the lithium bank while you run. EPOCH’s 12V to 36V DC-DC charger even charges a 36V trolling battery from a 12V engine system. For outboards charging a second 12V battery, an isolator or ACR kit like the Dakota Lithium outboard dual battery isolator/ACR kit may be an option; follow the battery and engine makers’ guidance. Read charging lithium on a boat for the details.
Solar
If you have solar, set the charge controller to a lithium profile, or replace it with one that has one.
Step 5: Protect the system
- Fuse close to the battery. Lithium batteries can deliver very high current into a short. Use a marine-rated fuse near the positive terminal, such as a Battle Born MRBF fuse on a fuse block, sized for the wire and loads.
- Check cable sizes. Wire should be sized for the current and the length of the run.
- Secure the batteries. Lithium is lighter, but it still needs a tray or hold-down. Model-specific trays are in Accessories.
- Understand the BMS. Every quality LiFePO4 battery has a battery management system that can disconnect the battery to protect it from over-discharge, over-charge or over-temperature. Know what your loads will do if that happens. A sudden disconnect while charging from an alternator is a key reason DC-DC chargers are recommended.
Step 6: Review switches and monitoring
Battery switches, ACRs and isolators all need to work with your new setup. Our battery switch basics guide explains the common configurations. For monitoring, many lithium batteries include Bluetooth apps. A shunt-based monitor is another option for house banks. Older voltage-based gauges calibrated for lead-acid can mislead you, because lithium’s voltage stays flat until it’s nearly empty.
Step 7: Install, test and record
- Disconnect and remove the old batteries; recycle lead-acid properly.
- Install and secure the new batteries, then fit fuses and connect cables. Torque terminals to spec.
- Set every charging source to the correct lithium profile.
- Fully charge the new batteries before the first trip.
- Test under load: run the trolling motor, house loads and engine charging, and watch voltages and the battery app.
- Label everything, and keep a copy of your wiring diagram on board.
Common mistakes to avoid
- Leaving a lead-acid-only charger connected to lithium.
- Charging lithium straight from an alternator without checking compatibility.
- Mixing old and new batteries, or mixing chemistries, in one bank.
- Skipping fuses or using undersized cable.
- Tapping one battery in a 24V or 36V string for 12V accessories. Use a DC-DC converter instead.
- Charging below freezing without a heated battery.
Let us handle it
A lithium conversion is a great DIY project if you’re comfortable with marine wiring. If you’d rather have it done for you and you’re between Venice and Gainesville, FL, our local installation team can plan the system, supply the batteries, chargers and hardware, and install it. Everywhere else, we ship nationwide. Start with our lithium marine batteries.