


How to Choose an Onboard Marine Battery Charger
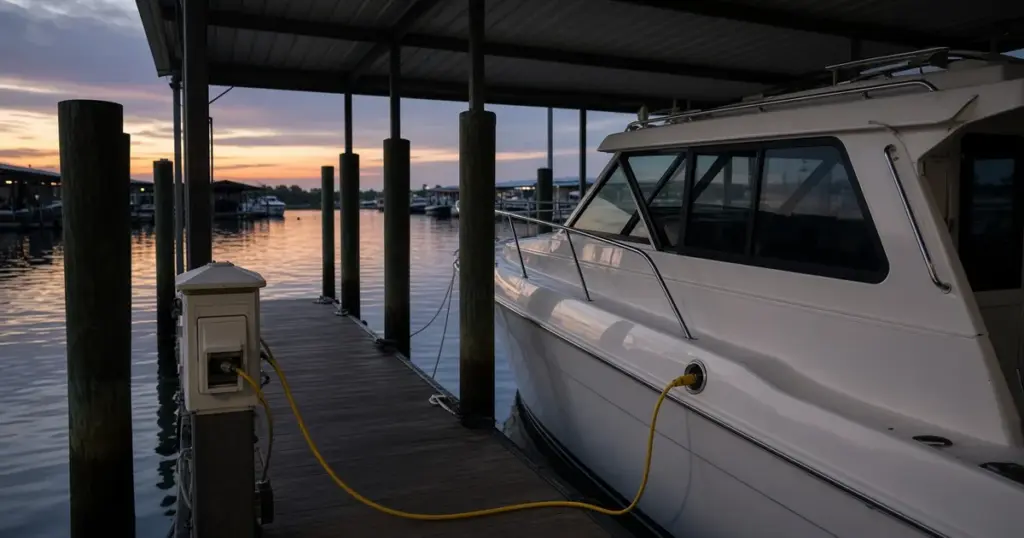
An onboard marine battery charger is one of the best upgrades for any trailered or docked boat. Instead of opening hatches and clipping leads onto batteries, you plug a single cord into shore power and every battery charges correctly. This onboard marine battery charger guide explains how they work, how to choose one, and how to install it safely.
What an onboard charger is
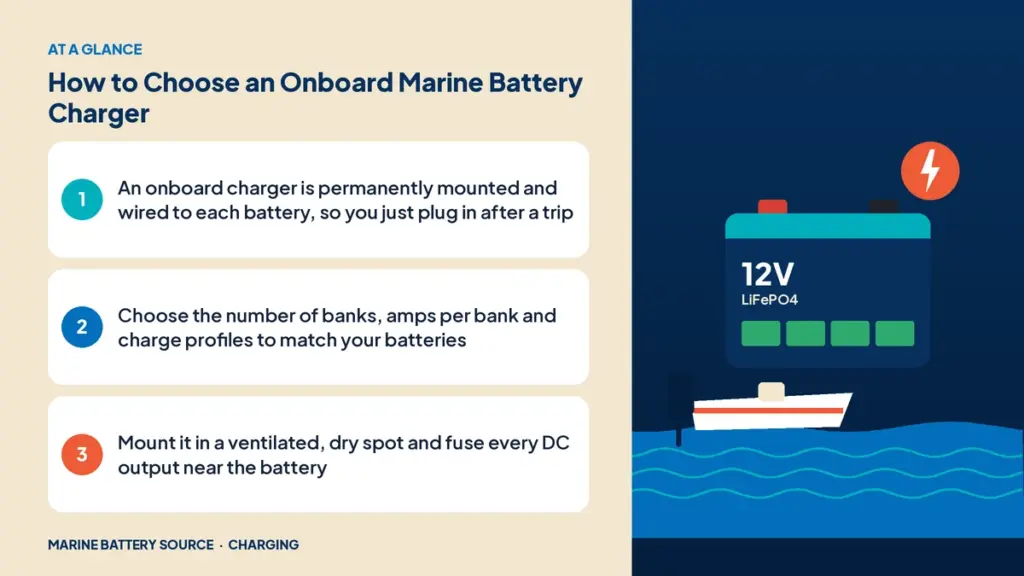
An onboard charger is a waterproof charger permanently mounted on the boat, with DC output cables wired to each battery and an AC input cord or inlet for shore power. Most marine onboard chargers have multiple independent outputs, called banks, so each battery is charged separately.
Benefits:
- Convenience: plug in after every trip.
- Correct charging: each battery gets its own profile and current.
- Longer battery life: batteries are kept fully charged and not overcharged.
- Safety: sealed, marine-rated units designed for damp environments.
Onboard vs portable
Portable chargers are cheaper and flexible, but you must connect them manually. For boats with multiple batteries, an onboard charger is far more convenient. See portable vs onboard chargers for a full comparison.
Choosing the number of banks
Count the batteries you need to charge:
- A cranking battery and two 12V trolling batteries in series for 24V: three banks.
- A cranking battery and three trolling batteries for 36V: four banks.
- A single 36V lithium trolling battery and a 12V cranking battery: a two-bank charger with one 36V output and one 12V output.
The multi-bank charger guide explains bank wiring in detail. Store examples include the EPOCH 4-bank 12V charger with four independent 10A outputs, and the EPOCH 12V & 36V onboard lithium charger, a two-bank mixed-voltage unit for a 12V battery plus a 36V lithium battery.
Choosing amps per bank
Higher current charges faster, but each battery has a maximum recommended charge rate. Common onboard chargers deliver 10A to 20A per bank. A 10A bank replaces about 50Ah of a lead-acid battery in roughly 5 to 6 hours, allowing for the slower absorption stage. Our charger amp rating guide explains how to choose.
Matching the charge profile
Different chemistries need different charging voltages:
- Flooded lead-acid: multi-stage charging with periodic equalization on some chargers.
- AGM: slightly different absorption and float voltages.
- Lithium (LiFePO4): a constant-current, constant-voltage profile without traditional float or equalization.
Make sure each bank can be set to the right profile. Lithium batteries need a lithium-compatible charger; see charging lithium batteries on a boat.
Mounting
- Mount the charger in a dry, ventilated location such as a console or storage compartment.
- Keep the required clearance around the charger for cooling. Fan-cooled chargers need airflow.
- Mount vertically or as the maker specifies, with stainless hardware.
- Keep it away from fuel tanks and engine heat.
DC wiring
- Run each output’s positive and negative cables to its battery.
- Fuse each positive output close to the battery with the fuse the maker specifies.
- Use marine-grade tinned copper wire at the gauge specified for the cable length.
- Label each bank’s cables.
- Connect the charger’s negative leads per the maker’s instructions.
AC input and shore power safety
- Use the charger’s supplied AC cord, or have a qualified technician install an AC inlet.
- Plug into a grounded outlet, preferably GFCI-protected.
- Use a marine-rated extension cord if needed, and keep connections out of water.
- Never modify the charger’s AC wiring.
Charging lithium and lead-acid together
Many boats have a lead-acid cranking battery and a lithium trolling bank. An onboard charger with independent banks lets each battery use its own profile. See charging on the water for keeping batteries topped up underway too.
Using the charger as a maintainer
Most onboard chargers switch to a maintenance mode after charging, keeping lead-acid batteries topped off during storage. For lithium, check whether the charger stops charging after full or holds a low float. Our guide to battery maintainers covers off-season care.
Sizing for bigger boats
On cruising boats with large house banks, onboard chargers often deliver 40A or more, or a combined inverter-charger handles charging. The house bank sizing guide explains how charger size relates to bank size.
Common installation mistakes
- No fuses on DC outputs.
- Mounting in a sealed compartment without ventilation.
- Using the wrong charge profile for the battery chemistry.
- Wiring two batteries to one bank when they should be separate.
- Undersized cables on long runs.
Troubleshooting
- Charger shows a fault on one bank: check connections, fuses and battery voltage.
- Battery never reaches full: charger profile, cable voltage drop or an aging battery.
- Charger cycles on and off: a parasitic load or a battery problem.
Example: a bass boat with a 36V trolling system
A bass boat with a 12V cranking battery and three 12V batteries wired in series for a 36V trolling motor needs a four-bank charger, one bank per battery. After a day of fishing, the owner backs the boat into the garage, plugs in the shore cord and walks away. Each bank charges its battery separately, so the three trolling batteries stay balanced and the cranking battery is ready for the next launch. If the owner later replaces the three trolling batteries with a single 36V lithium battery, a two-bank mixed-voltage charger becomes the better match.
Maintenance
Onboard chargers need little care. Inspect cable connections and fuses each season, keep cooling vents clear of dust and debris, and check the AC cord for damage. If a bank stops charging, test it with a known good battery before replacing the charger.
Choosing your onboard charger
- Count the batteries and their voltages.
- Choose amps per bank based on battery capacity and charge time.
- Confirm profiles for each chemistry.
- Check mounting space and cooling requirements.
Browse marine chargers in the store.
Frequently asked questions
What does an onboard battery charger do?
It charges each battery on the boat through permanently wired outputs when plugged into shore power.
How many banks do I need?
One per 12V battery in a lead-acid or series system, or one per battery voltage for single lithium batteries.
Can an onboard charger charge lithium batteries?
Only if it has a lithium-compatible profile for the bank connected to the lithium battery.
Can I leave my onboard charger plugged in?
Most onboard chargers are designed to stay connected and switch to maintenance mode. Check the maker’s instructions.