


How to Choose a Trolling Motor Battery by Thrust and Voltage
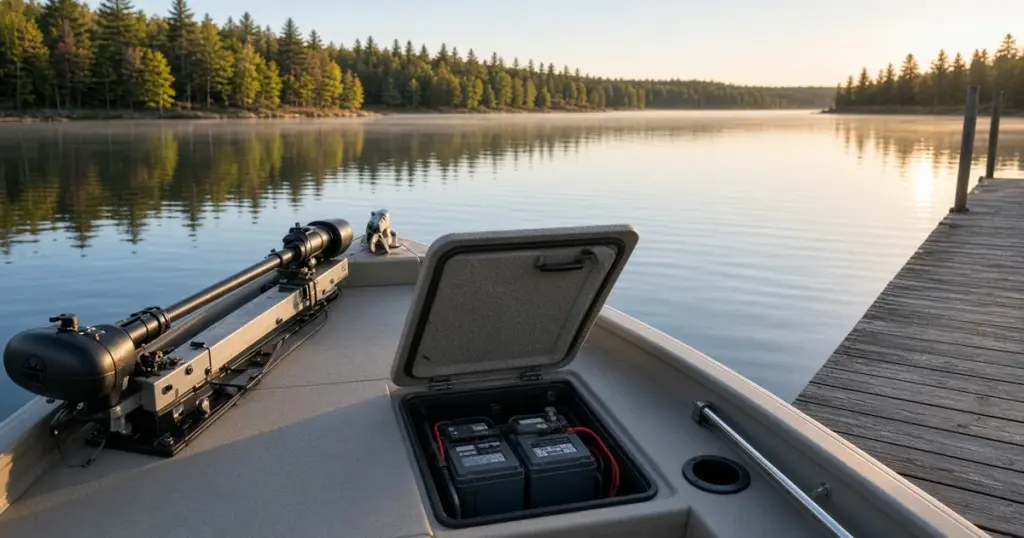
Choosing a trolling motor battery comes down to two questions: what voltage does your motor need, and how much capacity do you need to get through a day on the water? Get the first one wrong and the motor won’t run properly. Get the second one wrong and you’ll be paddling back to the ramp. This guide walks through both, then covers chemistry, fit and charging so you can buy once and fish all day.
Step 1: Find your motor’s voltage
Every trolling motor is designed for a specific system voltage. Look on the motor’s control box, shaft label or owner’s manual. You’ll typically see one of these:
- 12V: common on smaller bow-mount and transom motors for jon boats, kayaks, canoes and small aluminum boats.
- 24V: common on mid-size bow-mounts for bass boats, bay boats and multi-species boats.
- 36V: common on high-thrust motors for larger bass, bay and walleye boats.
- 48V: found on some newer high-output motors and electric propulsion systems.
In general, higher-thrust motors use higher voltages. Higher voltage lets a motor make the same power with less current, which keeps wire sizes and heat manageable. But you don’t choose voltage by thrust. You match whatever your motor was built for. Running a 24V motor on 12V will leave it weak, and running a 12V motor on 24V can damage it.
One battery or several?
You can reach 24V or 36V two ways:
- Series bank: two 12V batteries in series make 24V; three make 36V. This is the traditional setup, and it lets you spread batteries across separate compartments. See our step-by-step guide to wiring a 24V or 36V trolling motor setup.
- Native high-voltage battery: a single lithium battery built as 24V or 36V, such as the Dakota Lithium 36V 60Ah, the EPOCH 36V 100Ah or the Interstate 36V 50Ah Group 31M. One case, two terminals and one charger connection.
Native batteries save space and connections. Series banks give you flexibility in how you fill the compartments, and you can buy them as matched sets, like the Dakota Lithium 24V 100Ah trolling motor battery set.
Step 2: Estimate how much current your motor draws
Thrust tells you how hard a motor can push, but battery runtime depends on how much current it draws at the settings you actually use. Your motor’s manual may list maximum current draw. That’s the number at full speed, and most anglers spend much of the day well below it.
A practical approach:
- Find the maximum current draw in the manual, or ask the manufacturer.
- Think about how you fish. Do you run the motor wide open into wind and current, or mostly at low and mid settings while you work a bank? Do you use spot-lock or anchor modes that make frequent corrections?
- Estimate an average draw for a typical day. If you’re not sure, be conservative and assume a higher average.
If your motor has a built-in battery meter or you add a battery monitor, you’ll soon learn your real-world numbers. Many lithium batteries also report current and state of charge in an app.
Step 3: Size capacity for your fishing day
Battery capacity is rated in amp-hours (Ah). A simple estimate of runtime is:
Runtime (hours) ≈ usable amp-hours ÷ average current draw (amps)
Here’s a worked example with round numbers. Suppose your motor averages 25 amps over the day, and you fish 8 hours. You need about 200 amp-hours of usable capacity. That’s 25 × 8.
The word usable matters:
- Lead-acid (flooded or AGM): lasts longest when it isn’t discharged deeply. A common rule of thumb is to plan on using about half of the rated capacity on a regular basis. Voltage also sags as lead-acid discharges, and the motor slows down with it.
- Lithium (LiFePO4): tolerates much deeper discharge, so more of the rated capacity is usable. It also holds a flatter voltage curve, so the motor keeps its speed until the battery is nearly empty. Check the manufacturer’s guidance for recommended depth of discharge.
On a series bank, capacity doesn’t add up. Two 12V 100Ah batteries in series give you 24V at 100Ah, not 200Ah. A watt-hour figure, volts × amp-hours, makes it easy to compare a series bank with a native high-voltage battery.
Leave some margin. Wind, current, a heavy load or a long run back to the ramp can all use more than you planned. If you also run electronics from the same 12V battery, add their draw too, though on 24V and 36V systems it’s better to power electronics separately (more on that below).
Step 4: Pick a chemistry
Lithium (LiFePO4)
Lithium has become the most popular upgrade for trolling motors for good reason. It weighs a fraction of what lead-acid weighs, holds steady voltage, recharges quickly with the right charger, and handles deep daily cycling. On a small boat, the weight savings can noticeably change how the boat rides and planes. The tradeoff is a higher upfront price, and you’ll need a lithium-compatible charger. Browse the Lithium collection, or see high-voltage kits like the Lithium Rhino 36V 120Ah conversion kit.
AGM
AGM batteries are sealed, spill-proof and need no watering. They cost less upfront than lithium, and they work with most existing lead-acid chargers set to an AGM profile. They’re heavier, and their voltage drops as they discharge. The Trojan 27-AES is an example of a deep-cycle AGM in a common marine size.
Flooded deep cycle
Flooded batteries are the economical, traditional choice. They need upright mounting, ventilation and regular watering. A deep-cycle model like the Trojan 27TMX is built for repeated discharge. For upkeep tips, read AGM vs flooded maintenance.
Whatever you choose, use a true deep-cycle battery, or a dual-purpose battery that’s rated for deep cycling. A starting battery isn’t built for the long, steady discharge of a trolling motor.
Step 5: Check fit, weight and terminals
Measure your battery compartment’s length, width and height, and compare those numbers with the dimensions on the product page. Many marine batteries follow BCI group sizes like 24, 27 and 31, which our BCI group size guide explains. Terminal type and position vary, so check that your cables will reach. Secure every battery with a tray or hold-down.
Step 6: Plan charging and wiring
An onboard charger makes life easy: plug in after the trip and walk away. For a series bank of 12V batteries, a multi-bank charger with one bank per battery is common. For a native 24V or 36V battery, use a charger built for that voltage and chemistry. Options include the Dakota Lithium 36V 20A onboard charger and the EPOCH 12V and 36V onboard charger, which also handles a 12V starting battery. Shop all Chargers, and read charging lithium on a boat for more.
Fuse the positive lead as your motor manufacturer specifies, and use correctly sized cable. Connection kits like the Dakota Lithium 36V connection kit with onboard charging take the guesswork out of it. More hardware is in Accessories.
A note on electronics
On a 12V system, you can run your fish finder from the trolling battery, though some sonar units show interference. On 24V and 36V series banks, don’t tap a single battery for 12V, because it drains that battery faster and unbalances the bank. Use a separate 12V battery or a DC-DC converter like the Dakota Lithium 24V/36V to 12V converter.
Quick checklist
- Motor voltage confirmed: 12V, 24V, 36V or 48V.
- Average current draw estimated, and capacity sized with margin.
- Chemistry chosen: lithium, AGM or flooded deep cycle.
- Compartment measured, and terminals checked.
- Charger matched to voltage, battery count and chemistry.
- Fuse, cables and hold-downs planned.
Ready to compare? Browse all trolling motor batteries. If you’re between Venice and Gainesville, FL, our local installation team can size, install and wire the whole system for you.